FINAL PROJECT – I FEEL MANY THINGS DURING THE DAY
Concept
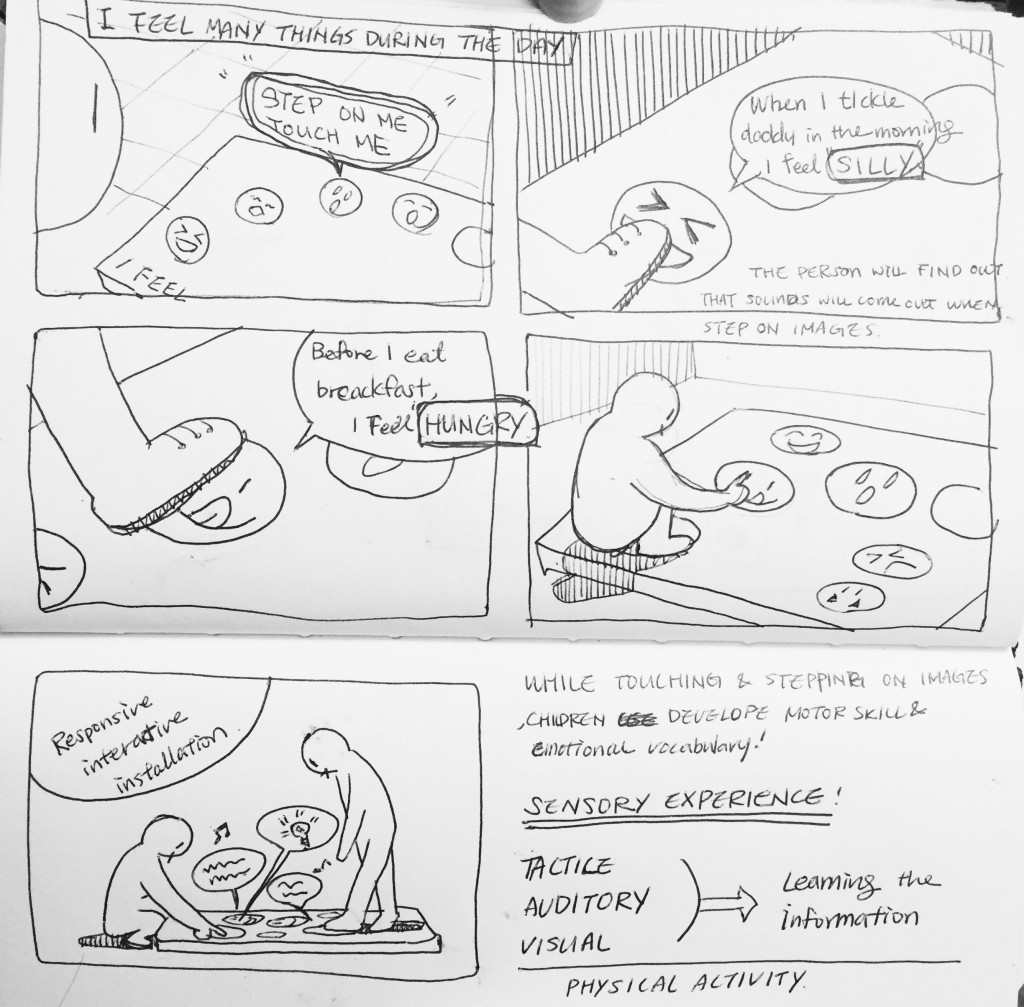
My final project is called I Feel Many Things During The Day. This is an educational play mat for children from ages between 2 and 7 to play and expand their emotional vocabulary by eliciting feelings of curiosity, fun, and love of learning while generating thoughts about emotional experiences in family and educational contexts.
Inspiration / Motivation
The idea for my project started from my experiences as a kid. I had difficulty expressing my emotions in relationships with my loved ones. I often felt confused and discouraged by others’ reaction, when interacting with them. I began to feel lonely in my emotions, internalizing problems and wondering, “What’s wrong with me that I feel this way?” Later I also found that it was hard to connect with my emotions to make important decisions. I wasn’t clearly aware of my emotions, thus I didn’t know what I really want or not.
Through my 10 years of work experience in education and personal life, I found expressing emotions profoundly important for children and for their adulthood. To improve myself in order to enjoy my life, I started looking for materials related to emotions. While searching emotional intelligence I found a robust body of scientific knowledge about the topic. At the same time I watched a movie that related to the emotional intelligence, called “Inside Out” which was a huge motivator for me.
BRENE BROWN
“Emotions are often difficult to recognize and even harder to name. This is especially true if we weren’t given the vocabulary and skills required to navigate this emotional world when we were growing up – which unfortunately is the care for most of us.”
– Brene Brown, I Thought It Was Just Me, p/41 January 2007
Historical Background
Through history people valued thinking and logic more than emotion. Because we considered emotions primitive and uncivilized. However, nowadays, we know that emotions are essential for self-esteem, relating to others, being successful at work and academic achievement, memory, learning, and decision making.
Tools
I use conductive inks and felt to induce children to have responsive interactive experiences through my idea. Techniques that I have learned from Computational Craft are felt-work and how to use conductive ink to make pressure sensors and a soft circuit. I feel confident to use them for my idea to create a interactive and portable project for kids.
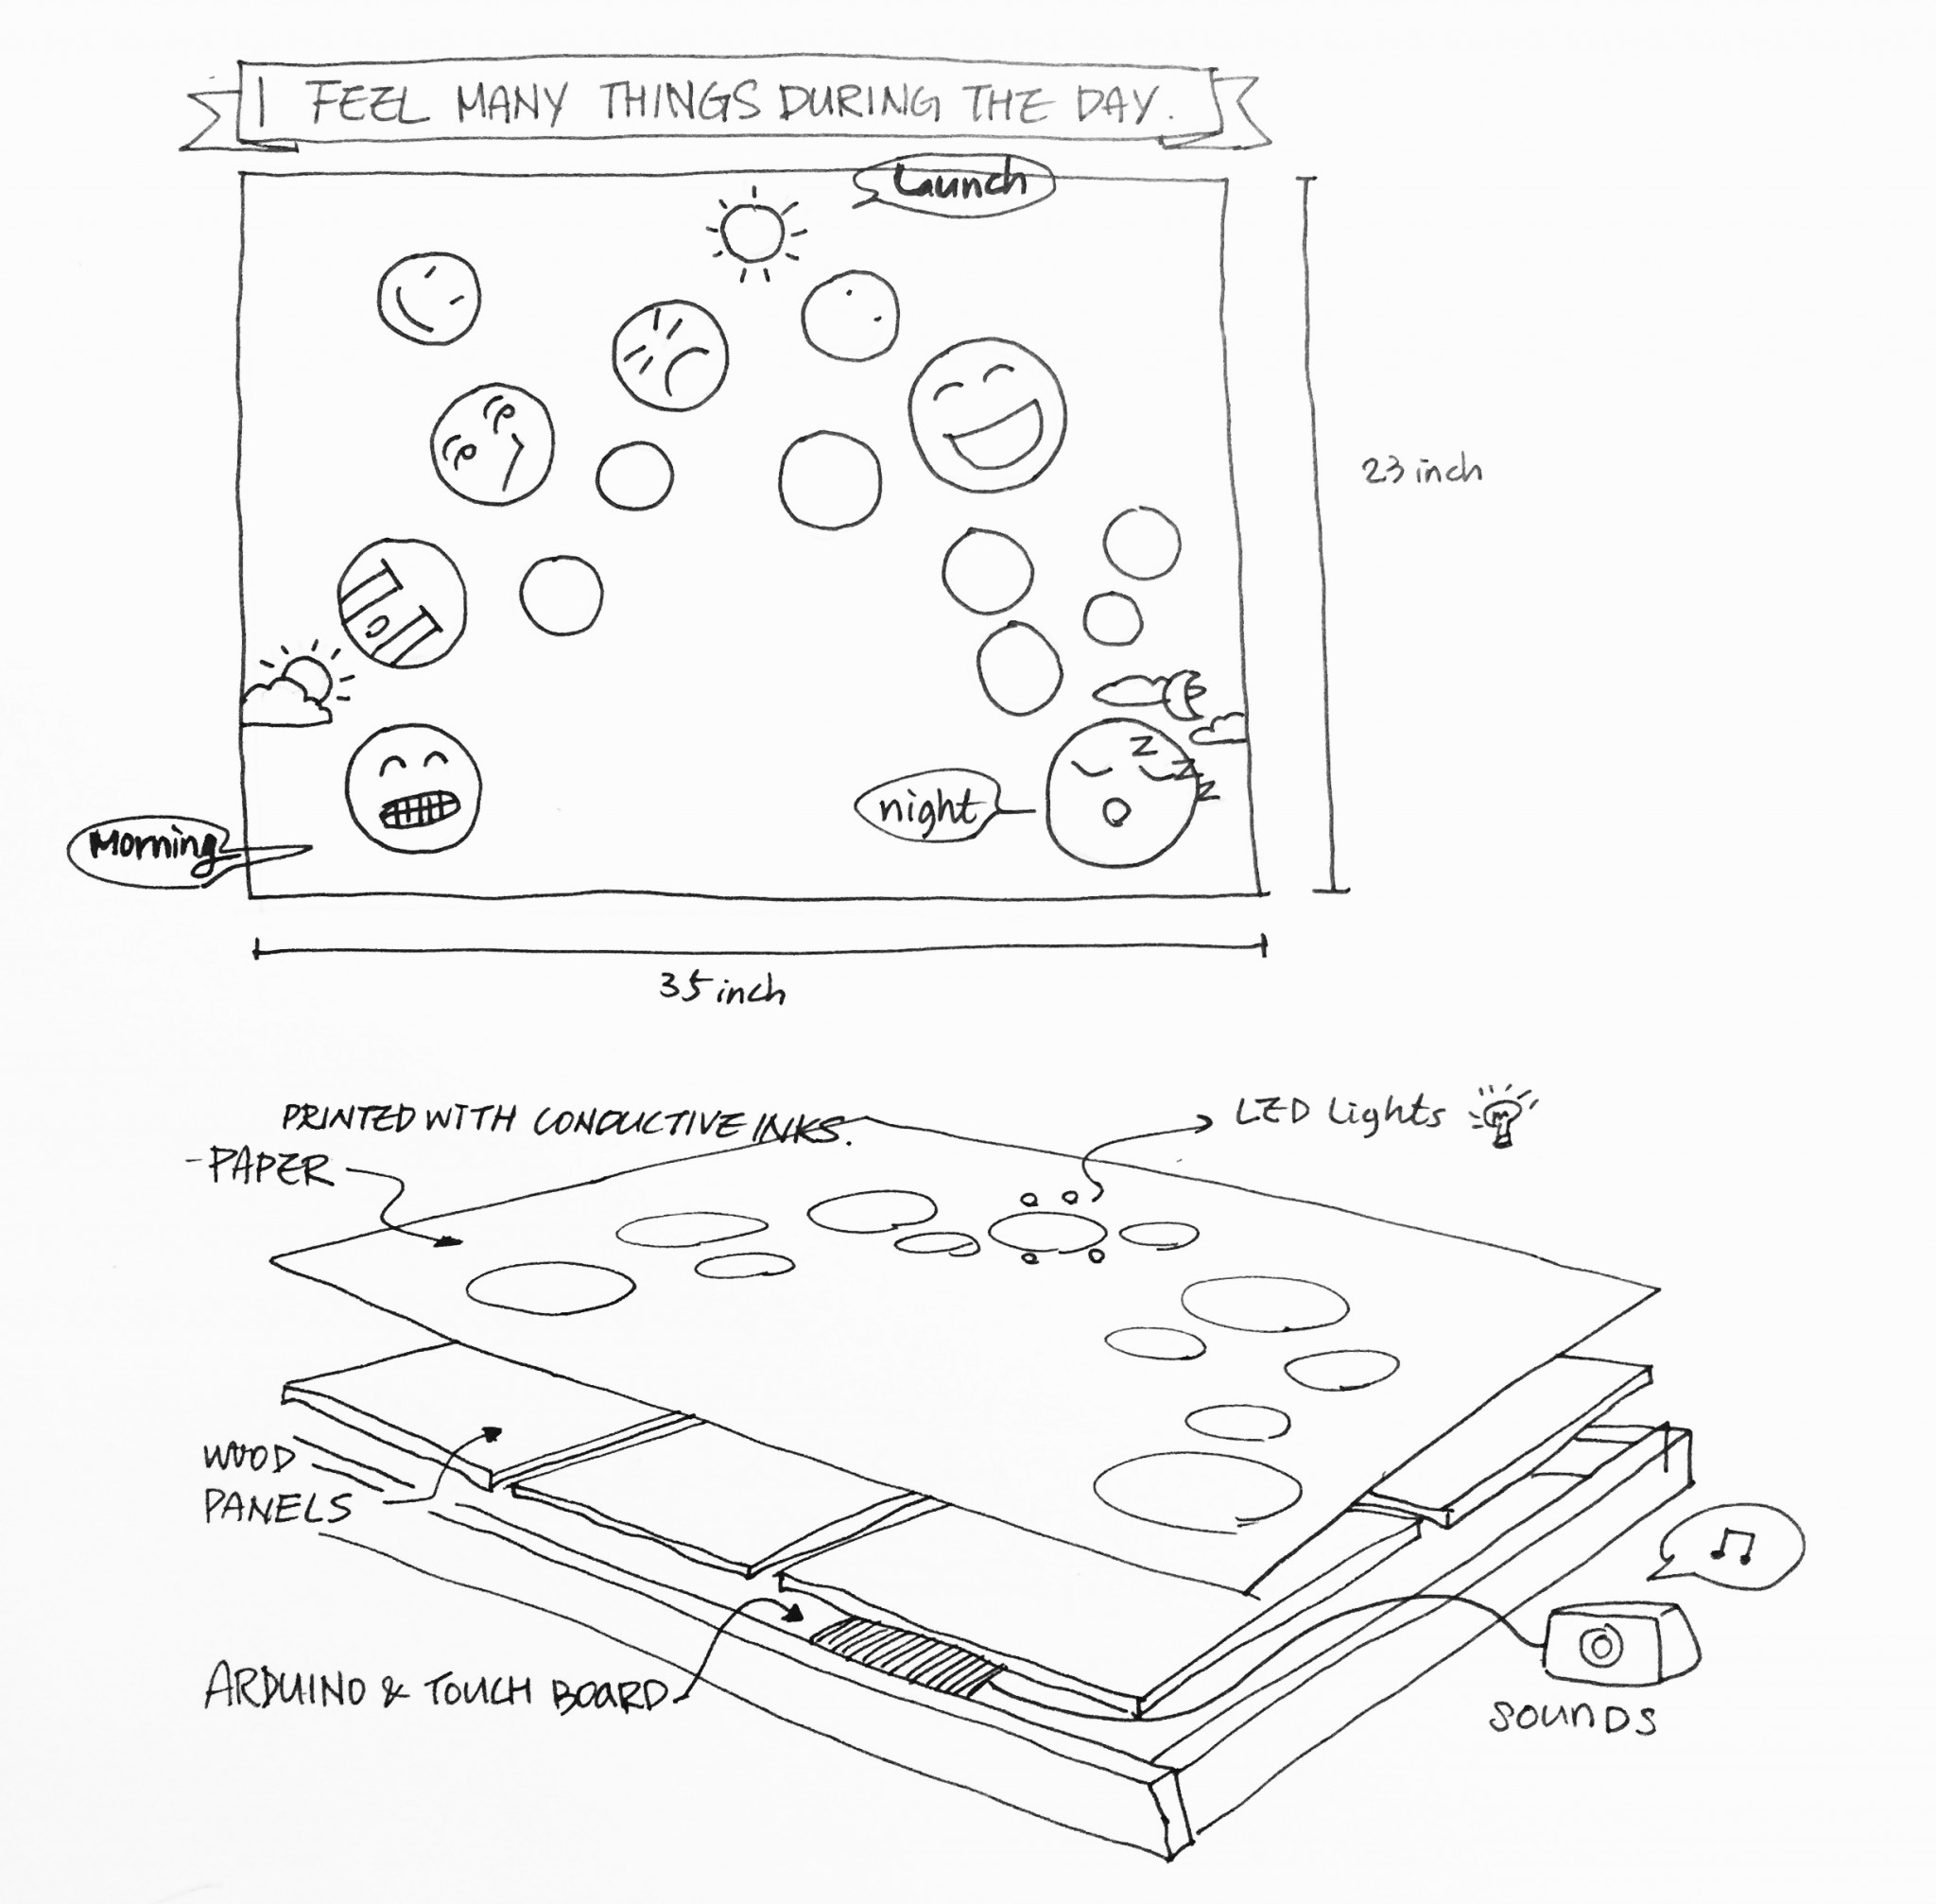
- Felt-work that visualizes emotional faces on the top of my project. Children will see a variety of feeling faces and experience rug or blanket textures when playing.
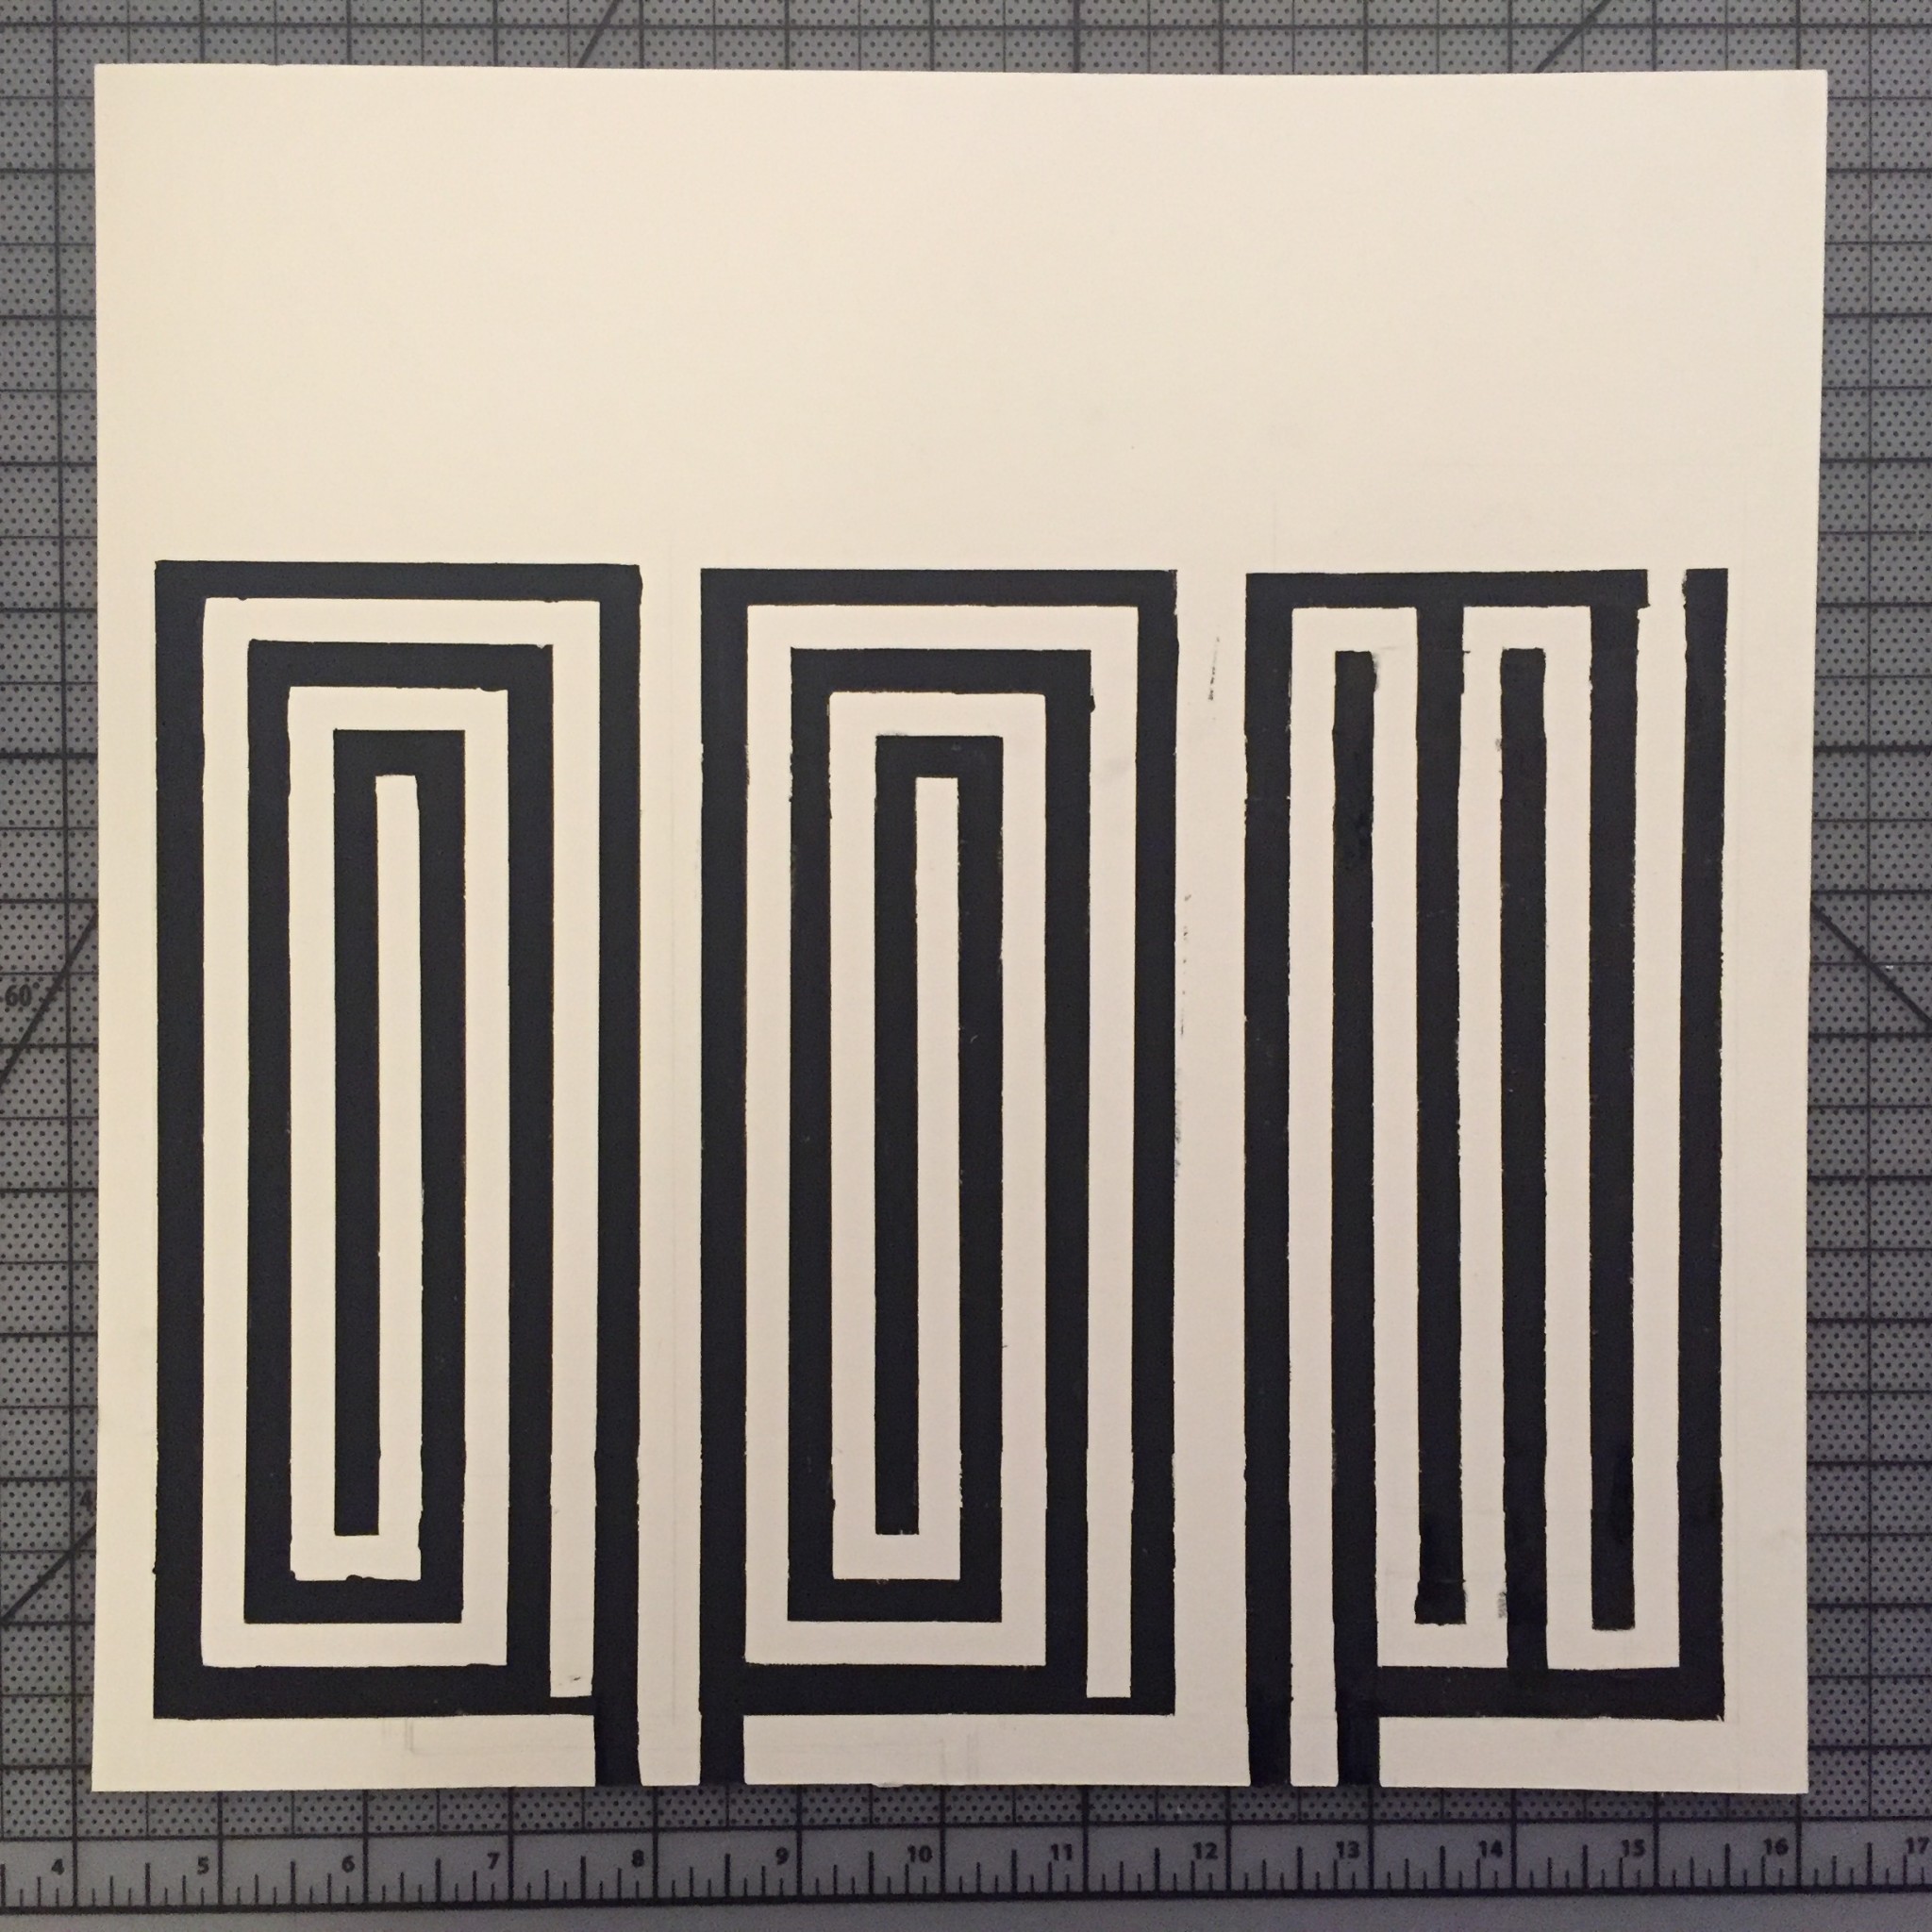
- Conductive ink is applied to a sheet of fabric to place at the bottom of my prototype as a soft circuit. The painted circuit is sawn with poppers and wires in order to send and receive the pressure from a child as a input and send sounds as output . Thus, kids hear, for example, “I will silly when I tickle my dad. When do you feel silly?” from my project. Doing so kids associate with emotional vocabulary to articulate and understand their and others’ emotions. Auditory and comfy tactile experiences
Precedents
Feeling flavor is also sound poster screen printed with conductive ink. When the user touches each images, he can listen to different sounds of flavour.
The ‘Sound Poster’ is a screen-printed panel that uses conductive ink to trigger sounds from the printed characters. Its illustration and interaction is interesting enough to capture kids’ attentions.
Material Experiences
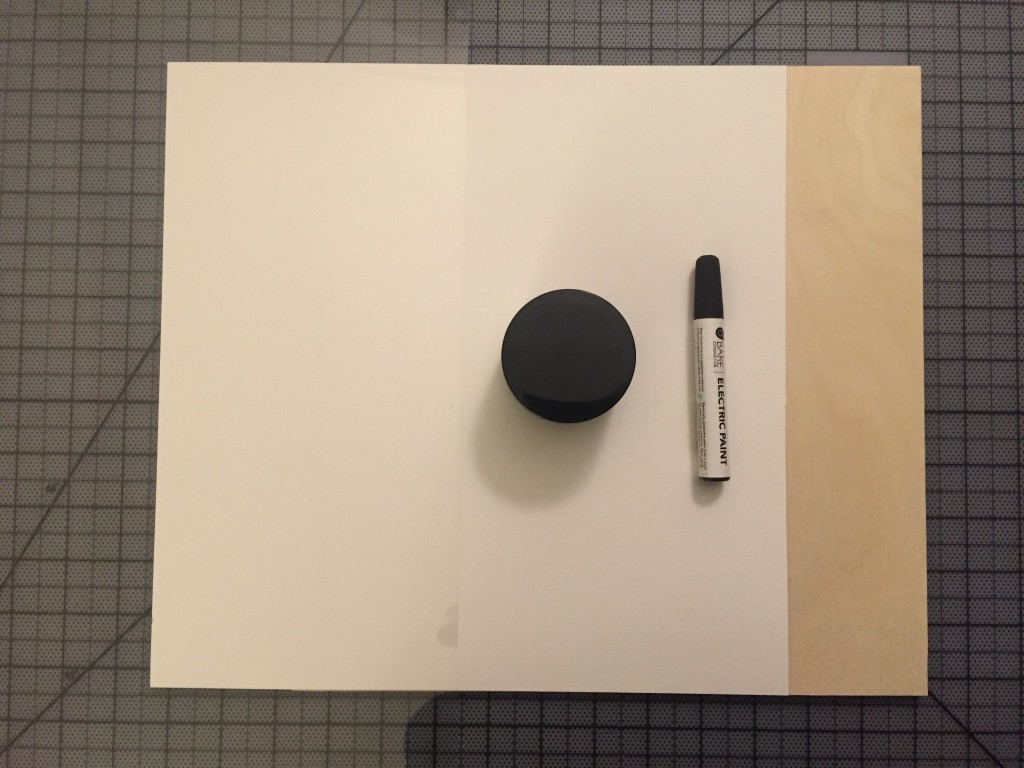
- Conductive ink (Bare conductive ink)
- 1 sheet of illustration paper
- 1 transparency film
- Bare board
- Arduino and breadboard
- A couple of alligator clips
- 1 speaker
I used stenciling with a brush because conductive ink is so thick it took a while to paint patterns. Using just brushes isn’t fast enough to fill spaces you want to paint. I got a transparency film from Blicks and cut a pattern into the transparency film. I used a grid paper to cut the transparency film precise .
One of output ideas on my project was to make a button and a circuit painted by conductive ink to turn LEDs on and off. I found a video that KurisutaruYuuki made lightduino with conductive ink and Arduino. As I didn’t find any instruction from the video, copying through what the person did on the video was the only way to build lightarduino. I cold-soldered a resister, wires and LEDs to connect with Aduino as she did. However, I succeeded in just connecting 3 LED lights and didnt make the button work.
After many tries and fails of making lightduino, I moved on to sound output. I found Piezo. 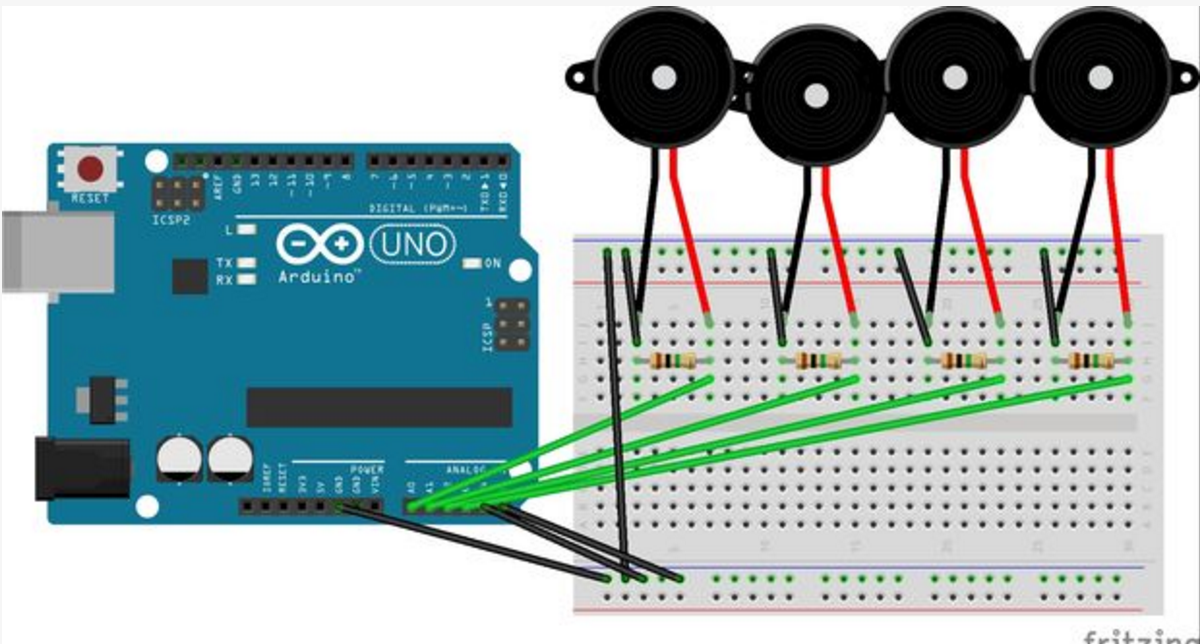
This time I imagined to build wooden floor and attach Arduino and bread board under the wooden floor.
CODES
When you open these files, there are orders.
PROCESSING
/**
* Arduino Sounds
*
* Play WAV or MP3 files when piezo knocks from an Arduino running the
* “PiezoKnock” sketch or when a computer keyboard key is pressed.
*
* Taken from the Minim “trigger” sketch:
*
* This sketch demonstrates how to use the <code>trigger</code> method of an <code>AudioSample</code>. <br />
* <code>AudioSample</code>s can only be triggered, not cue’d and looped
* or anything else you might do with an <code>Playable</code> object. The advantage, however, is that
* an <code>AudioSample</code> can be retriggered while it is still playing, which will cause the sample to
* overlap with itself .
*/
import ddf.minim.*;
import processing.serial.*;
import ddf.minim.signals.*;
import ddf.minim.*;
import ddf.minim.analysis.*;
import ddf.minim.ugens.*;
import ddf.minim.effects.*;
AudioPlayer player;
Minim minim;
String portname = “/dev/cu.usbmodem1411″; // or “COM8″
Serial port; // Create object from Serial class
AudioSample sounds[];
String sound_names[] =
{
“BD0000.mp3″,
“BD0010.mp3″,
“CP.mp3″,
“CY0010.mp3″,
“OH00.mp3″,
“SD0010.mp3″,
“a.mp3″,
“Track54.mp3″,
“Track64.mp3″,
// find more wav or mp3 files and put them in the “data” directory
};
void setup()
{
size(400, 400);
background(0);
stroke(255);
// always start Minim before you do anything with it
minim = new Minim(this);
minim.debugOn();
sounds = new AudioSample[sound_names.length];
for( int i=0; i< sound_names.length; i++ )
{
sounds[i] = minim.loadSample(sound_names[i], 512);
}
// Open the port that the board is connected to and use the same speed (19200 bps)
port = new Serial(this, portname, 9600);
}
void draw()
{
// do the drawing on events
fill(240,0,0);
ellipse(0,0, 40,40);
}
void soundball()
{
int r = int(random(sounds.length));
println(“picked sound #”+r);
sounds[r].trigger(); // play a random sound
int x = int(random(0,300));
int y = int(random(0,300));
fill(240,0,0);
ellipse(x,y, 40,40);
fill(30,0,0);
ellipse(x,y, 8,8);
}
void serialEvent(Serial port)
{
char inByte = port.readChar();
println(“received char: “+ inByte);
if( inByte == ‘!’ ) // ‘!’ is end of “knock!”
{
soundball();
}
}
void keyPressed()
{
if(key == ‘t’)
{
background(40,40,40); // erase screen
}
soundball();
}
void stop()
{
// always close Minim audio classes when you are done with them
for( int i=0; i<sounds.length; i++ )
{
sounds[i].close();
}
super.stop();
}
———————————————————————————————————————————–
ARDUINO
// these constants won’t change:
const int ledPin = 13; // led connected to digital pin 13
const int knockSensor0 = A0 ; // the piezo is connected to analog pin 0
const int knockSensor1 = A1 ;
const int knockSensor2 = A2 ;
const int knockSensor3 = A3 ;
const int knockSensor4 = A4 ;
const int knockSensor5 = A5 ;
const int threshold = 100; // threshold value to decide when the detected sound is a knock or not
// these variables will change:
int sensorReading = 0; // variable to store the value read from the sensor pin
int ledState = LOW; // variable used to store the last LED status, to toggle the light
void setup()
{
pinMode(ledPin, OUTPUT); // declare the ledPin as as OUTPUT
Serial.begin(9600); // use the serial port
}
void loop()
{
Ampoule(A0);
Ampoule(A1);
Ampoule(A2);
Ampoule(A3);
Ampoule(A4);
Ampoule(A5);
}
void Ampoule (int input)
{
// read the sensor and store it in the variable sensorReading:
sensorReading = analogRead(input);
// if the sensor reading is greater than the threshold:
if (sensorReading > threshold)
{
// toggle the status of the ledPin:
ledState = !ledState;
// update the LED pin itself:
digitalWrite(ledPin, ledState);
// send the string “Knock!” back to the computer, followed by newline
Serial.println(“PiezoKnock!”);
Serial.write(10);
}
else
{
ledState = LOW;
digitalWrite(ledPin, ledState);
}
delay(10); // delay to avoid overloading the serial port buffer
}