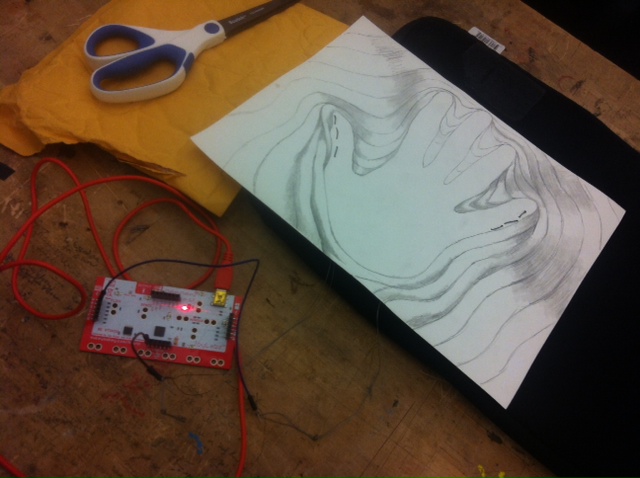
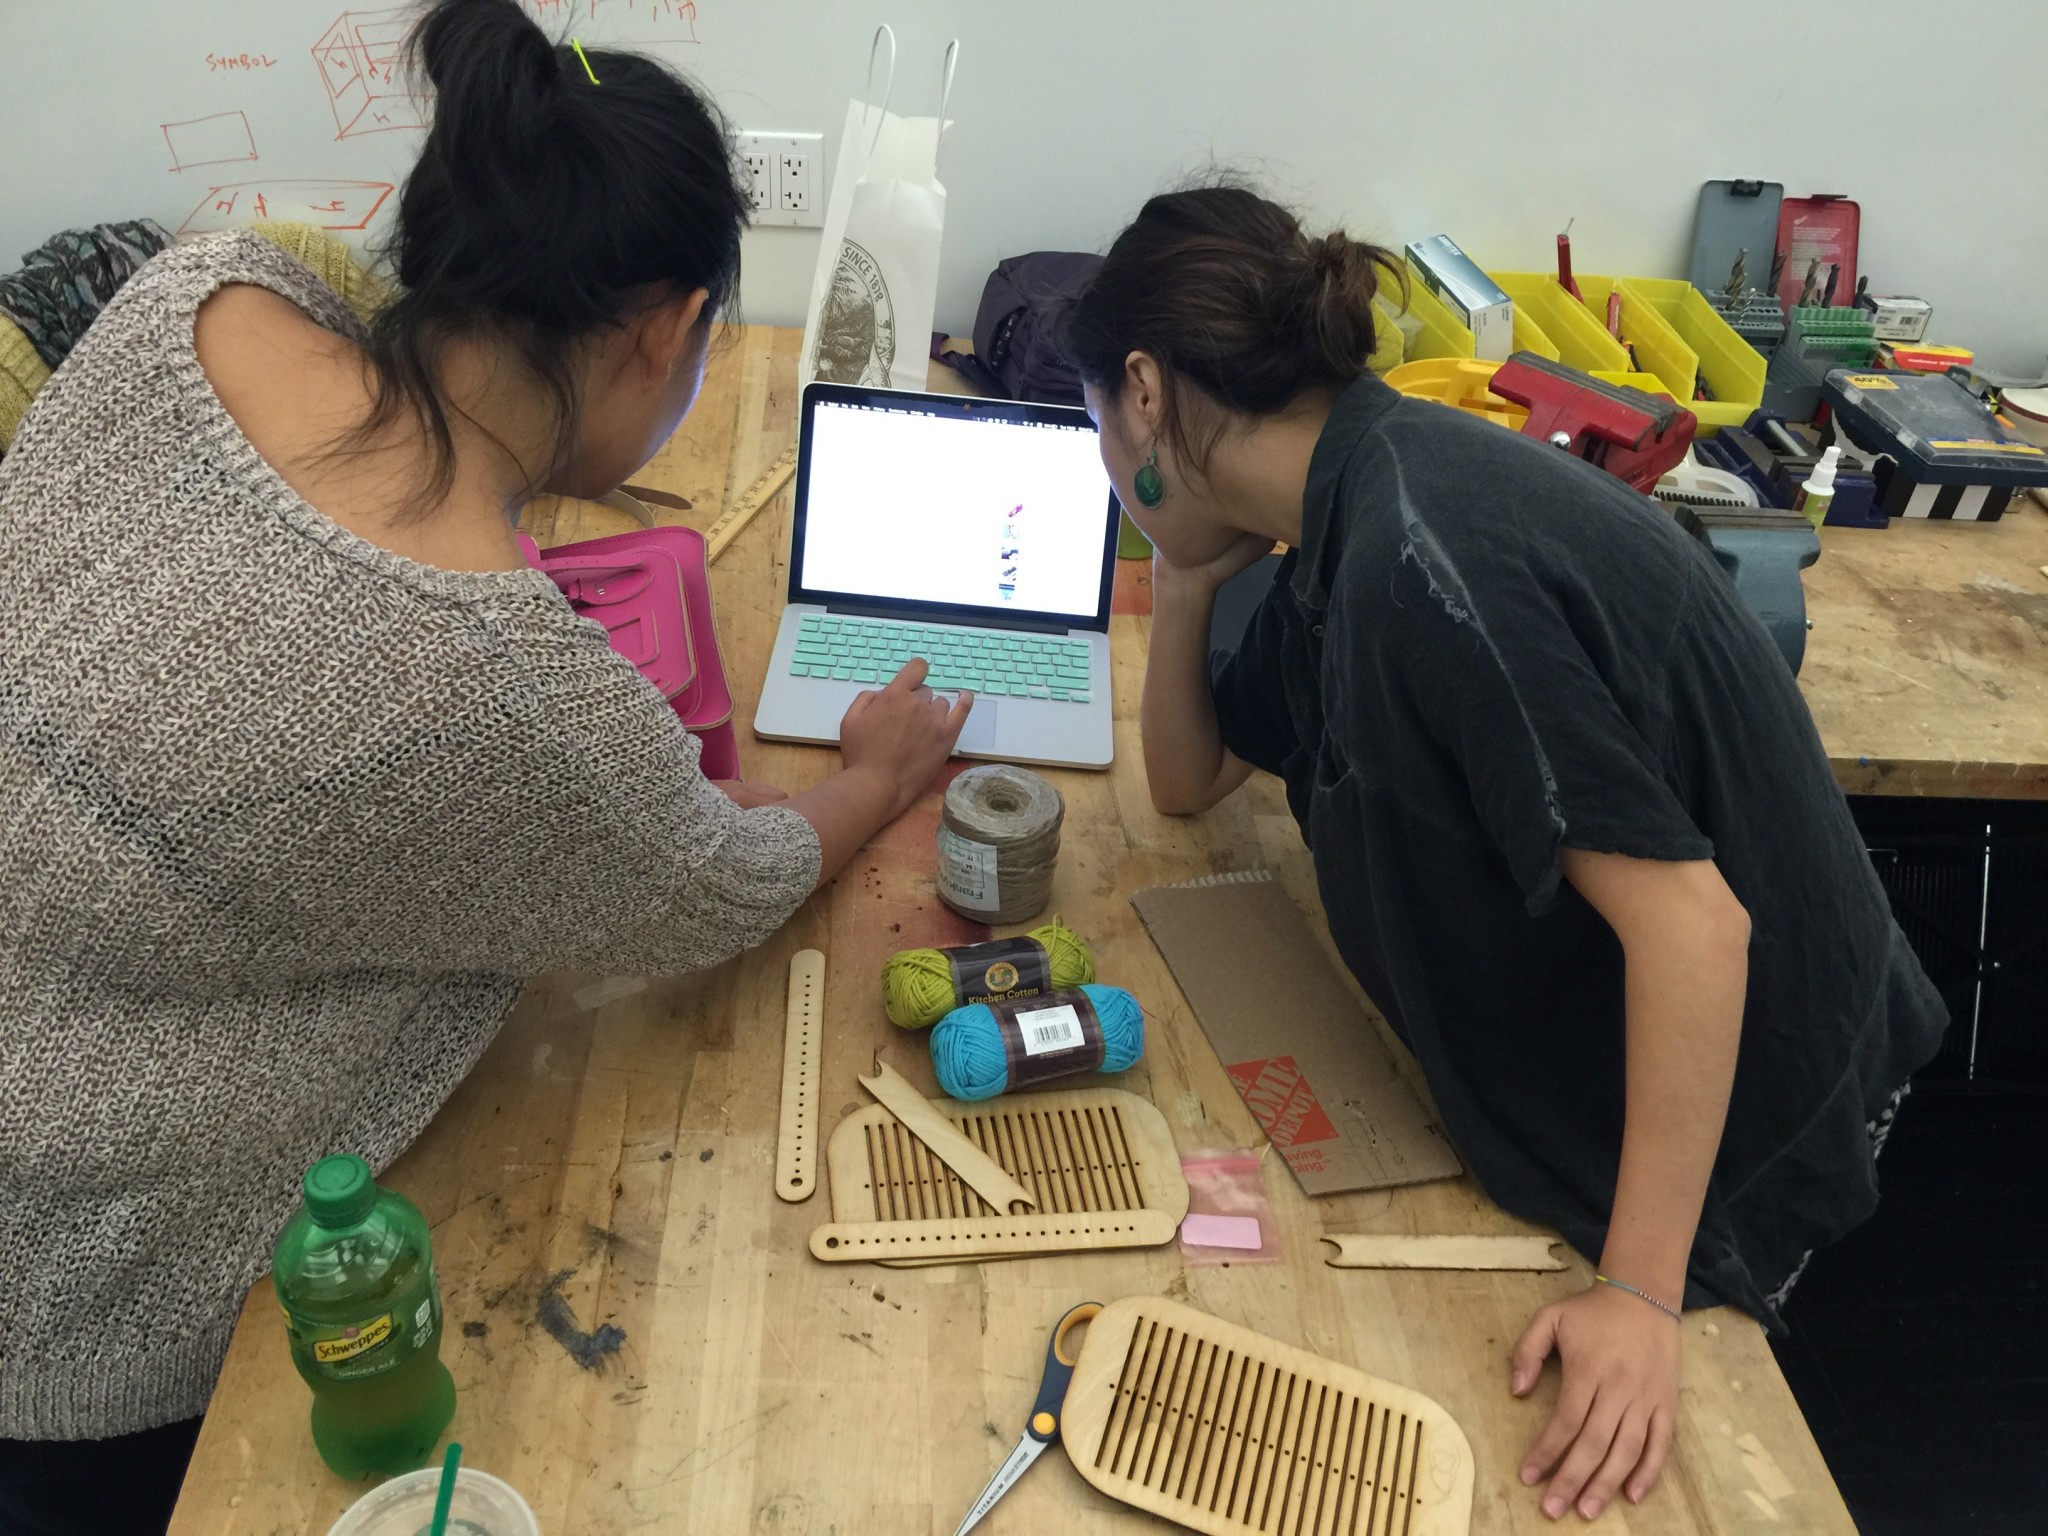
Group Hacking – Binna + Taylor + Xianghan
Using Taylor’s Switch.

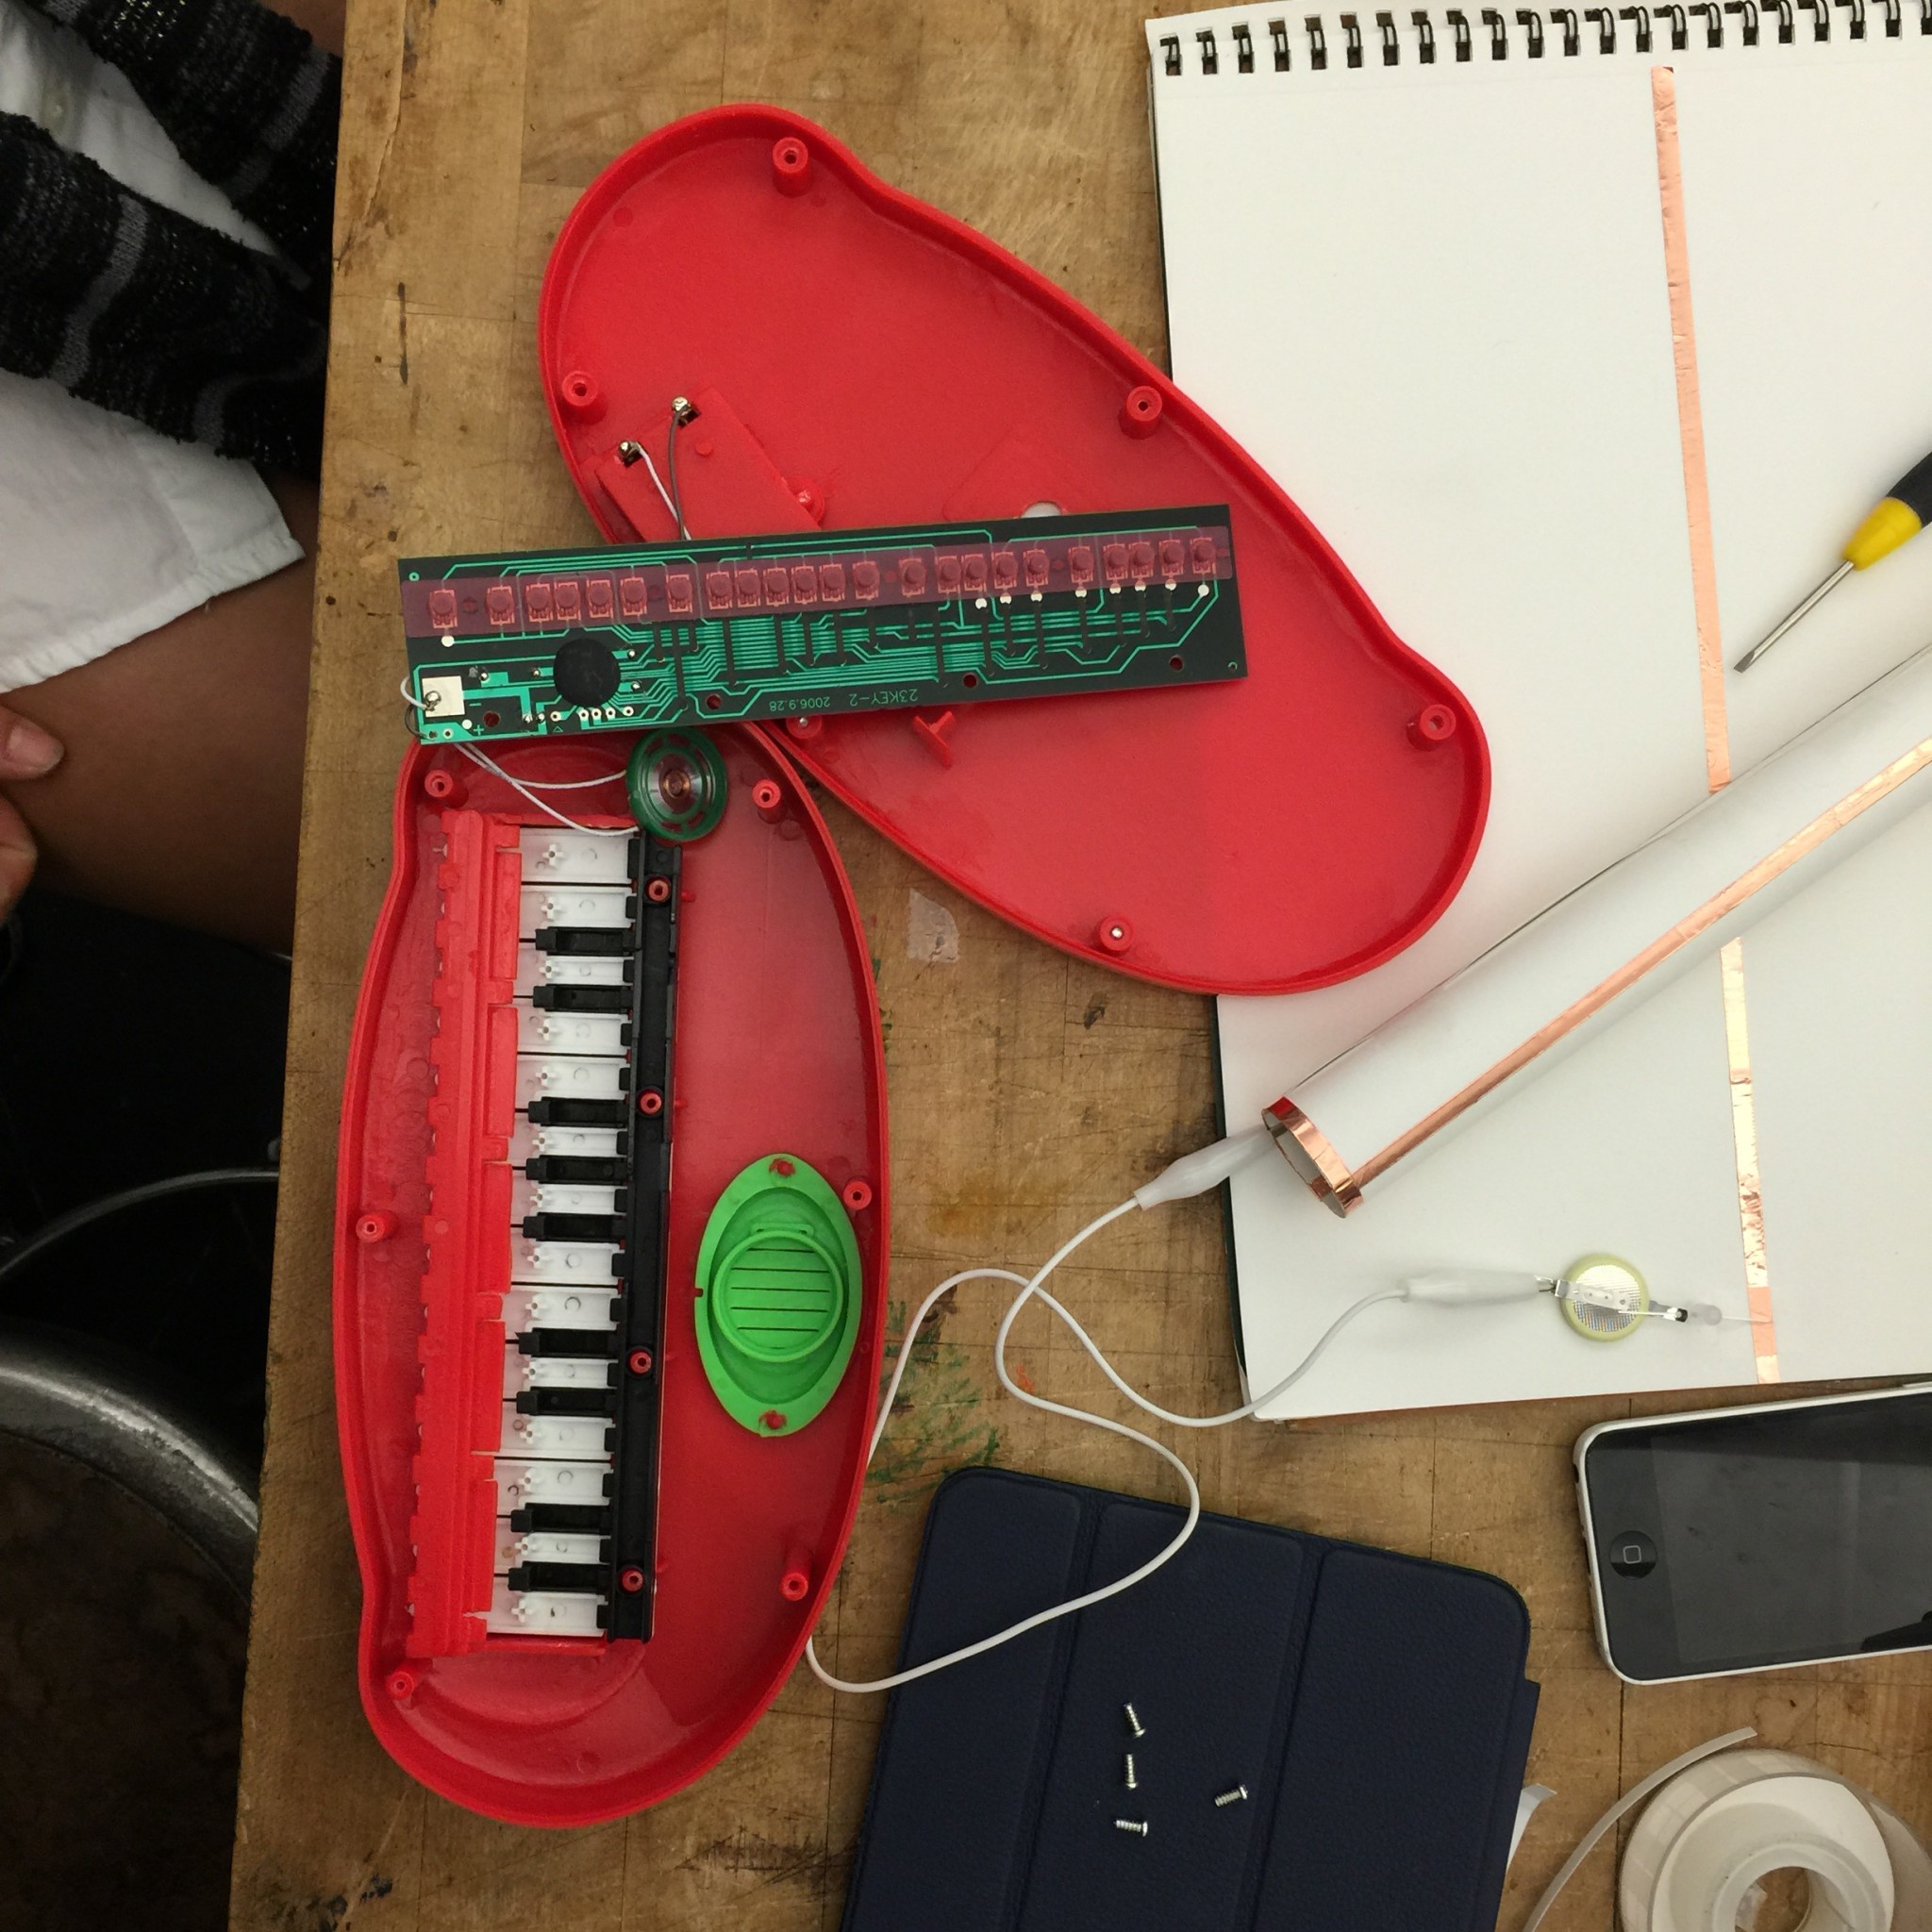
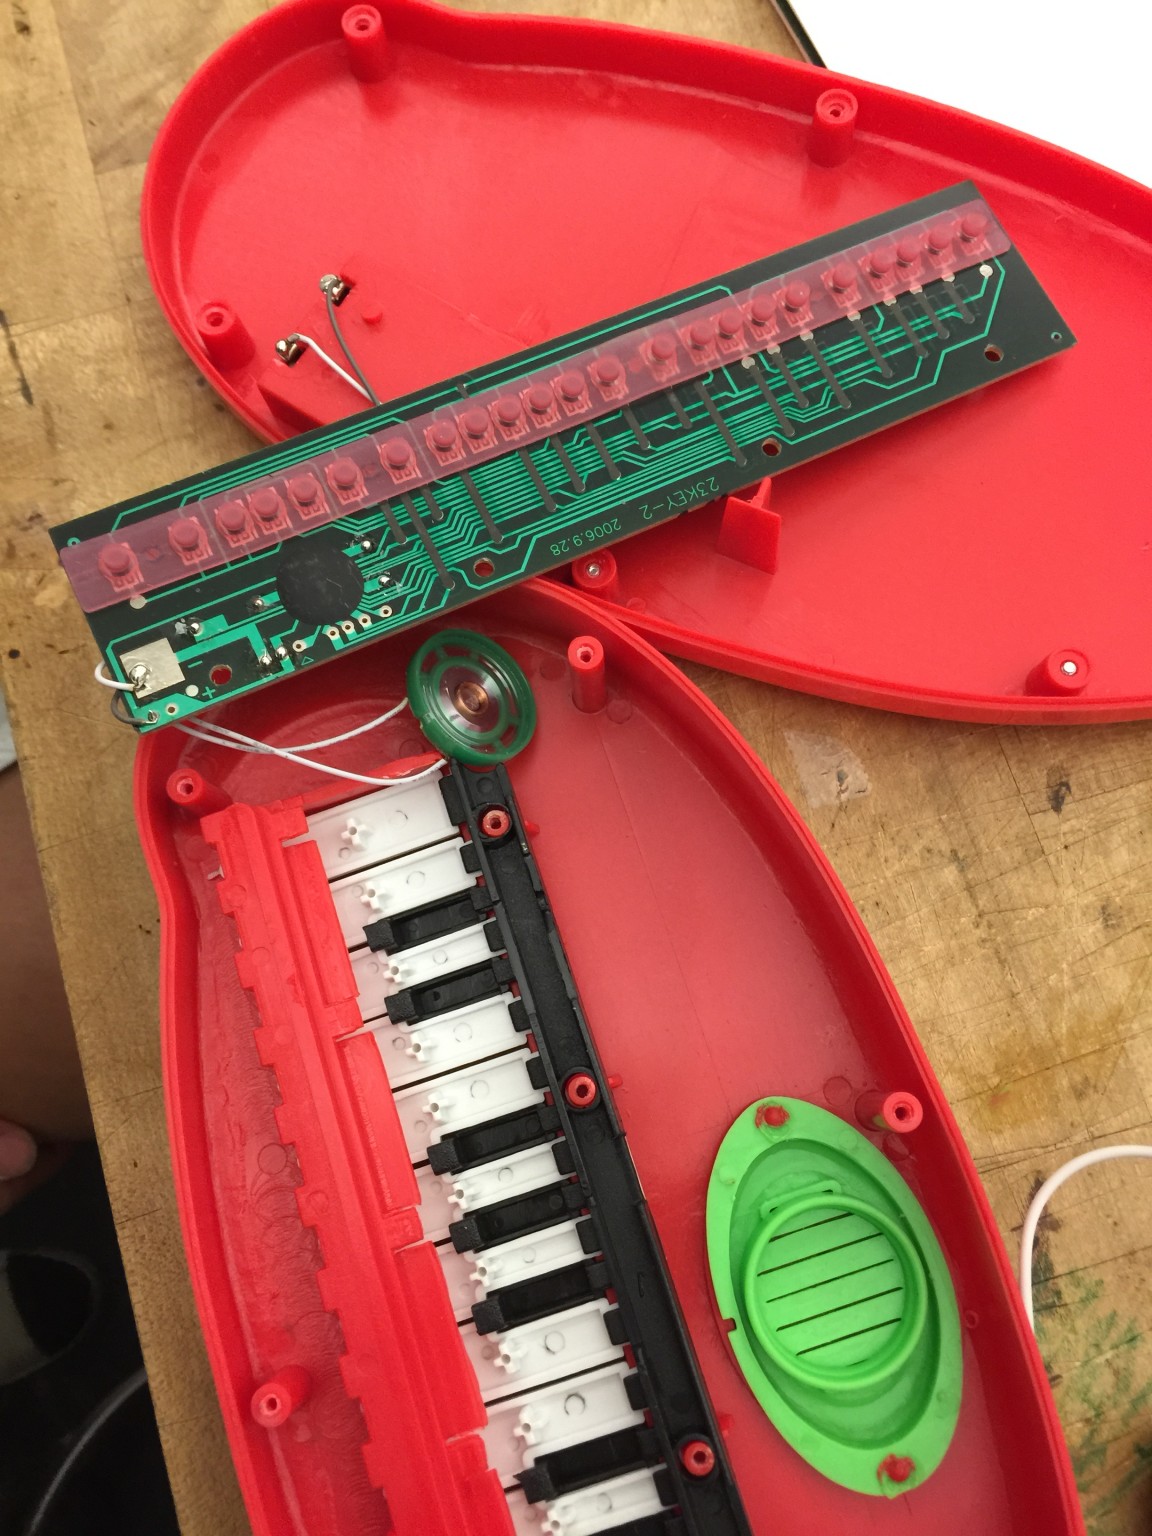
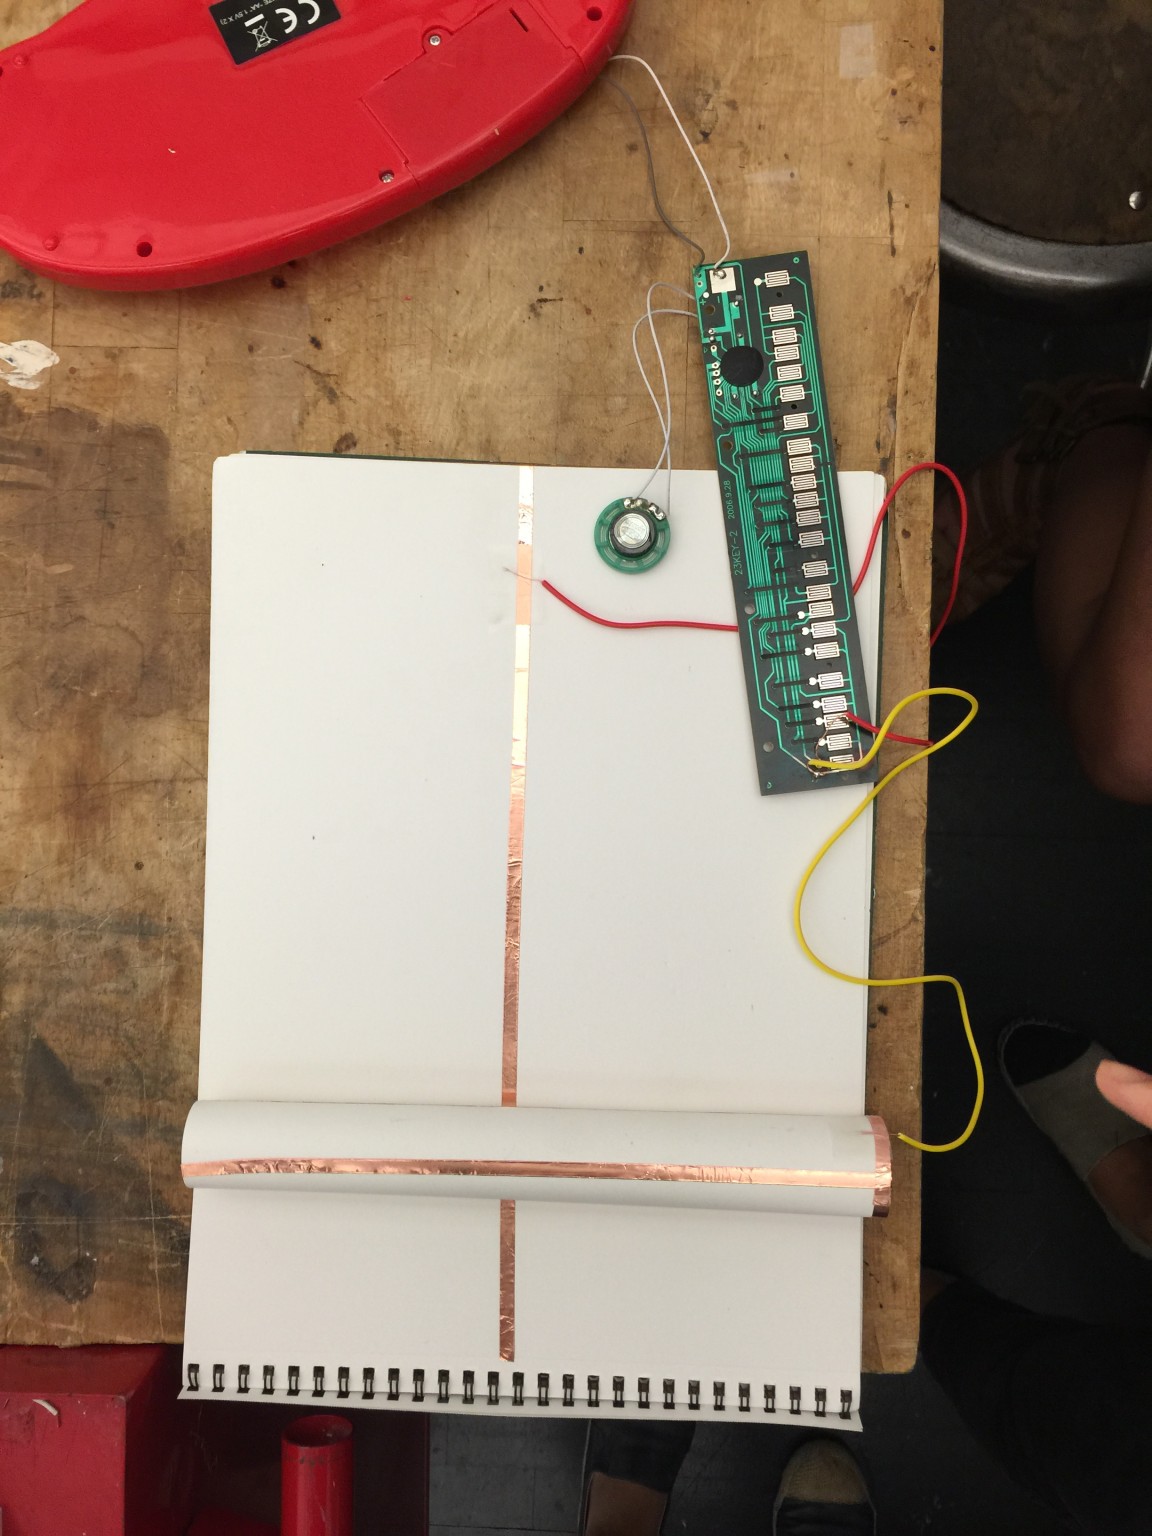


Group Hacking – Binna + Taylor + Xianghan
Using Taylor’s Switch.
For my craft, I decided to learn needle felting. There are many amazing needle felters out there like this one:
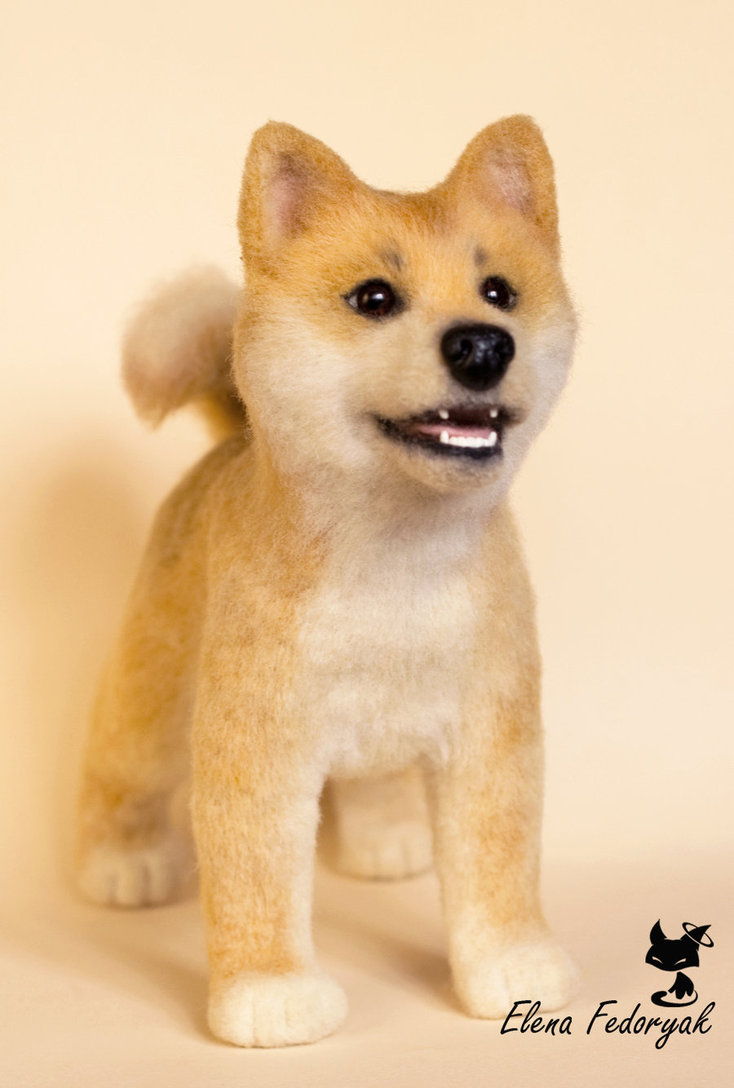
Needle Felted Shiba Inu by http://kittenblackua.deviantart.com/
The supplies you will need to do felting are:
1. Felting needles:
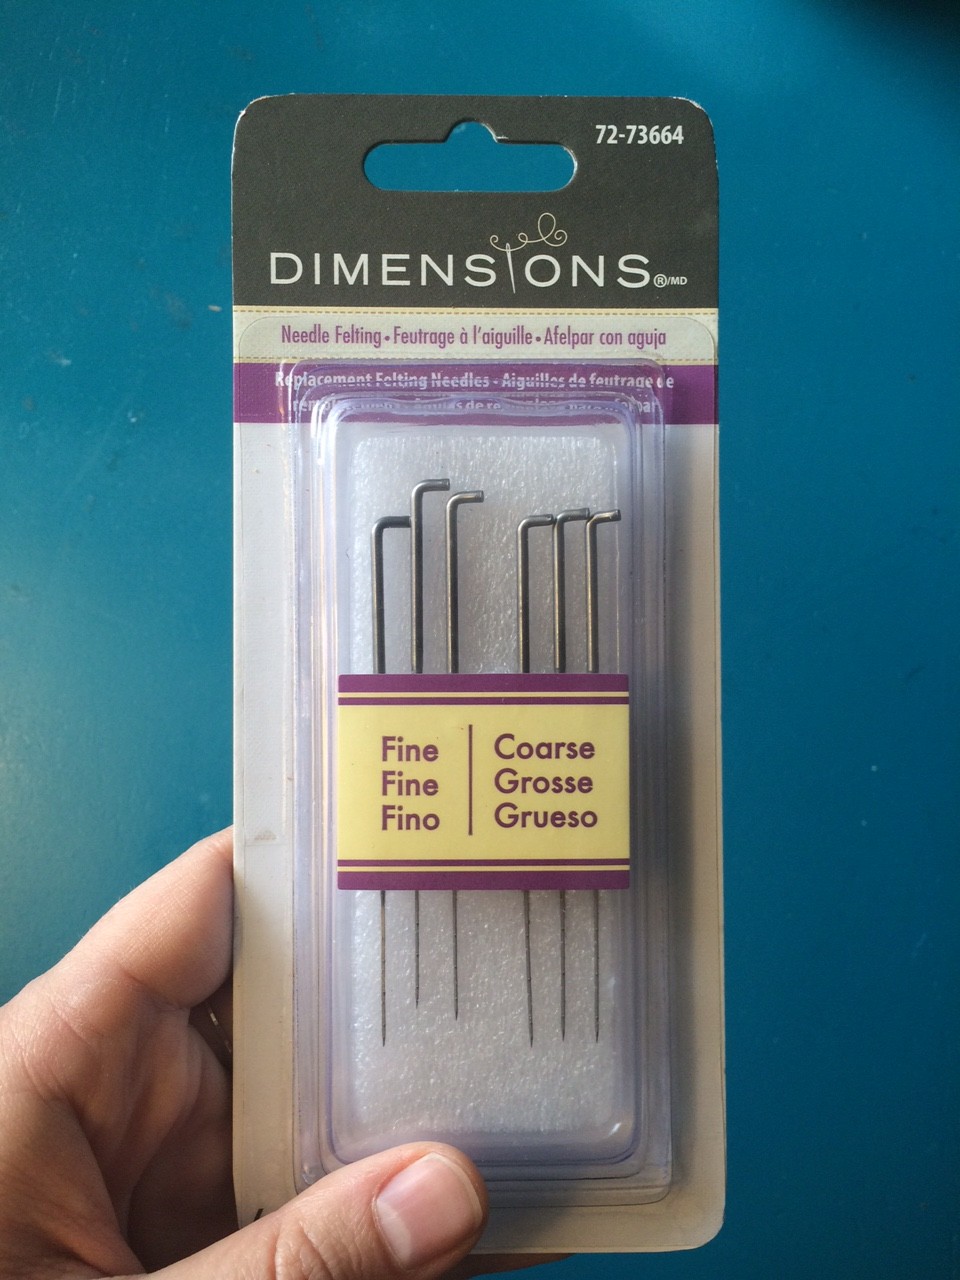
Felting Needles
2. Wool roving:
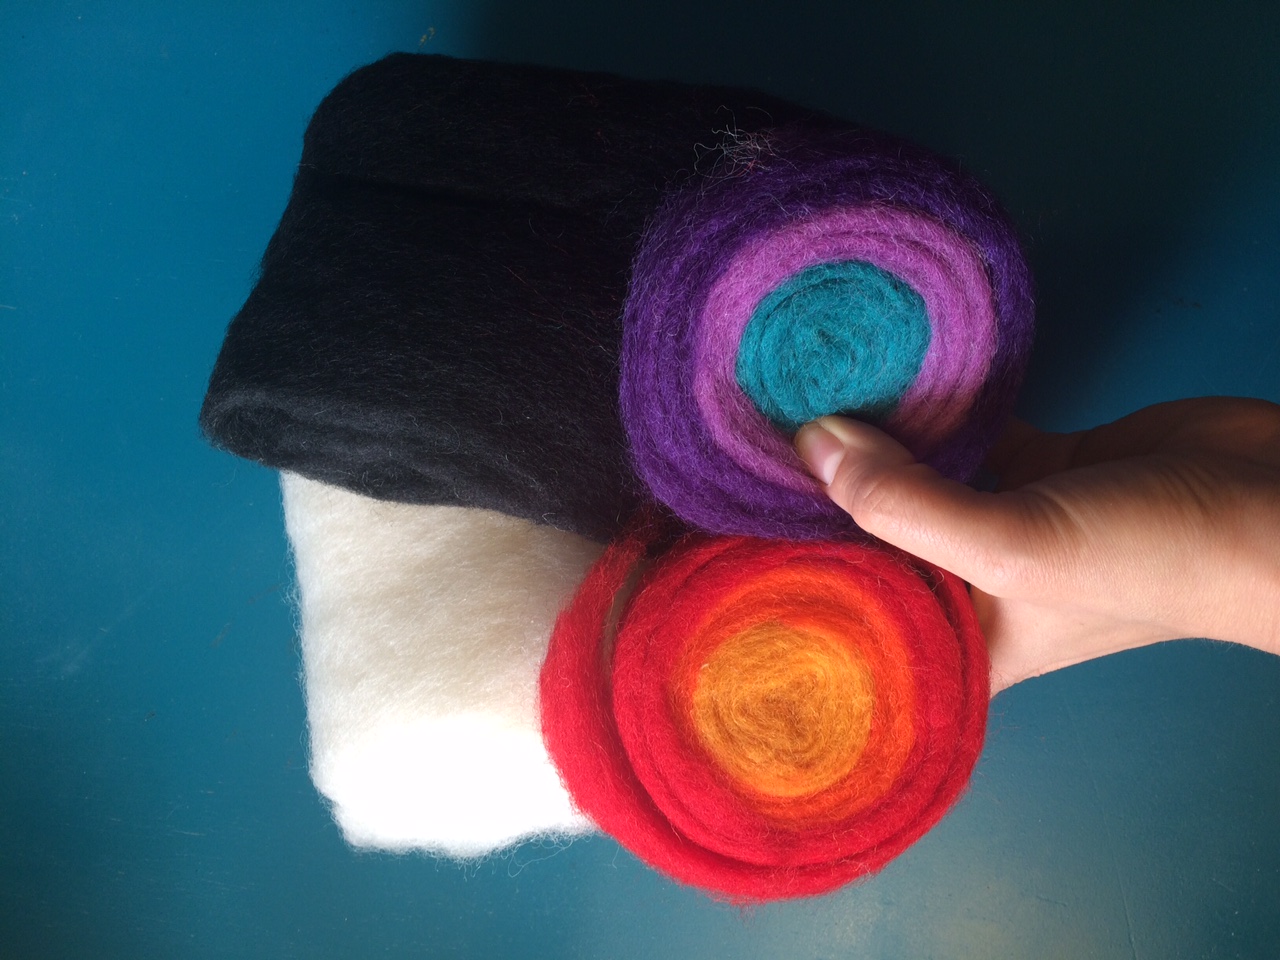
Wool Roving
3. Something to shape your
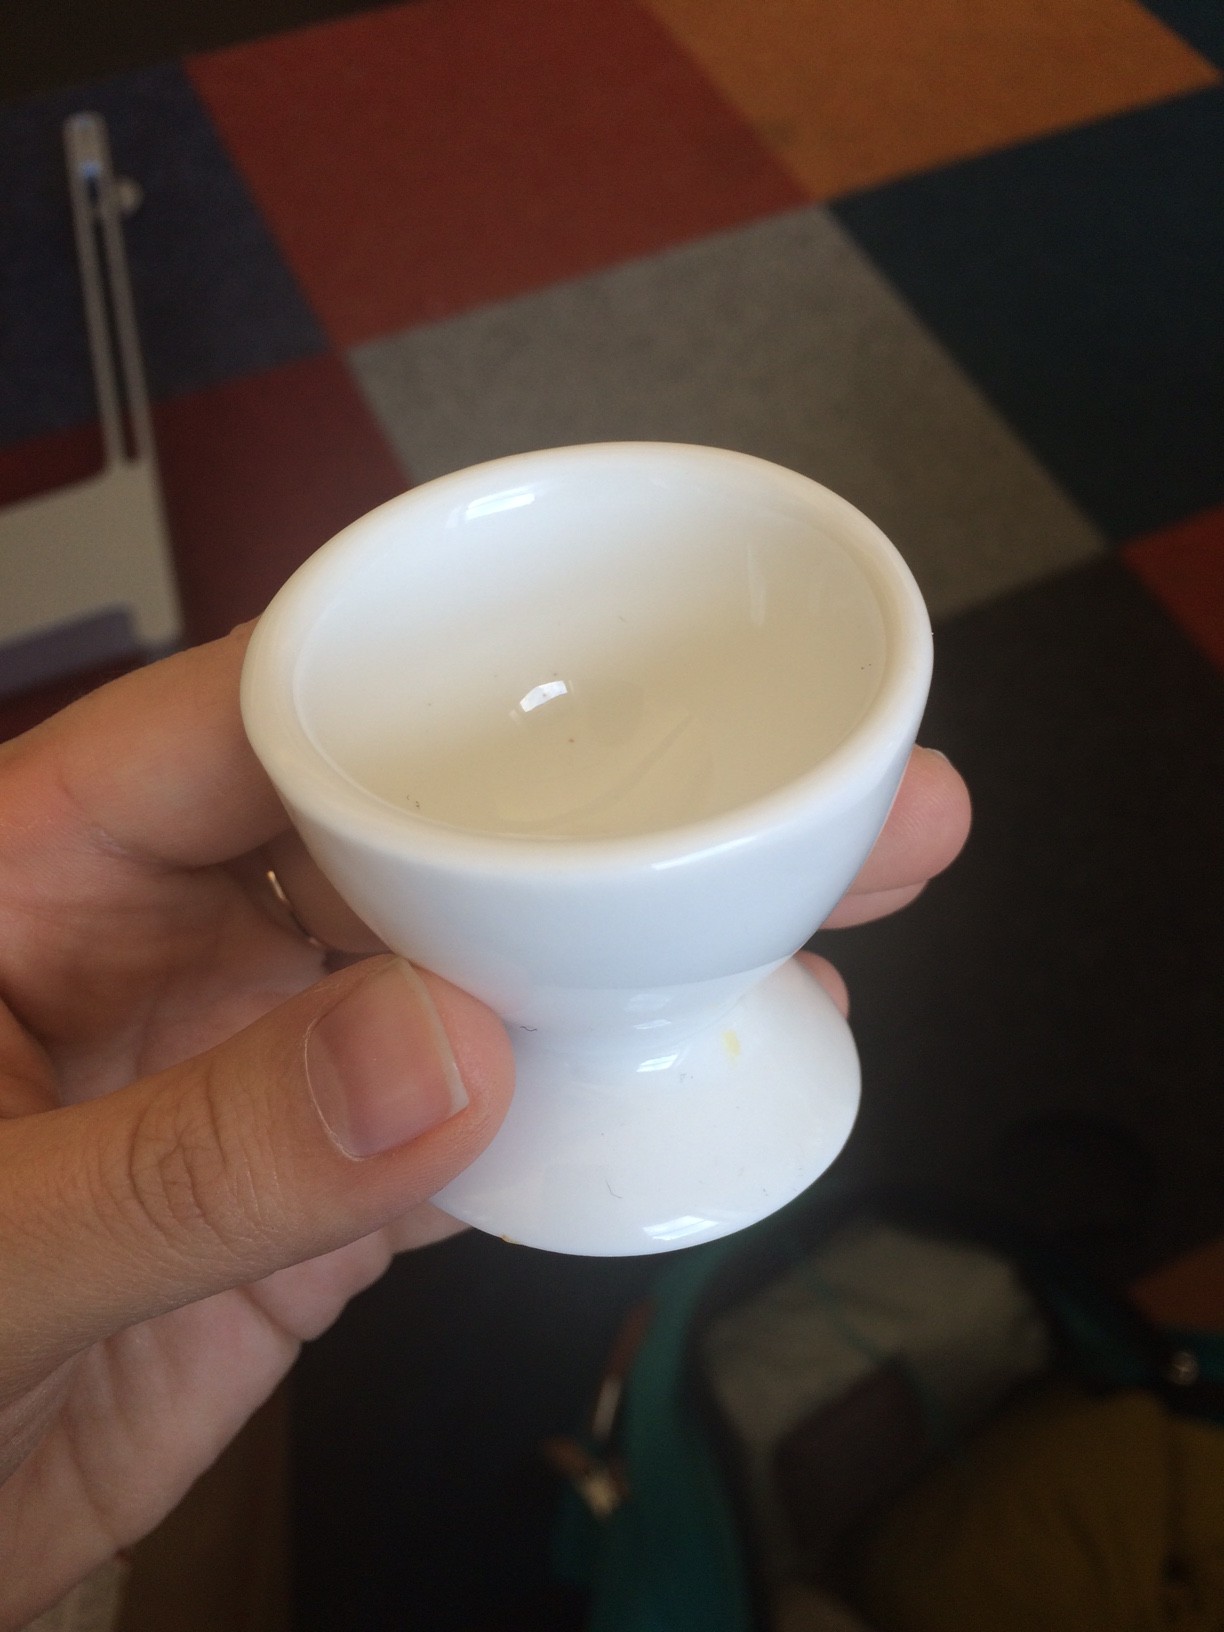
Something to shape your piece, in this case, an egg cup…
For my first foray into needle felting, I created a simple mushroom:
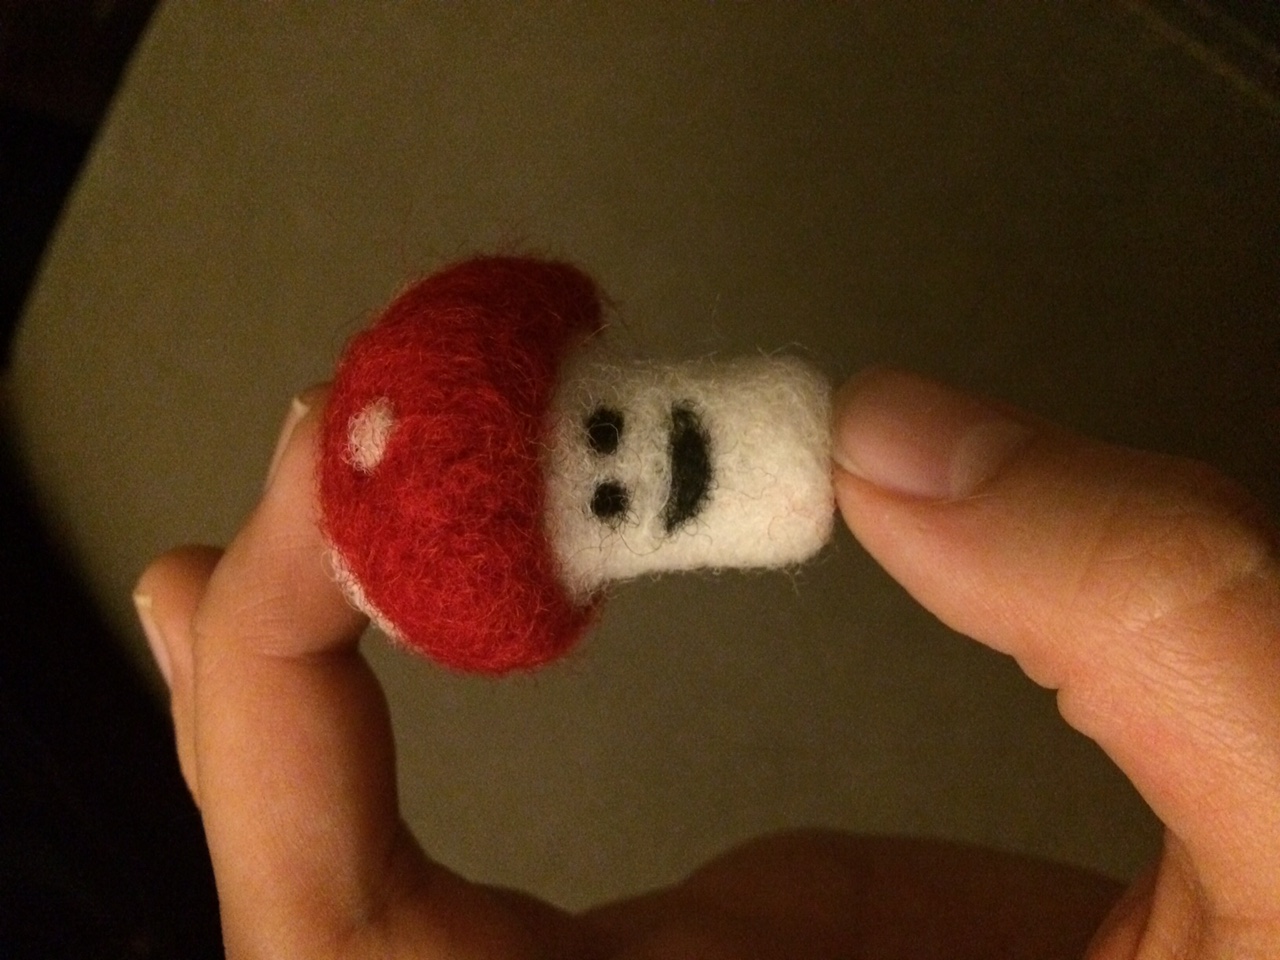
Instructions:
1. Grab your piece of wool roving.
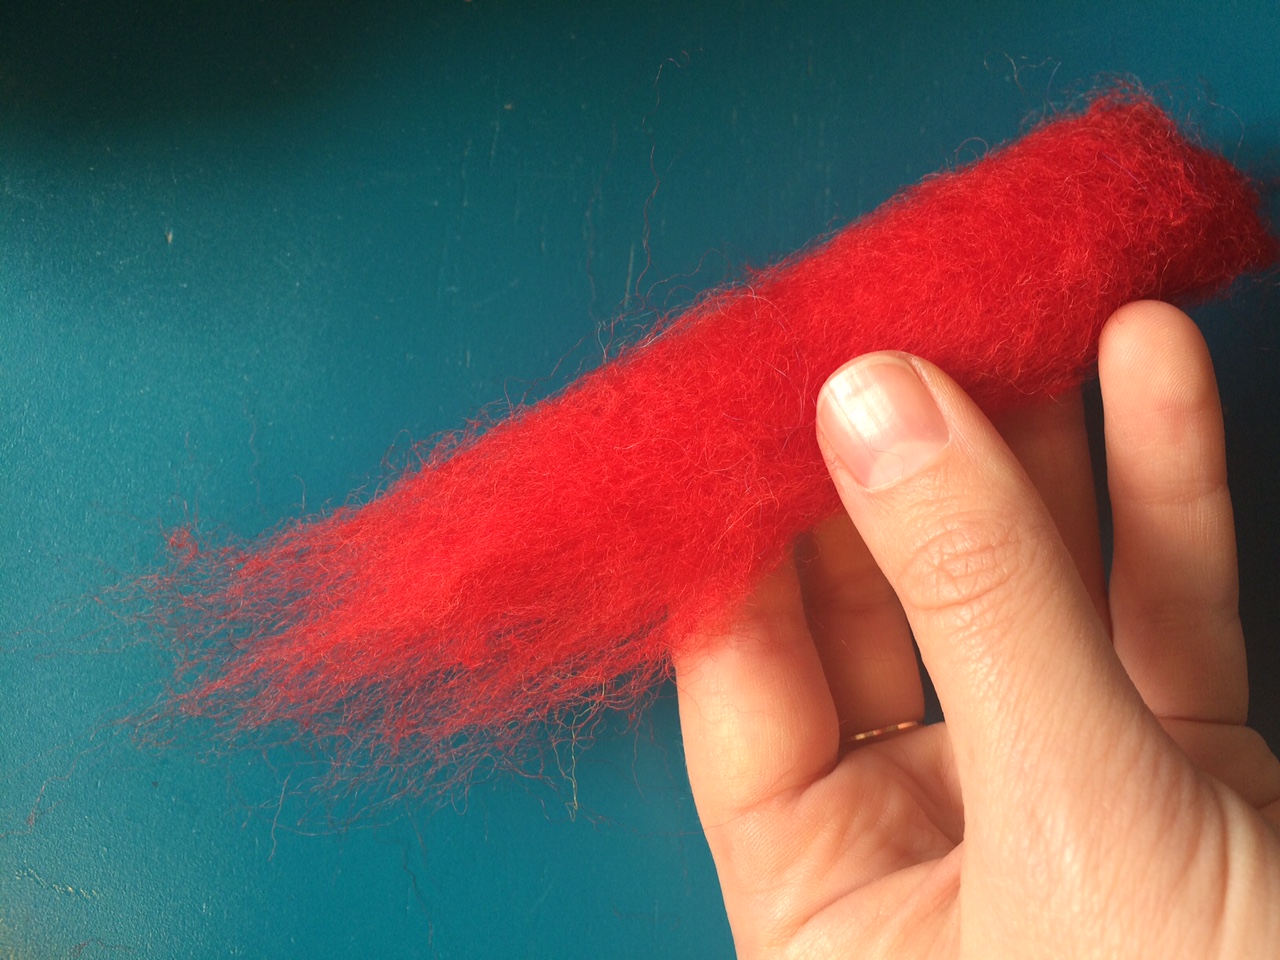
Wool roving
2. Find something that will shape the wool into what you want. In this case, I’m using an egg cup to give me a nice rounded mushroom top.
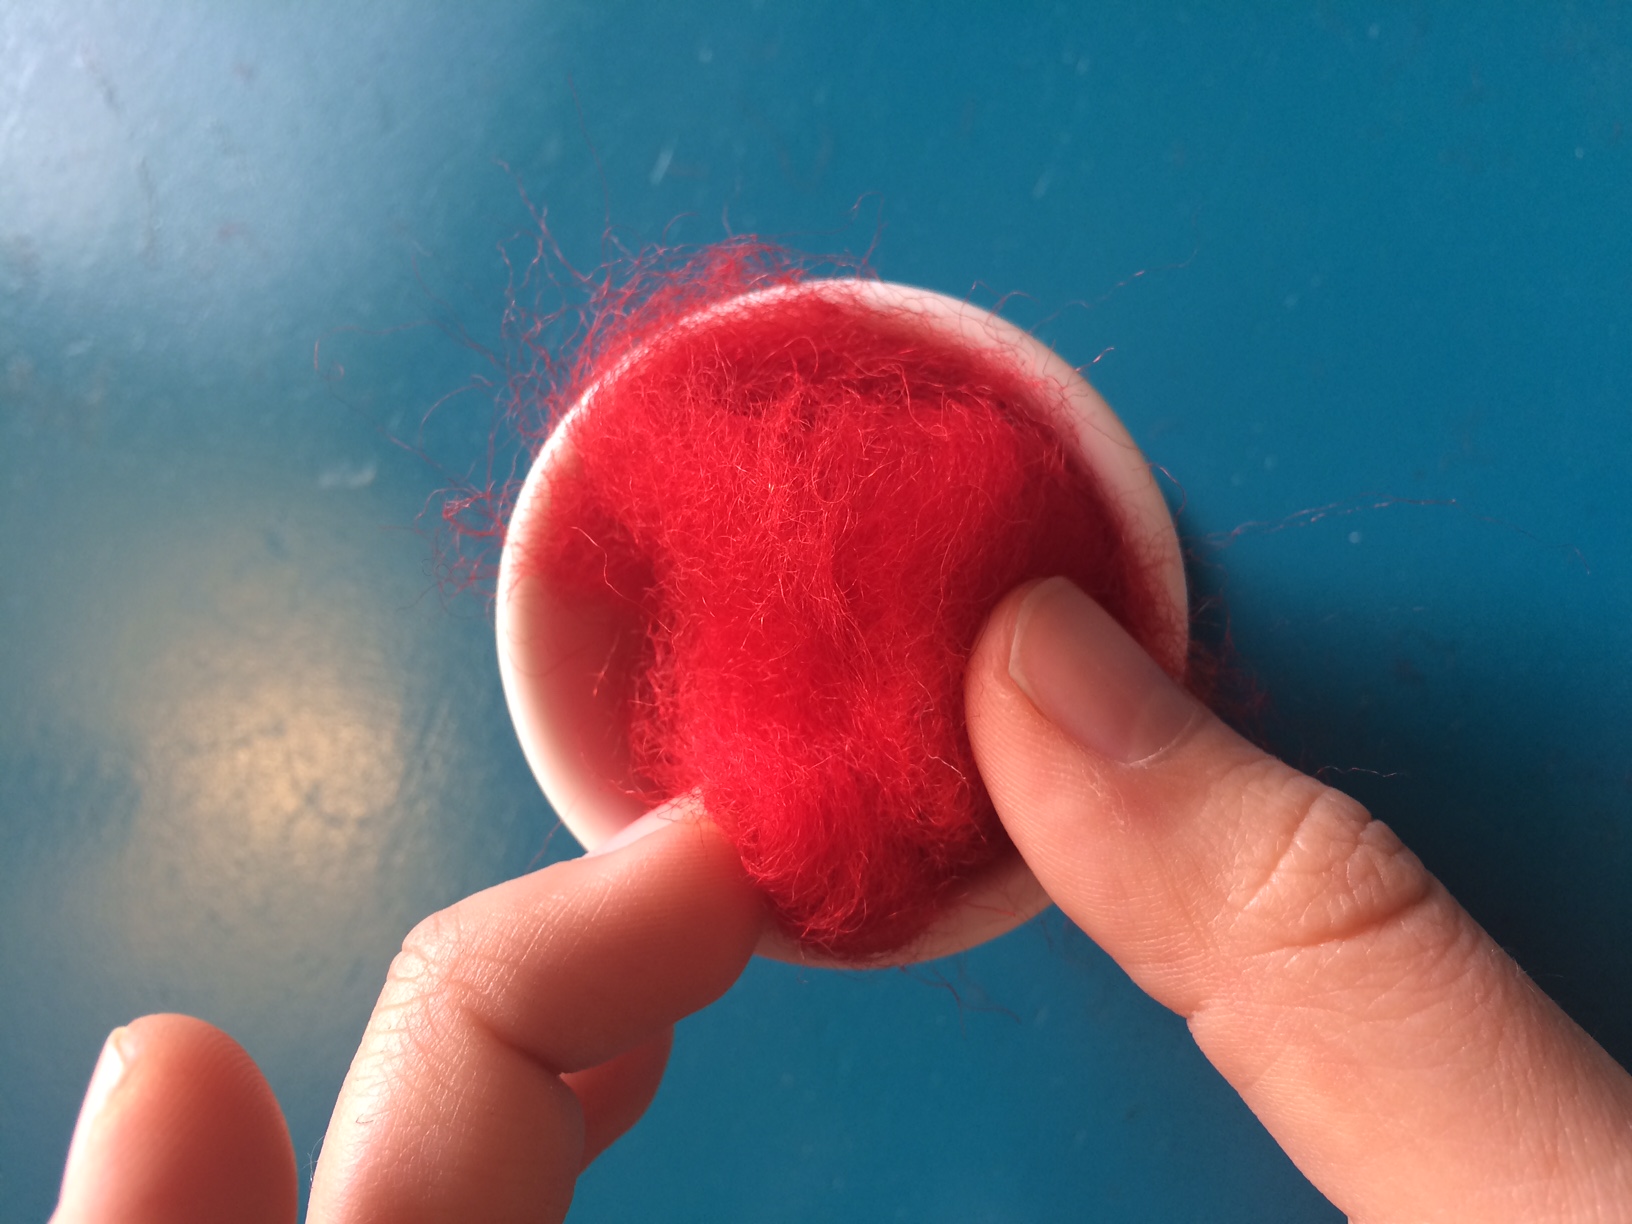
I’m using an egg cup to shape the wool roving
3. Start poking the wool with your needle.
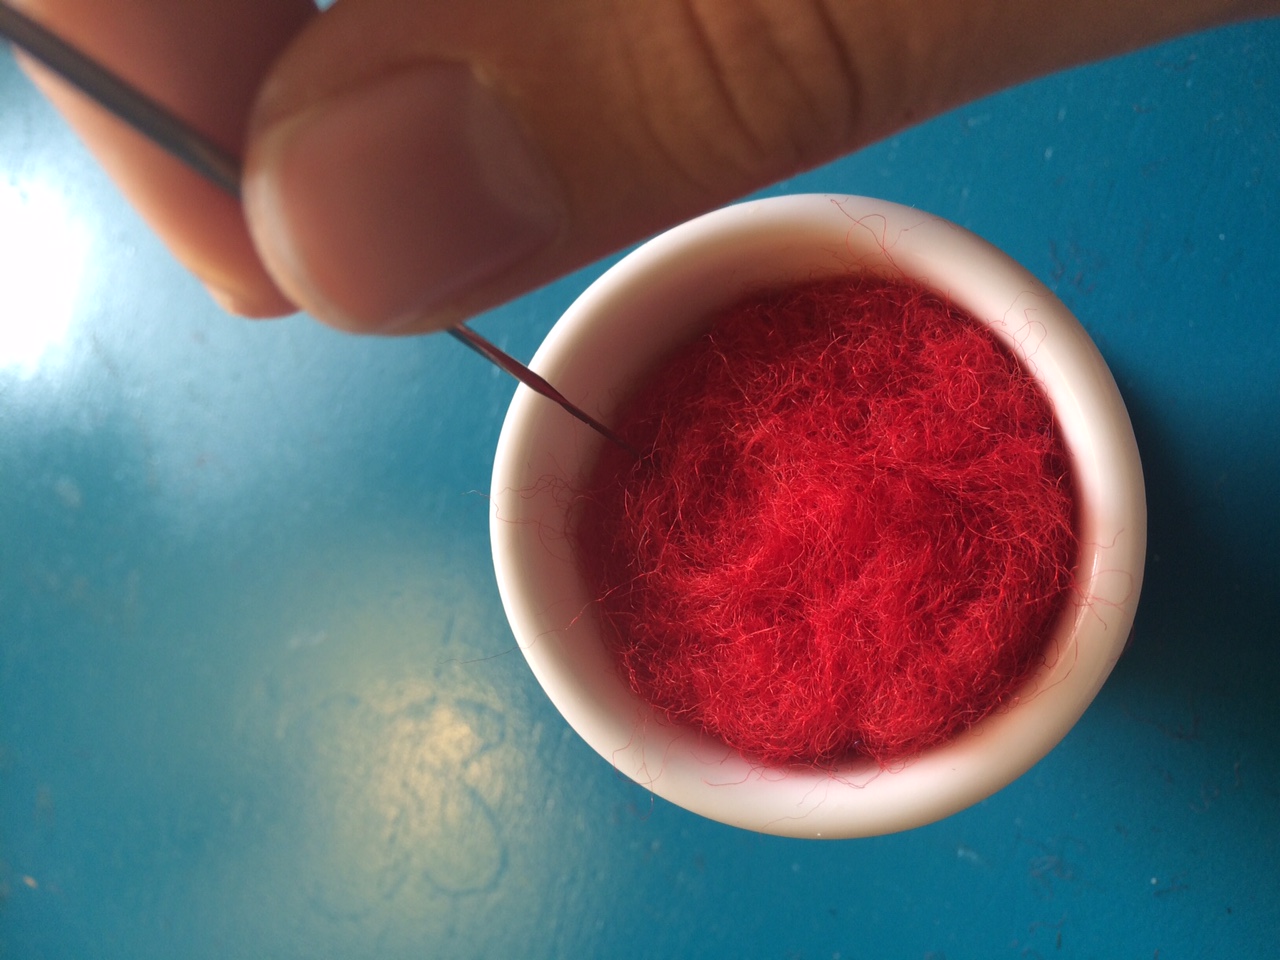
Use the needle to poke the wool
4. The wool will eventually condense and come together.
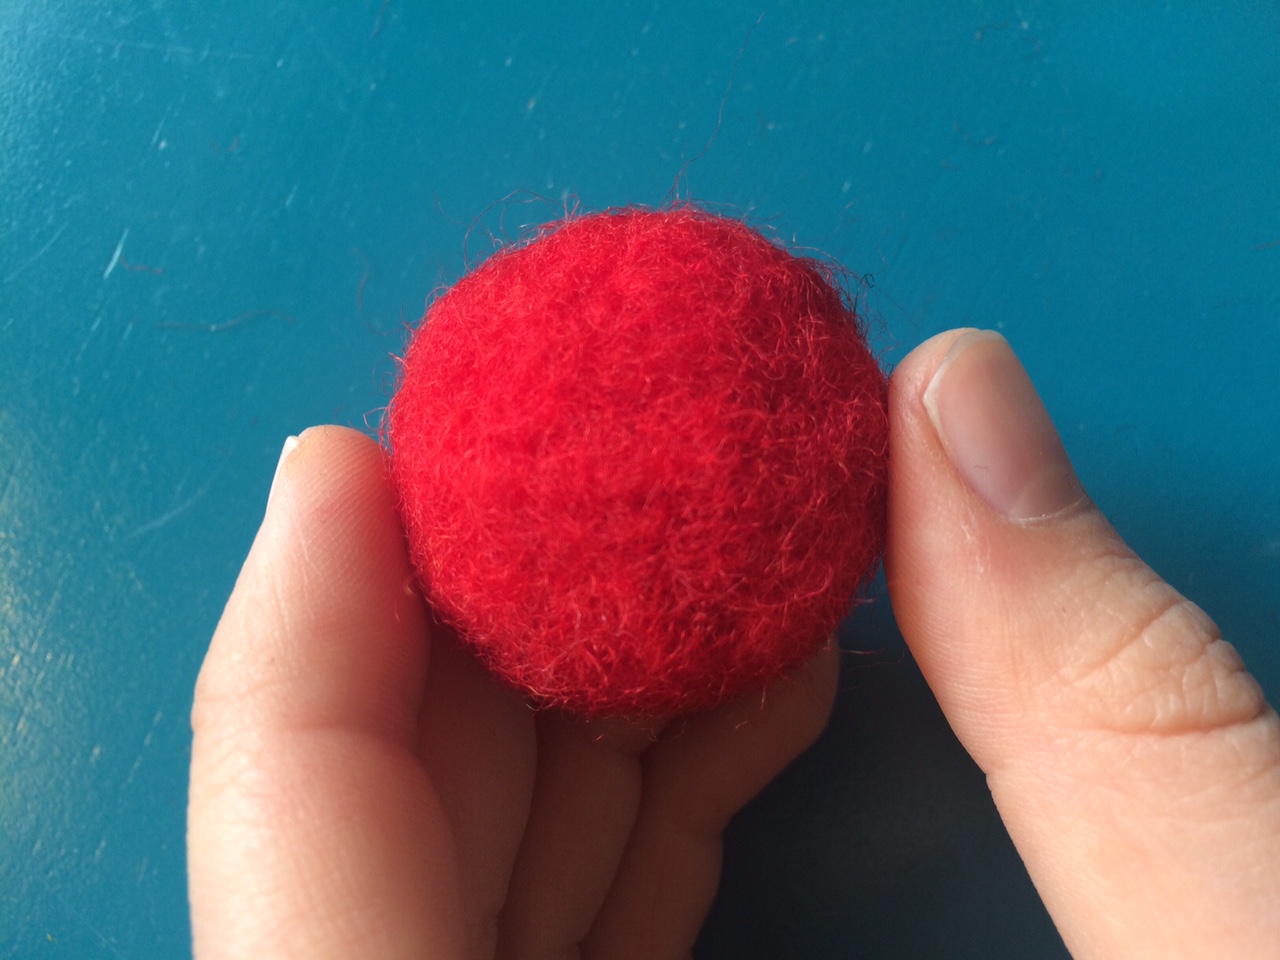
Condensed wool mushroom top after about ten minutes of poking
5. Once we have the shape we want, we can add details to it. Here, I have shaped little spots for the top of the mushroom and just poked those until they become attached to the rest.
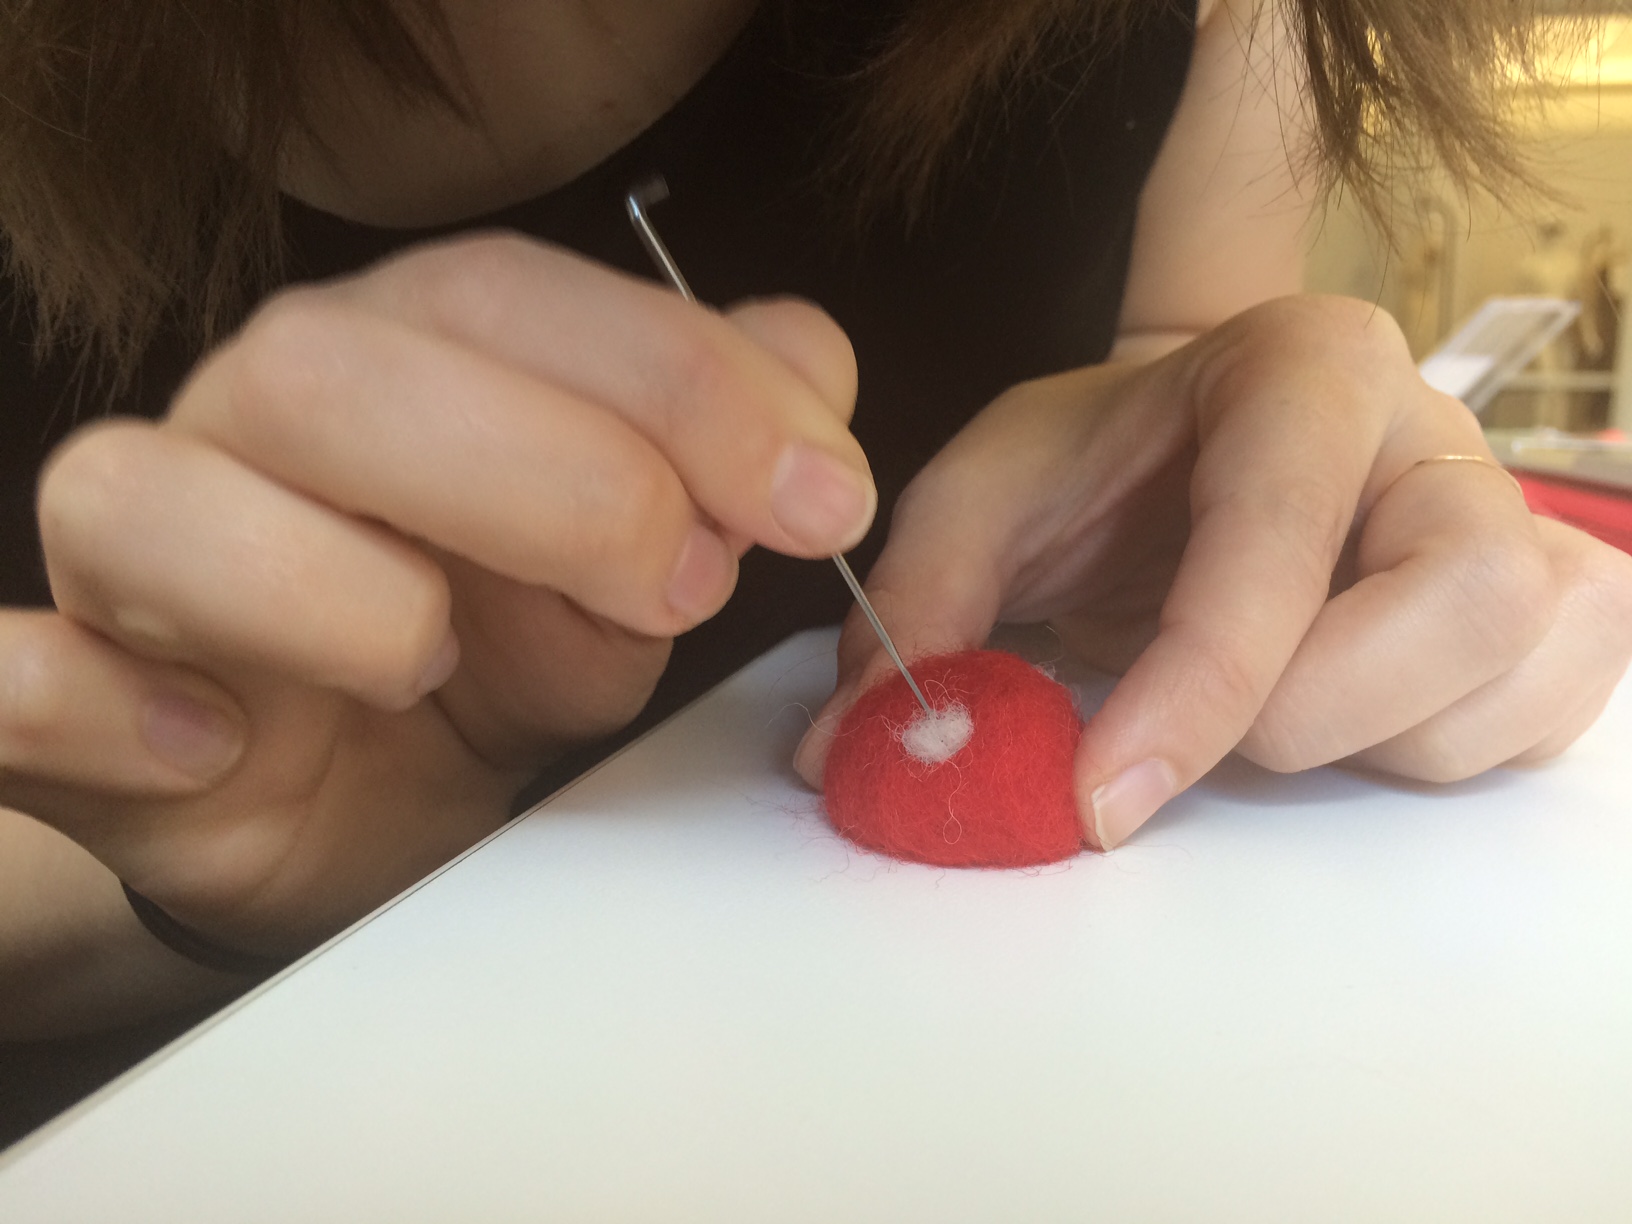
Adding spots
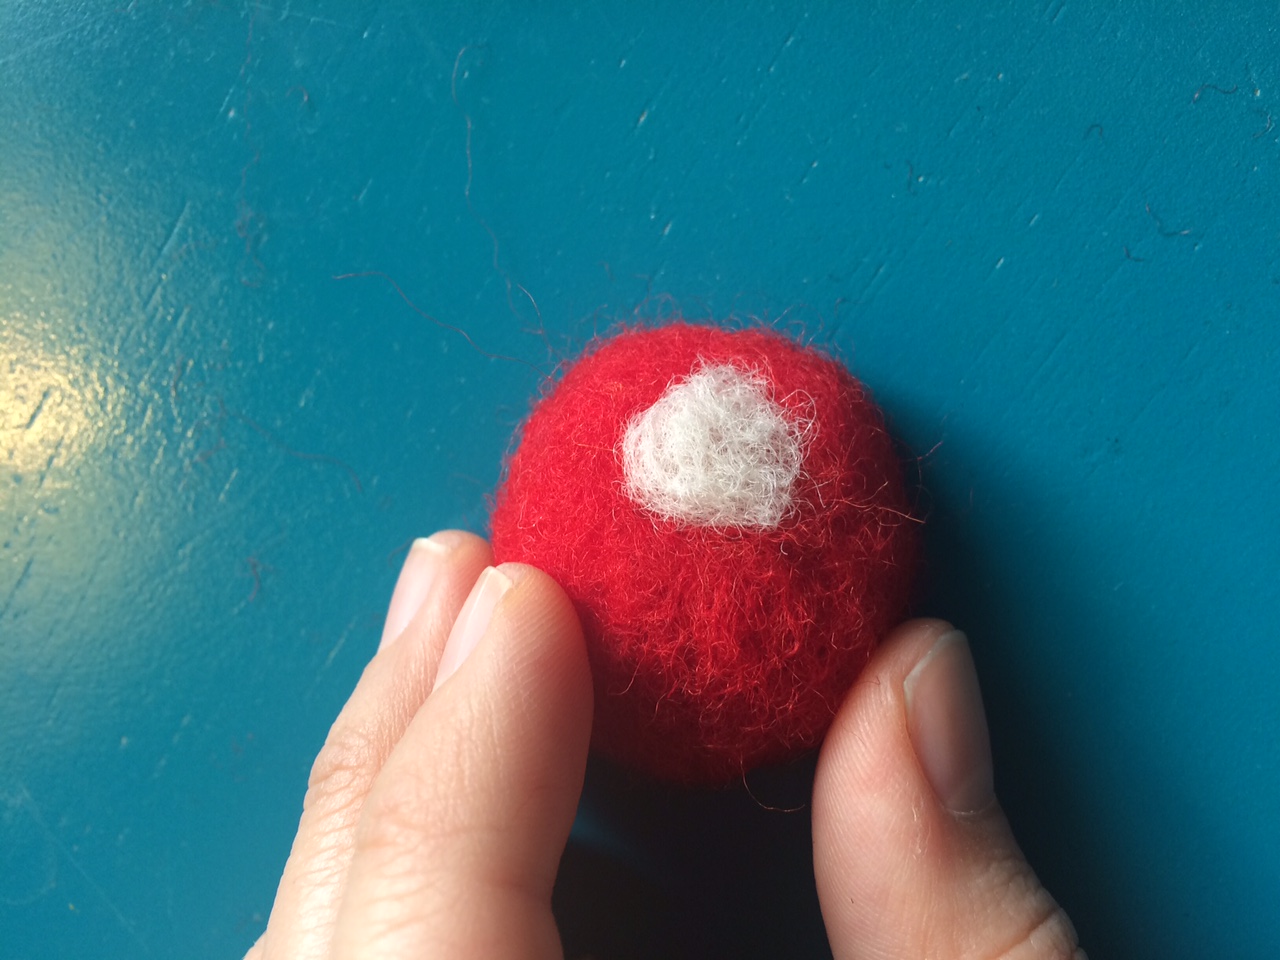
Mushroom Spot
Continue creating forms and adding details with these methods!
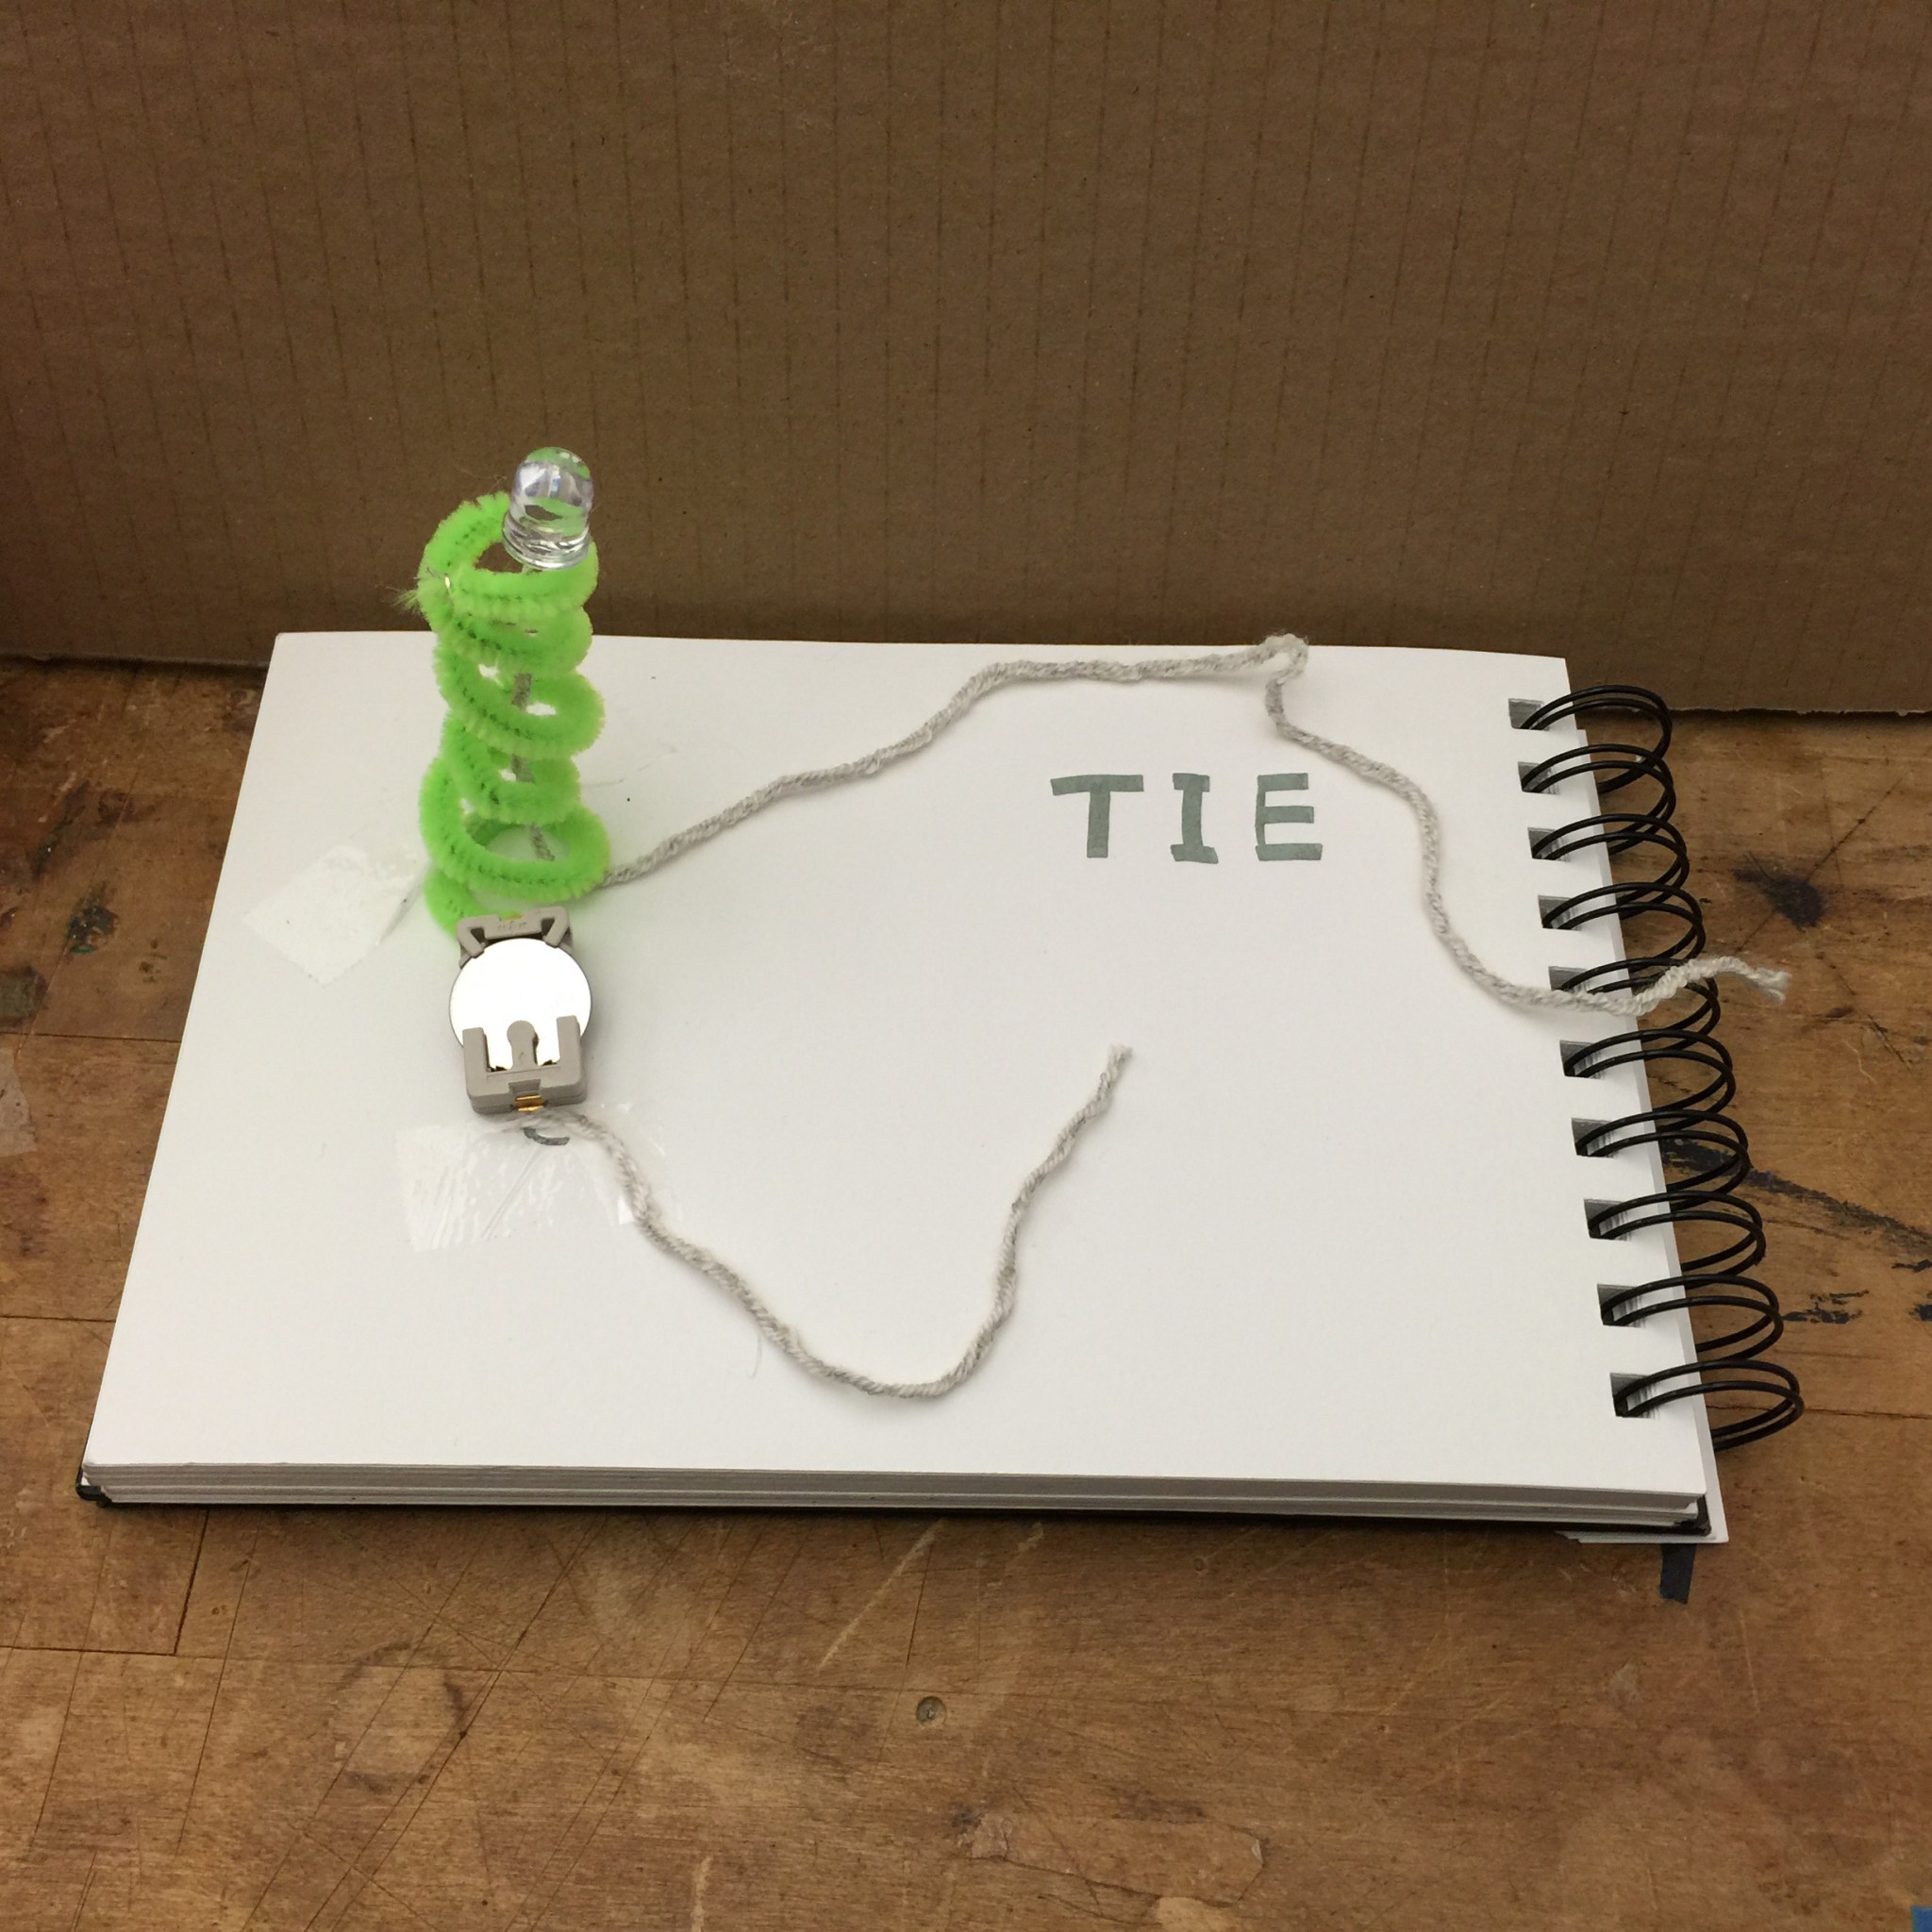
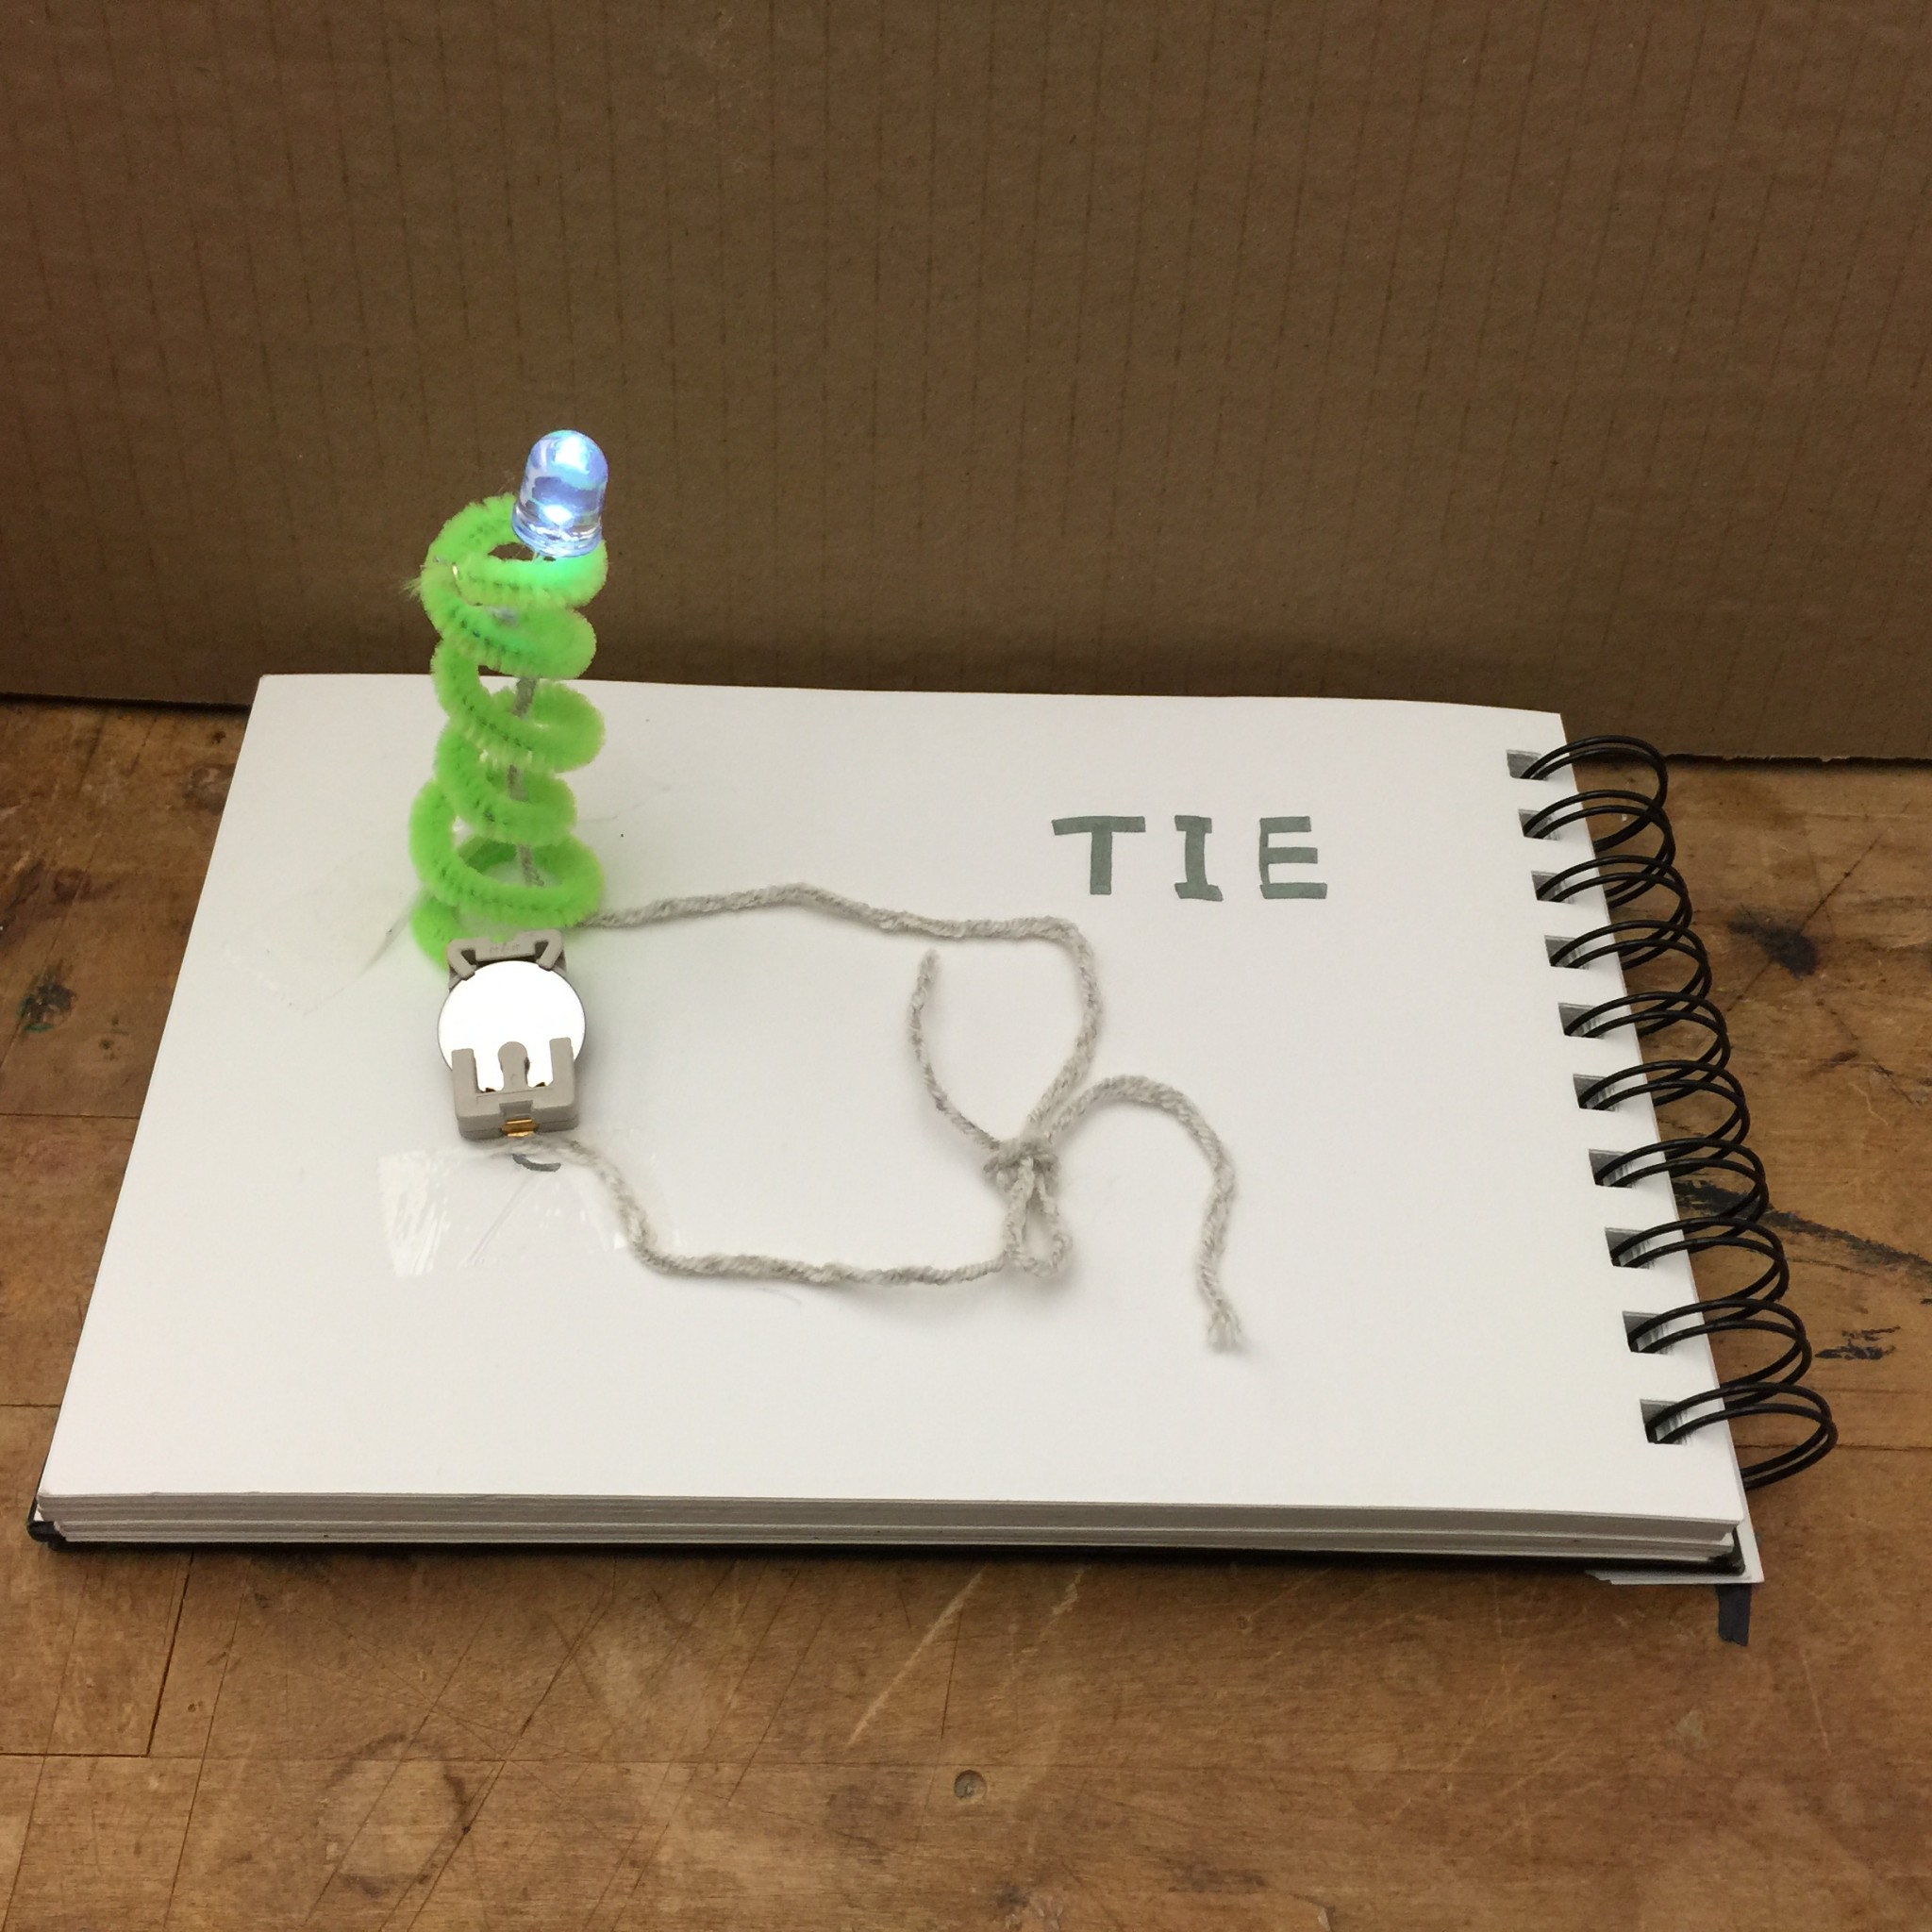
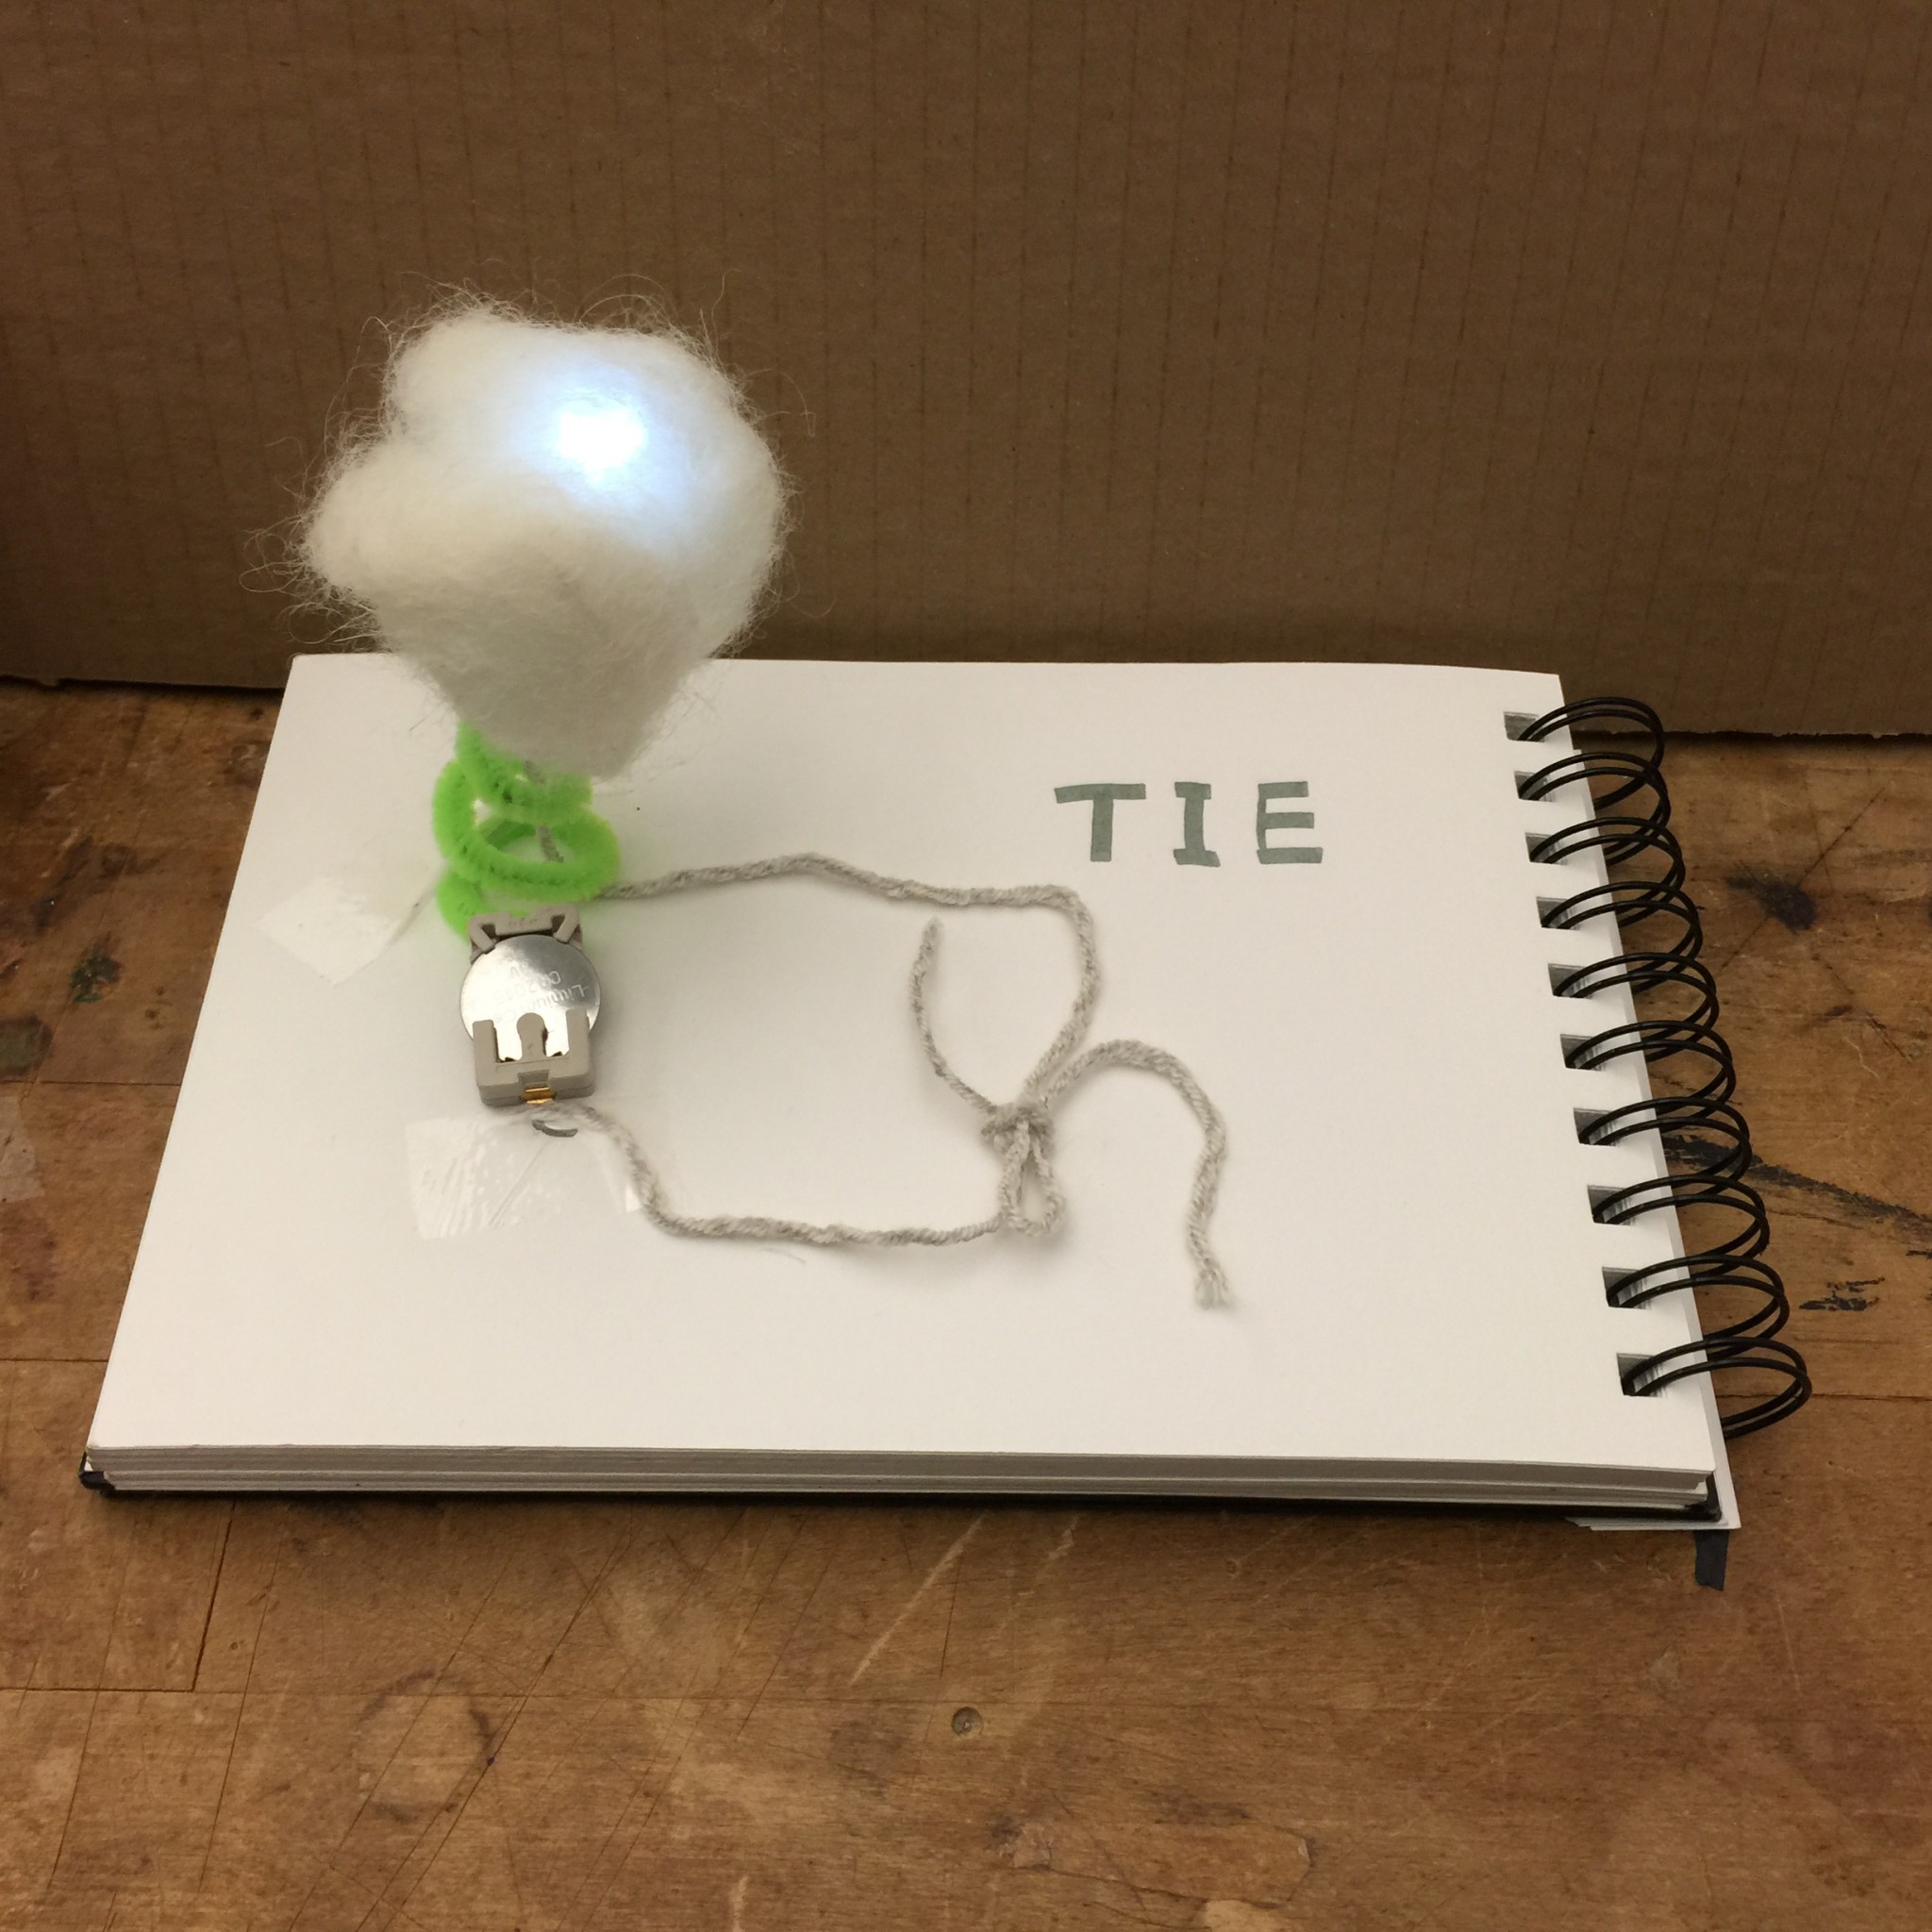
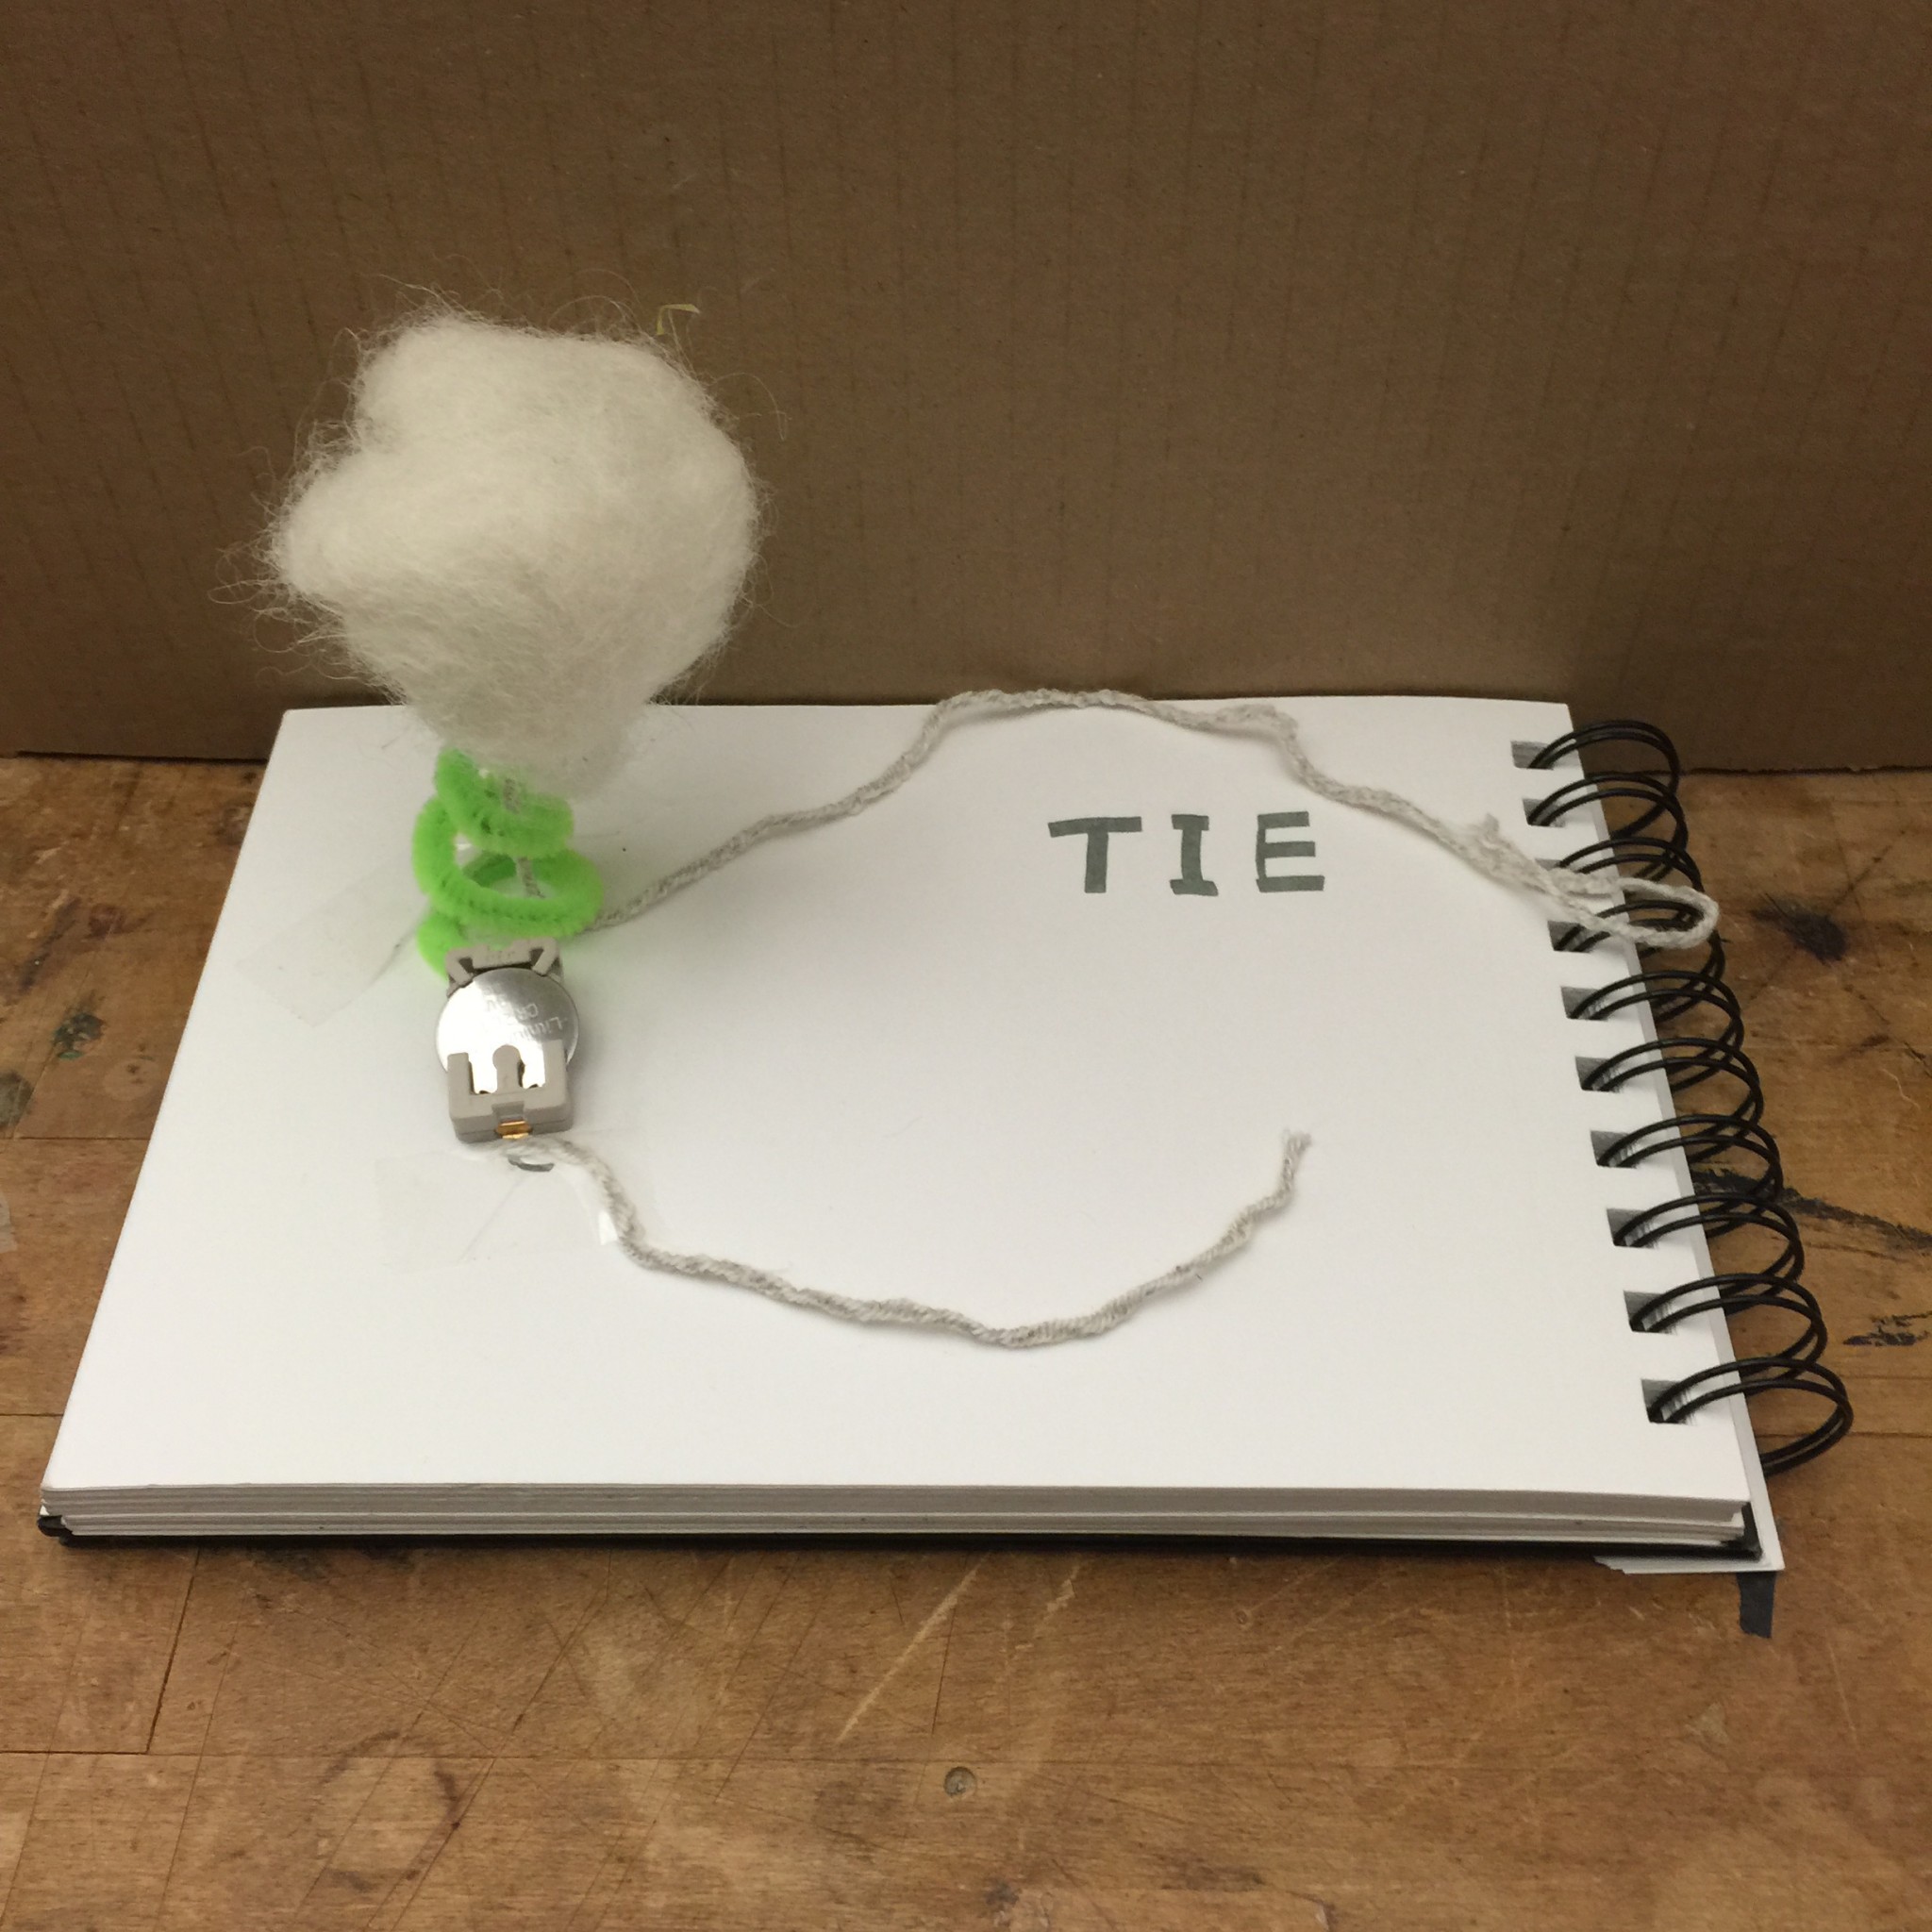
Verb: Tie
VERB: Drop
I created a switch that lights an LED using the verb “drop”. Conductive thread connects the positive side of a coin cell battery to the anode/positive leg of an LED. The cathode/negative negative leg of the LED is connected to a sheet of copper fabric on the ground. When the coin cell battery is dropped onto the copper fabric, the circuit is completed and the LED is turned on. The battery functions as a weight to improve drop accuracy in addition to being the circuit’s power source.
Materials:
Group: Ike, Jaeyoung, Luobin, Haotian
Sign up for wood intro: http://resources.parsons.edu/equipment/intro-to-wood/
Things for protection:


Switch

Keyboard hacking
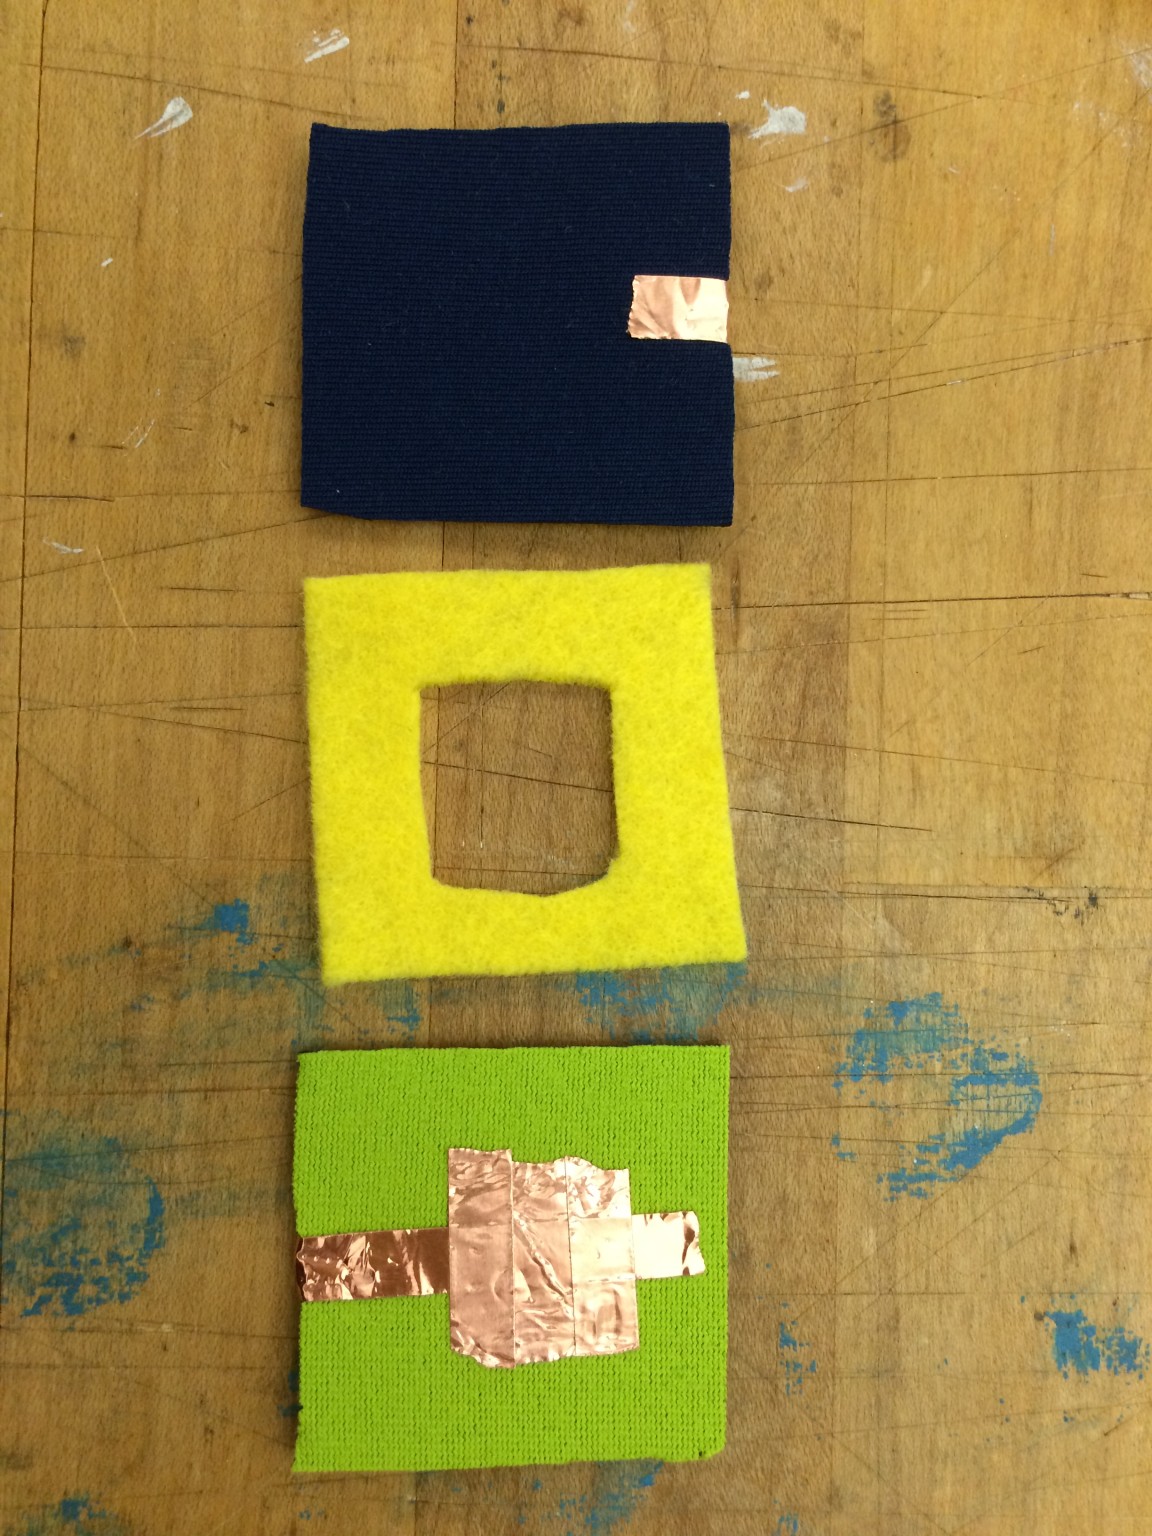

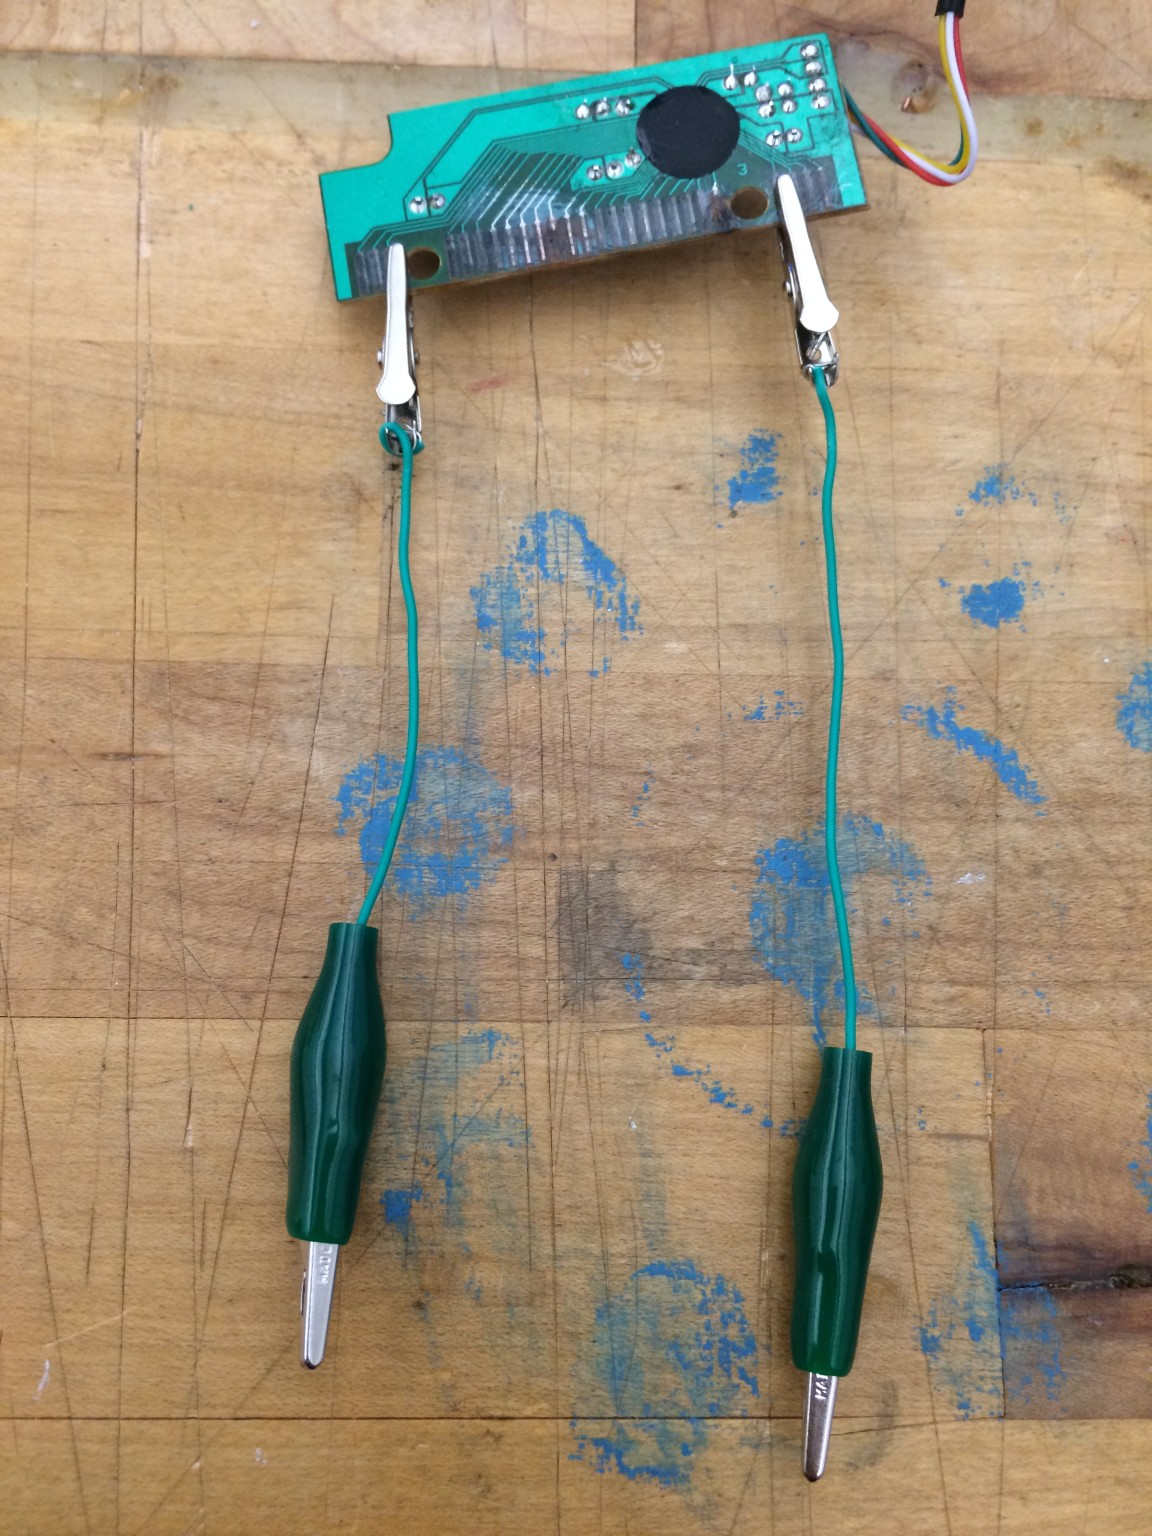
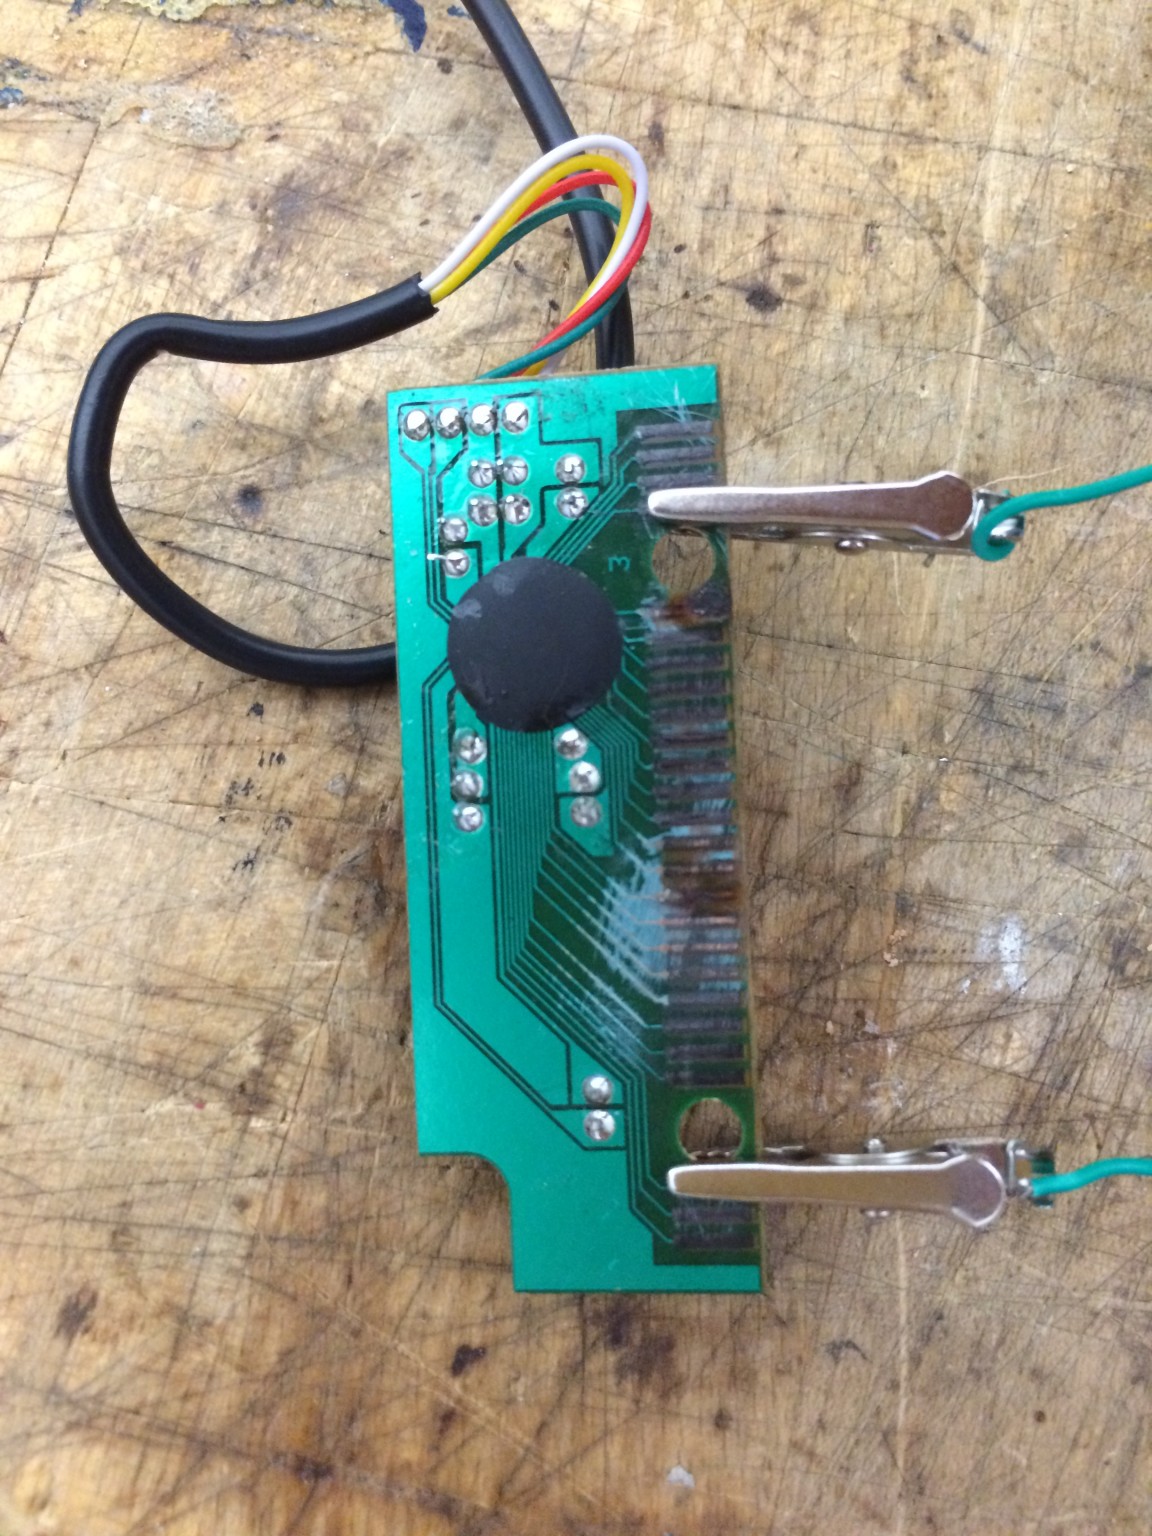

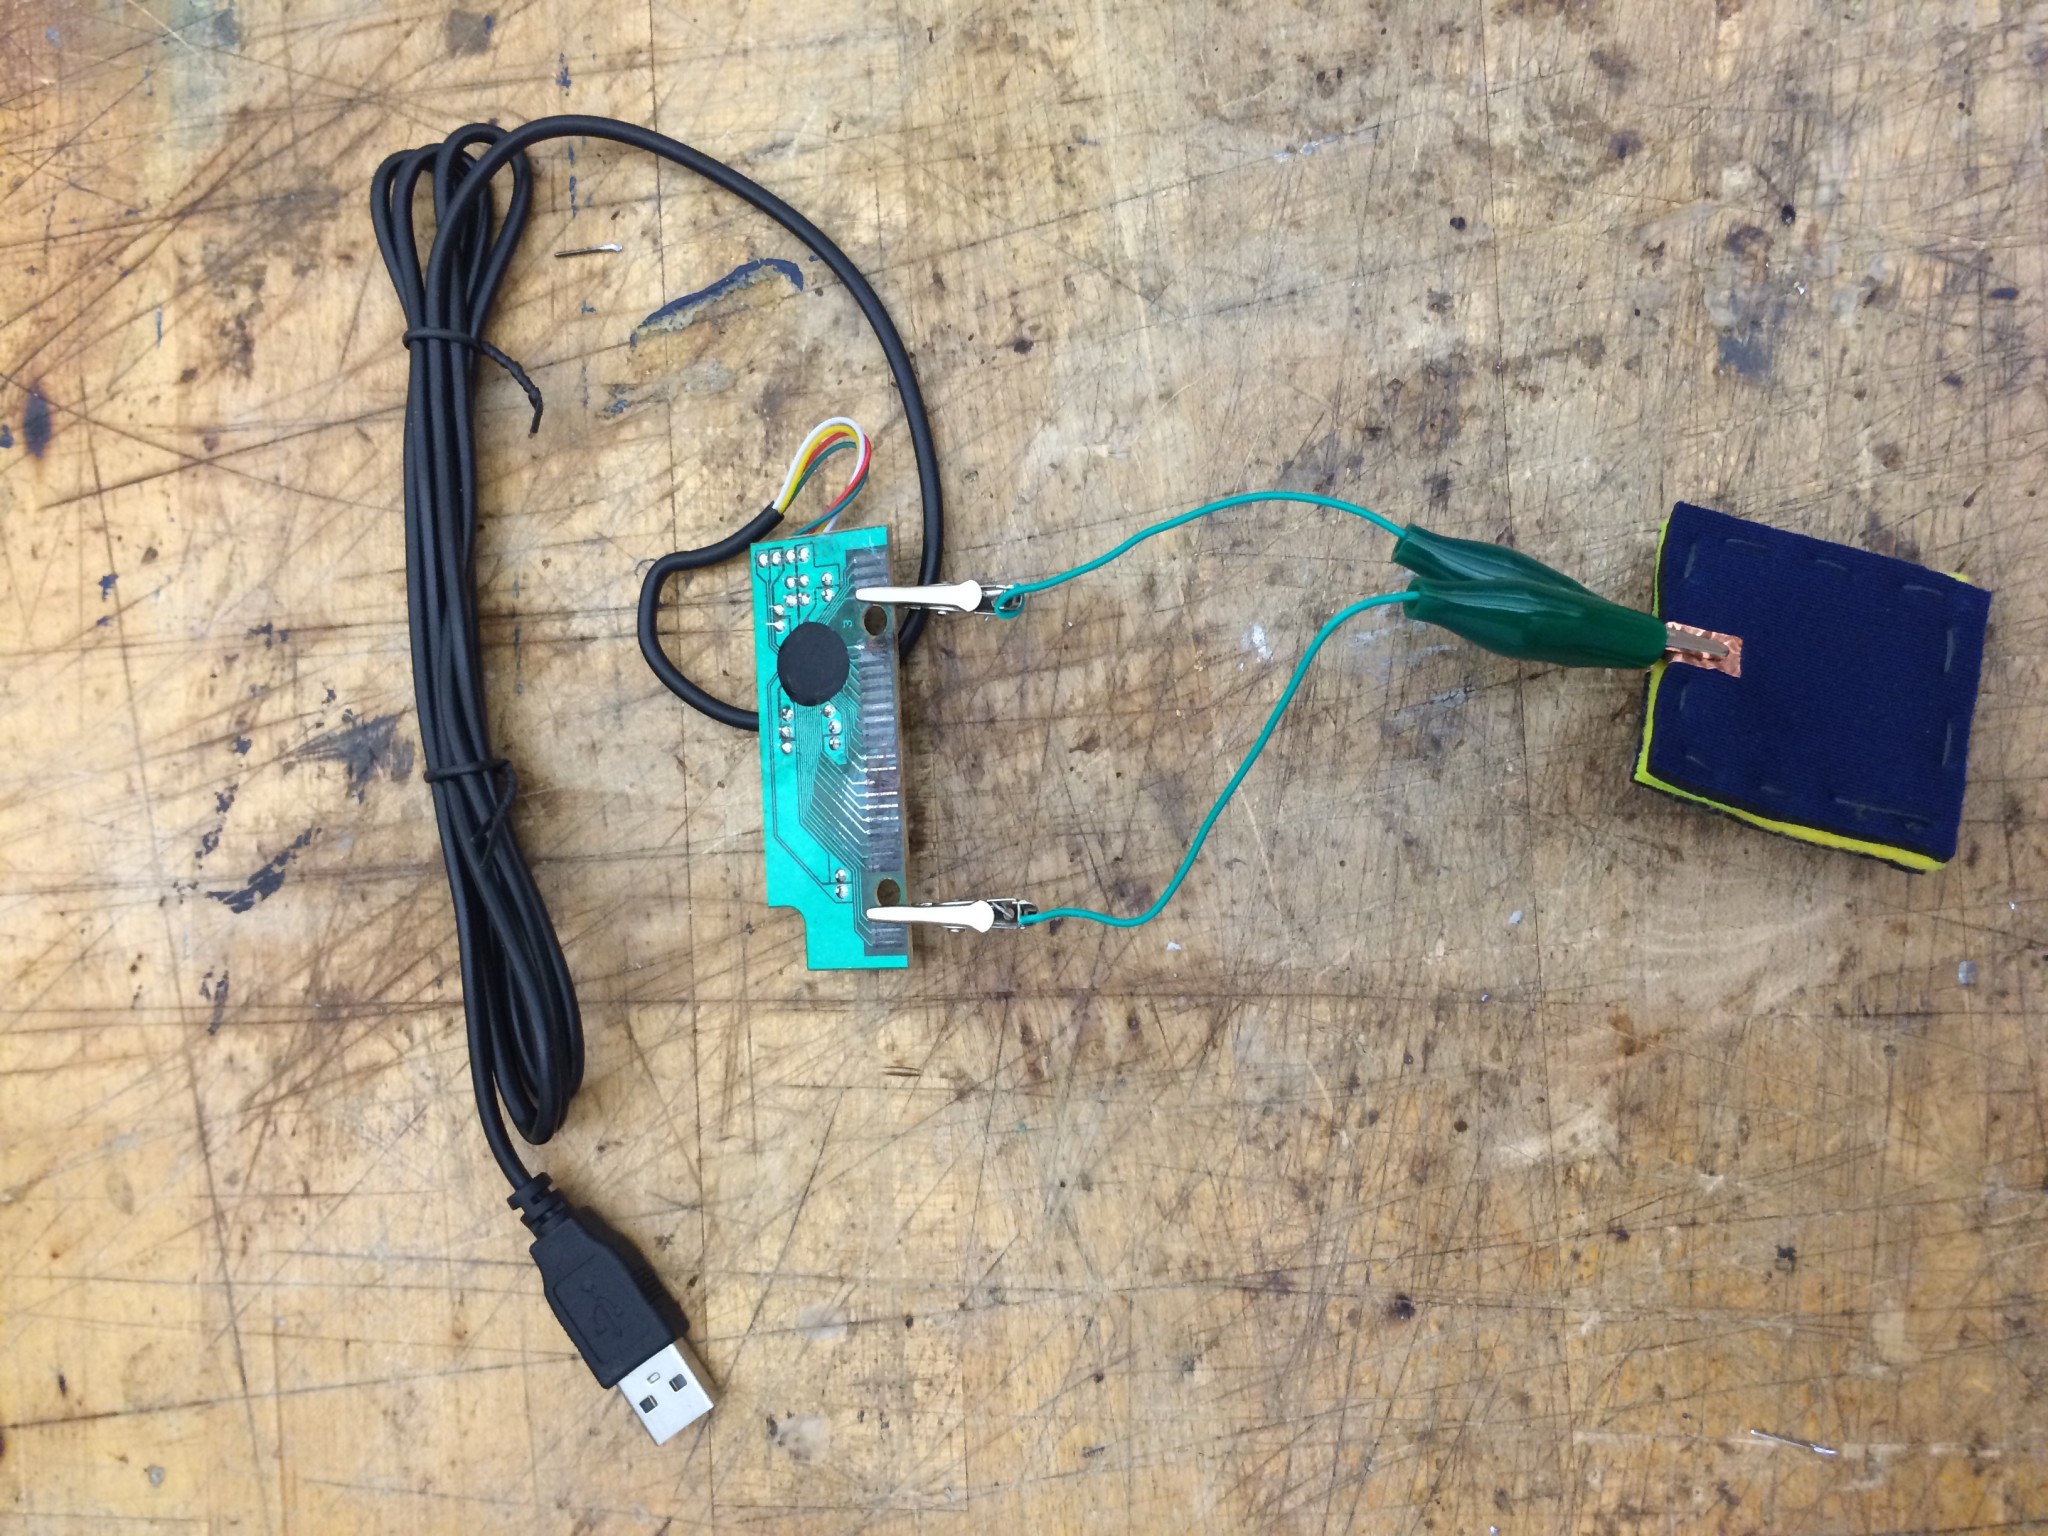
The end goal is to create a wireless controller using shoes as a switch.
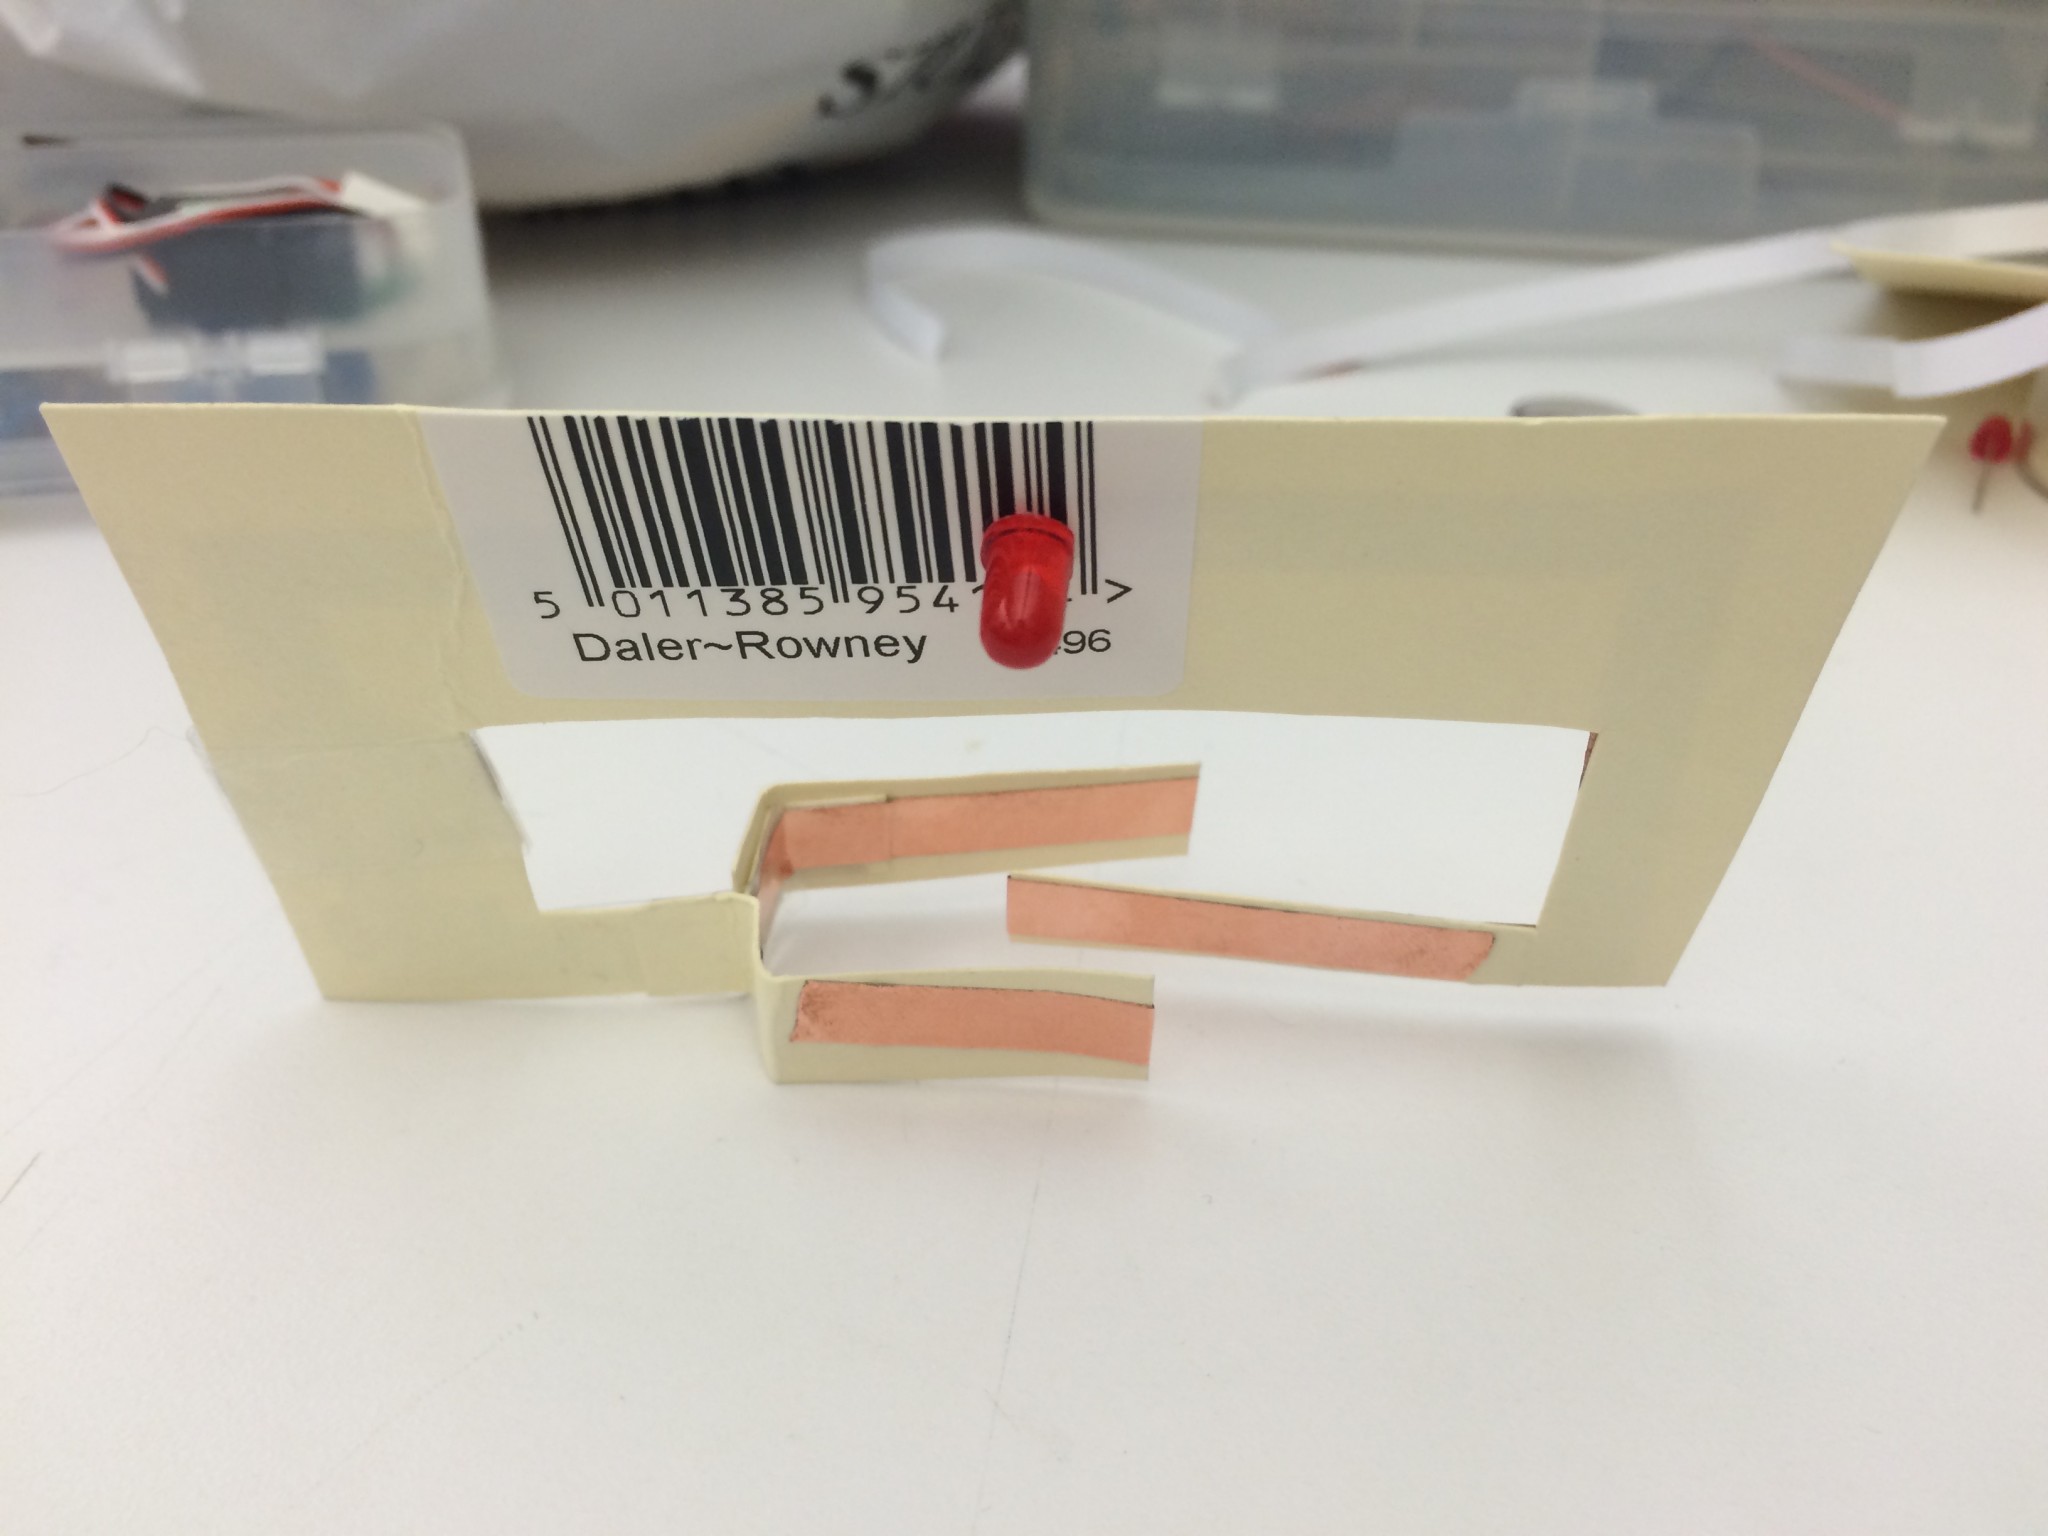
In this test copper conductive tape is used to light up an LED – video below
For the wireless controller part I decided to hack a mouse instead of a keyboard for the smaller form factor. Opening up the case, you can access all the click functions underneath the PCB by soldering directly on to the relevant terminals. Video below –
Uses a Makey Makey to connect a circuit via conductive touch and conductive thread.
The Makey Makey simulates a keyboard when a keyboard is connected, it’s different to a hacked keyboard though in that it’s calibrated to pick up currents over very high resistances allowing minimally conductive objects to function.