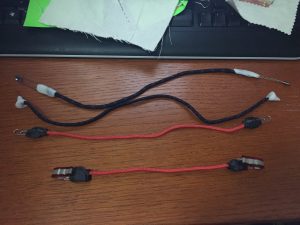
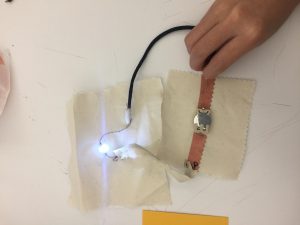
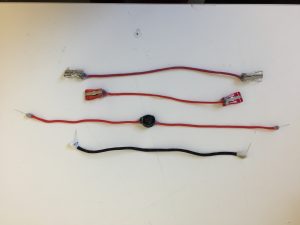
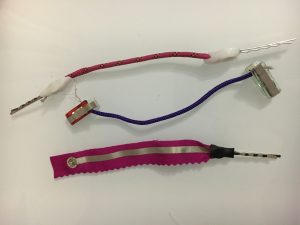
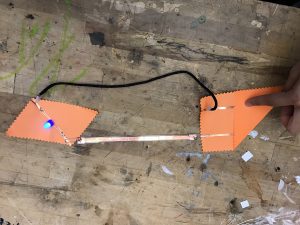
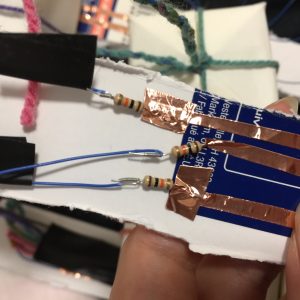
The hardest one to make was by far the clip because of attaching the adhesive conductive fabric to it. The other connectors were easier to make . Here is a photo of my four connectors attached to my nodes.
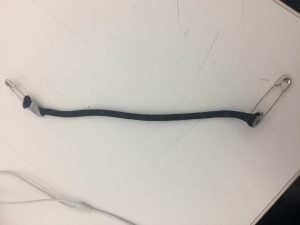
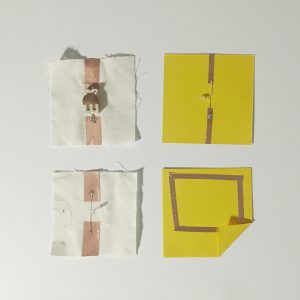
3. snap + fabric I wanted to use snaps but only one succeeded so I used a hook-like metal piece for the other side. Then the only pair of snaps broke x_x, so I had to add another piece of metal to attach to it.
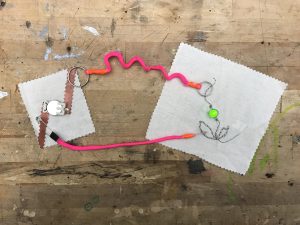
(I realized that the paper one for the battery was wrong, so I changed it later), and here are the 4 connectors:
I mostly focused on creating connectors that would be easy to clip on and take off because I usually have a really hard time doing that without damaging the circuit or accidentally unplugging a wire.
I also wanted to make connectors that would damage the materials the least. For instance, the bobby pin/and paper clip would be perfect to easily slide on and off of materials that can get wrinkly very quickly. The pin and safety pin would be great for pinning fabrics.
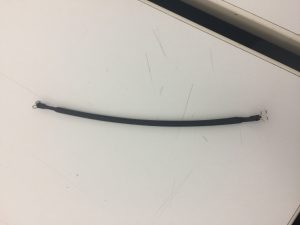
I made two with the clips because I realized that the first one I made was too short. The last connector I made was a battery connector. I feel that this one will be one of the most useful connectors I will use. It’s always a pain to use alligator clips and a battery holder when prototyping, and to have a more secure battery connector will be helpful.
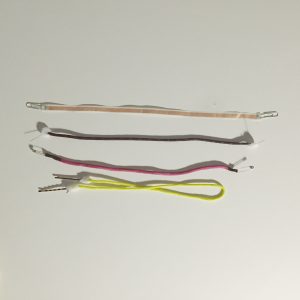
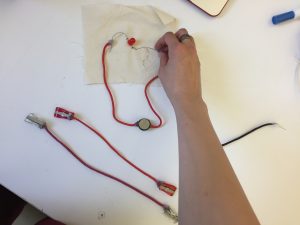
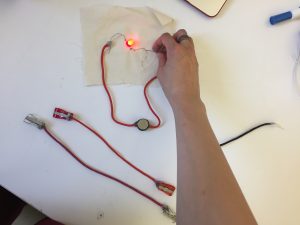
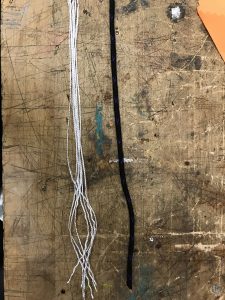
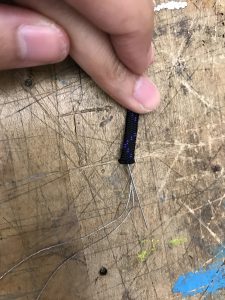
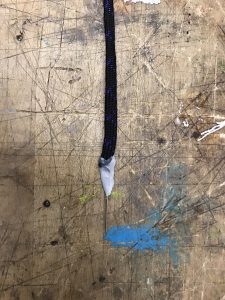
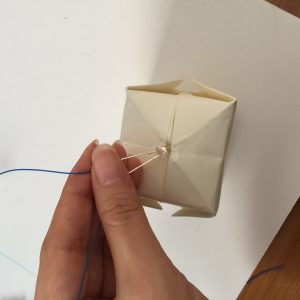
The first connector was the probe connector we’ve learned in class, we took off the inside of rope out and put in three conductive threads, then we make a knot around a pin and close it off using polymorph.
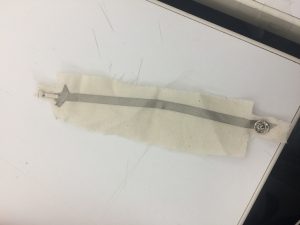
For my second connector(the bottom one of the image above), I paste copper tape onto a plastic stripe that is made out of a plastic sheet and on each side I put a paper clip into it. Then I solder the copper tape and the paper clip together.
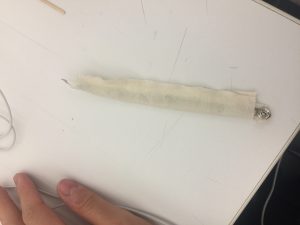
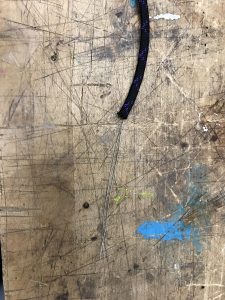
For my third connector(the top one of the image above), I used the same method with the putting the conductive thread in but this time pulling the rope tighter so it makes a wave. On each side of the rope, I used a keychain ring and closed it using duck tape.
For my fourth connector(the bottom one of the image above), I did the same method as the rope we did in class but this time I used safety pins on the ends. I closed on safety pin with duck tape and another one using heat shrink tube.
It’s really great to find new fun ways to connect the circuit together.
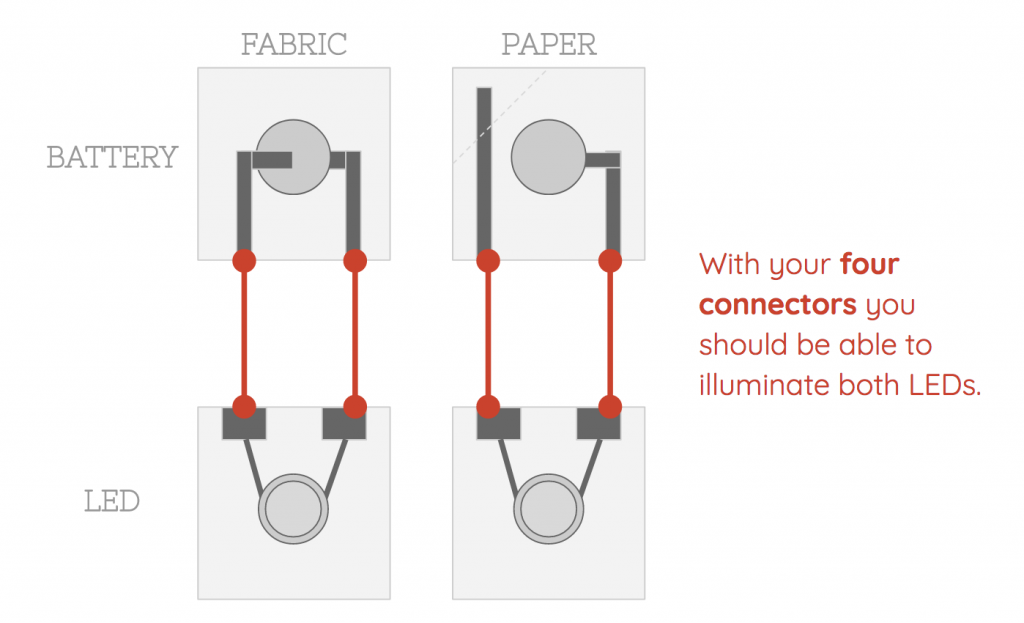
Construct 3 more connector tools so your nodes can work together. You can connect paper to paper, fabric to fabric, paper to fabric, etc.
You may use any materials you like.
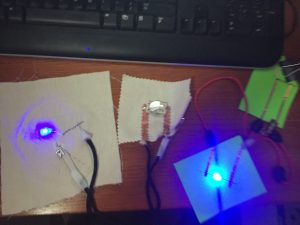
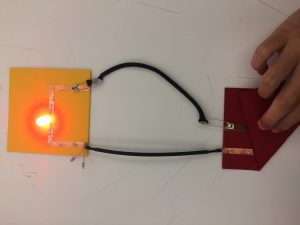
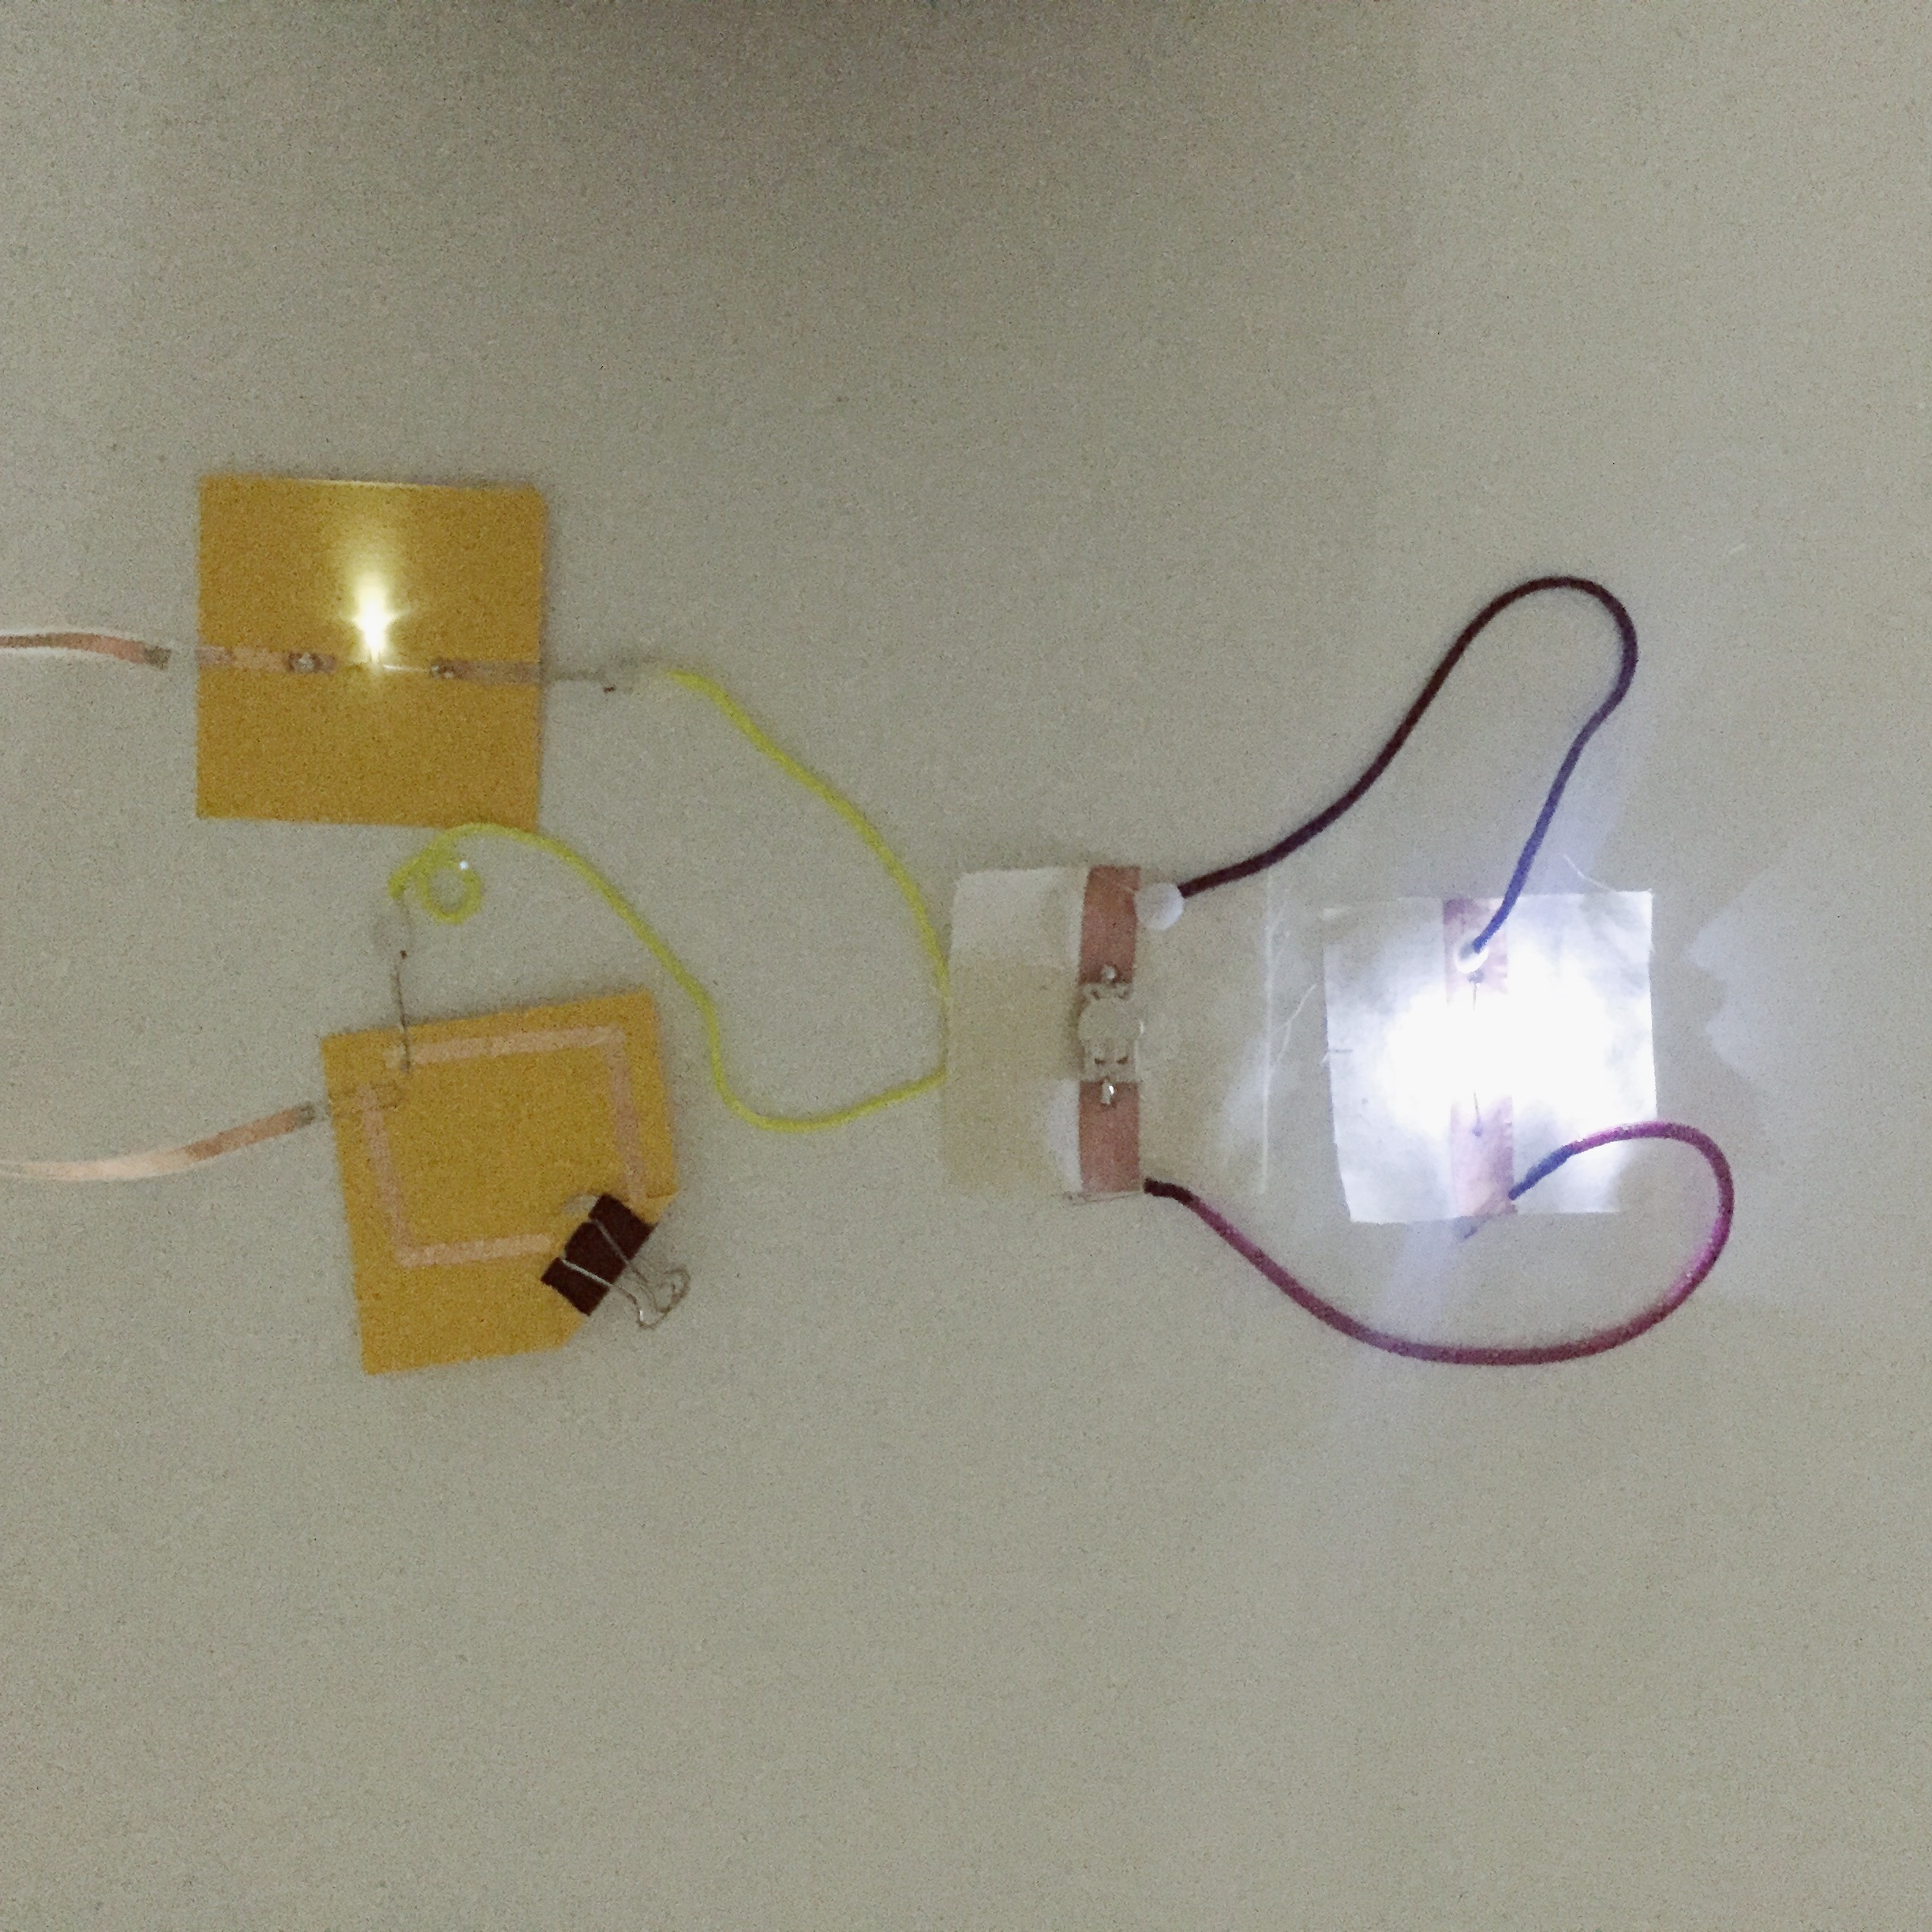
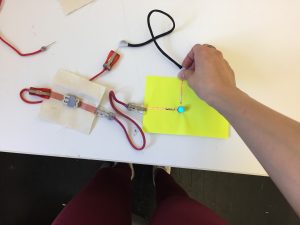
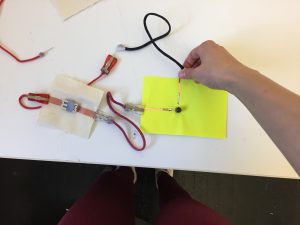
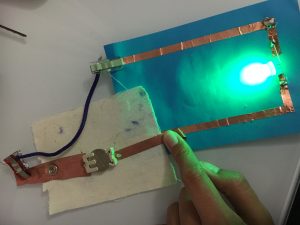
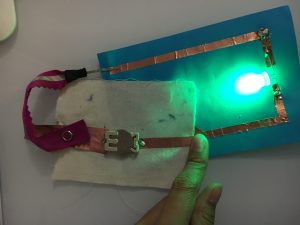
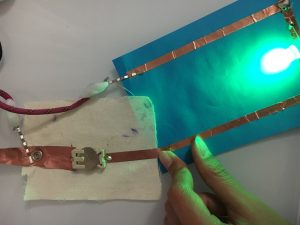
With your total of FOUR connectors (including the one you made in class), you should be able to light up both nodes.
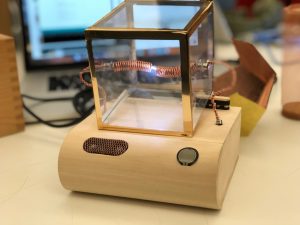
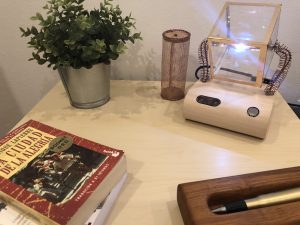
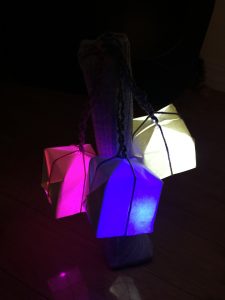
The concept is to create a unique modular lamp that the users will configure as they like, taking advantage of the specific space they want to use. The lamp will be dimmable and controlled by touch. The modular use of this lamp is closing the circuit using the interchangeable bulbs.
Instructables link : https://www.instructables.com/id/CATOYLAMP/
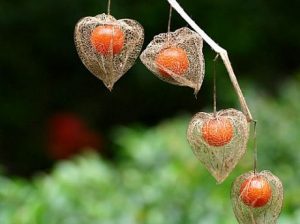
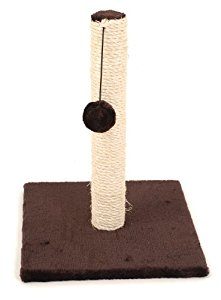
I was inspired by cat toys and the shape of ground cherries. I created this lamp project for my cat. When I couldn’t spend time with my cat and left her alone at home for long time. it makes me feel bad. especially, when I went out in the morning and came back to home at the night time. My cat left alone in the dark space. I couldn’t turn on the light and left home. That’s why I decide to make this lamp with a photocell sensor which senses the brightness. In my lamp, There is three lamps and lamp will be turn on by the brightness of its environment. for example. When It’s completely dark all 3 lights will be turn on. If it’s little bright then 2 lights will be light on. when it’s bright but little dark then 1 light will be turn on. when it’s really bright then no light will be turn on.
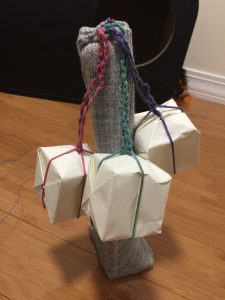
for materials,I try to use materials that cats like. I choose to make lamp shades with origami paper because cats like the sound of paper boxes. for the pole, I cover it with knitted fabric and braid wires with three different colors of normal yarns to give a soft feeling.
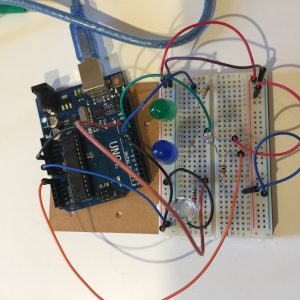
Prototype test
first I try to do prototype test with an Arduino and a bread board with 3 LED lights and a photocell sensor. I use 10k resistor for a photocell sensor and 220 resistor for each LED light.
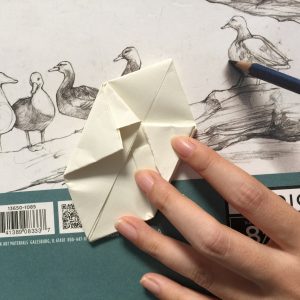
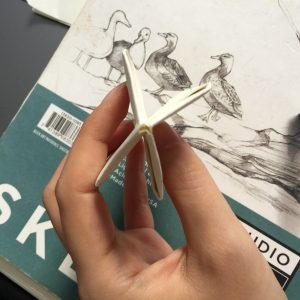
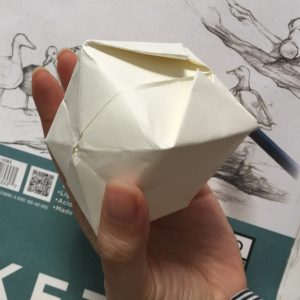
Origami Part
I made a paper box. I used a middim thick white paper so the lights can go trough the paper and the color of the LEDs can be shown from outside.
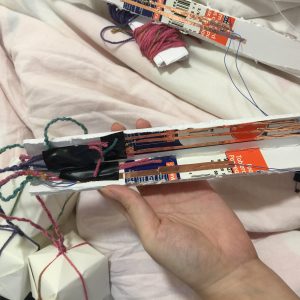
Structure inside
I made a inside circuit with a copper tape and for the outside, I braid wires with yarn to hide wires.
I have been interested in paper art recently. When I searched paper art, I got inspirations from the pictures showing below.
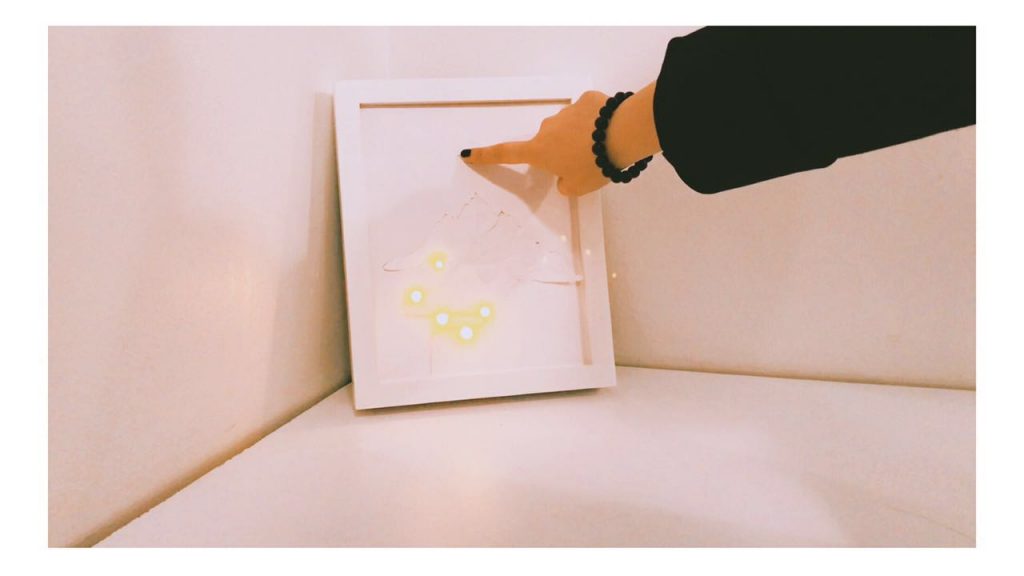
This art piece gives me inspirations not only for the paper art but also the way to put that into a photo frame. Since I really like timelapse photos&videos, I got the idea to put a timelapse feeling framed paper art. That’s why I named this project “Framed Moments”.
My concept is that each person has his/her own journey in the life, there must have lights to guide you through. Those lights will shine for you if you trigger them.
The video below recorded my making process…
I made this in white paper because I was thinking white has the most possibilities to change by projection mapping. I wanted to combine this with projection mapping techniques, which I imagined future albums could be projected. Video below shows what I did for the projection animation.
For my next goal, I want to make more depth for this paper art. As you can see, from the example that I shew, it has much more layers.