NO)WHERE (NOW)HERE by ying gao is the most interesting project for me.
The project was inspired by the essay entitled “Esthétique de la disparition” (The aesthetic of disappearance), by Paul Virilio (1979). ” This garment is not just glowing. It changes its form continuously and glowing at the same time. the layer of the texture is
also very interesting and beautiful. I love this project because it’s not just beautiful. It’s also functional at the same time. this moving garment feels like someone is wearing live creature. It works both in the dark environment and the daylight.
For the final project, I decided to make an interactive installation that is inspired by the enchanted rose in Beauty and the Beast. When user interact with the installation, the rose will be changed to another color.
[Precedent || Inspiration]
I was inspired by the enchanted rose from beauty and the beast. The rose was the symbol of the ability to ever love anyone more than the beast himself. In the original story, the rose was awoke by belle from almost losing the last petal. And so does the beast.
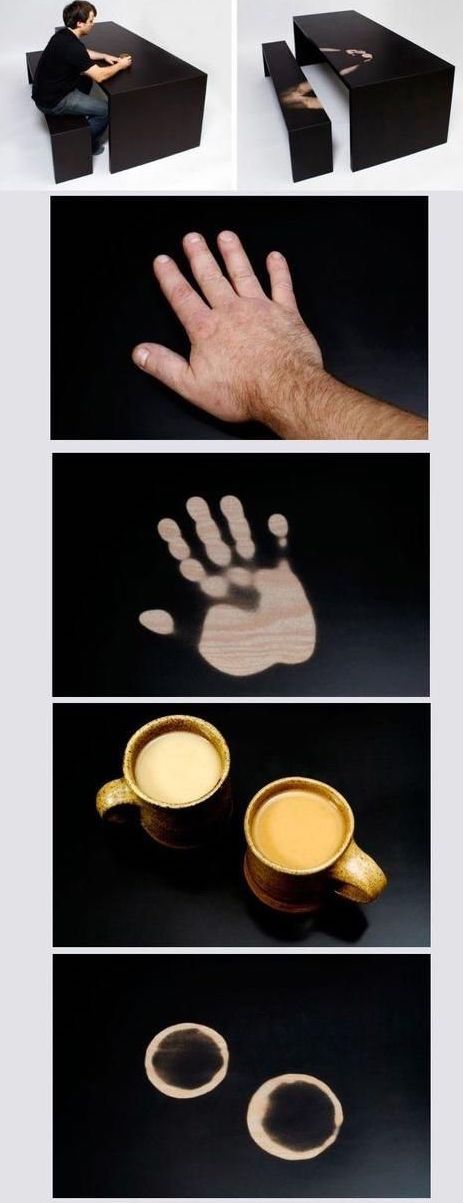
Another precedent for my project is the thermochromic ink table set. When you sit for a while, you will leave a mark over the table that could show you have been here for a while. It demonstrate the existence of a human being.
[Materials]
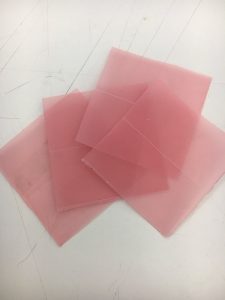
Pink craft paper
Conductive Thread & Needle
Yarn
Conductive fabric
Thread
Glue Gun || Hot Glue
Thermochromic pigment
Glass Dome Cover
[Technology || Documentation]
I was very interested by the thermochromic pigment, so I had this idea of combining thermochromic pigment with the enchanted rose, and try to recreate the reborn of the rose.
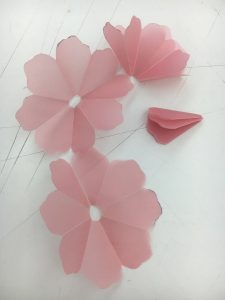
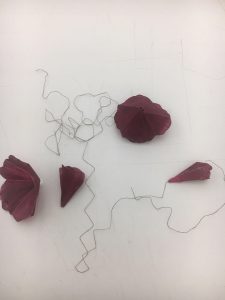
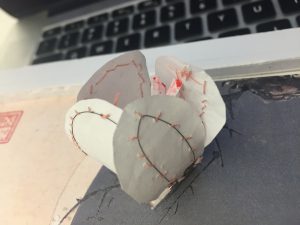
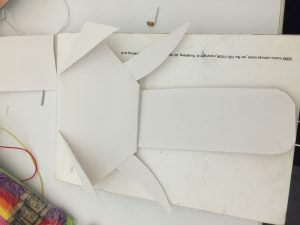
I bought some pink craft papers from michaels to make the petals.
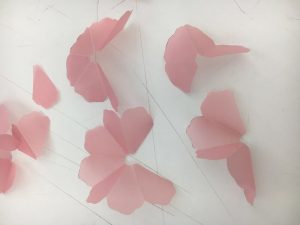
After that, I used thermochromic paints to cover all the petals. The material of the craft paper creates a very natural shape of petals.
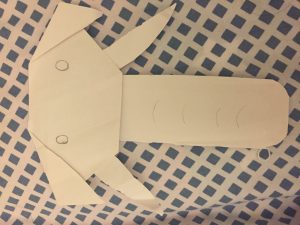
and I just hot glued the conductive thread onto the petals to create a pattern that will eventually cover the whole rose.
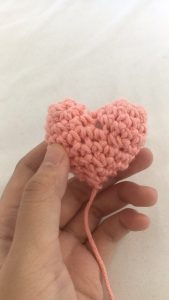
Then, I worked on a 3d heart crochet and stuffed cotton inside.
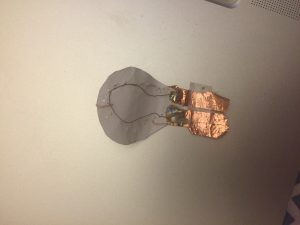
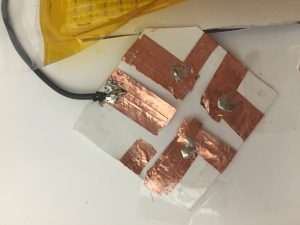
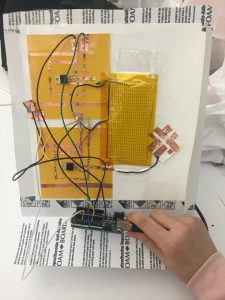
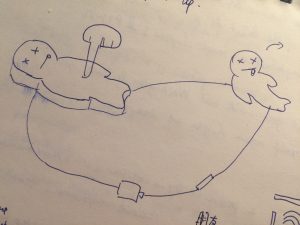
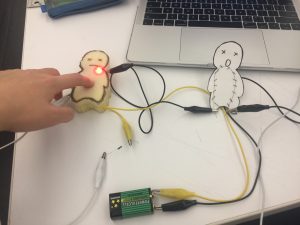
And I sew a piece of conductive fabric on to the heart, and made a tray with circuit made by copper tape on it and left an opening on the circuit. So when you put the heart over the circuit, it completed by the piece of conductive fabric. This is the switch for my project.
I first attached a button battery and it doesn’t work. I thought there’s a circuit problem at that time, but then found out it’s because of the battery doesn’t have enough power. So I changed the battery to two 9V batteries and it works well.
Roses developed thorns after being abused by predators attracted to their sweet smell. Inspired by this defense mechanism, we have created an exoskeleton that allows women to protect themselves from sexual assaults.
Precedents
We looked into existing projects that touched on the theme of self-protection through wearables.
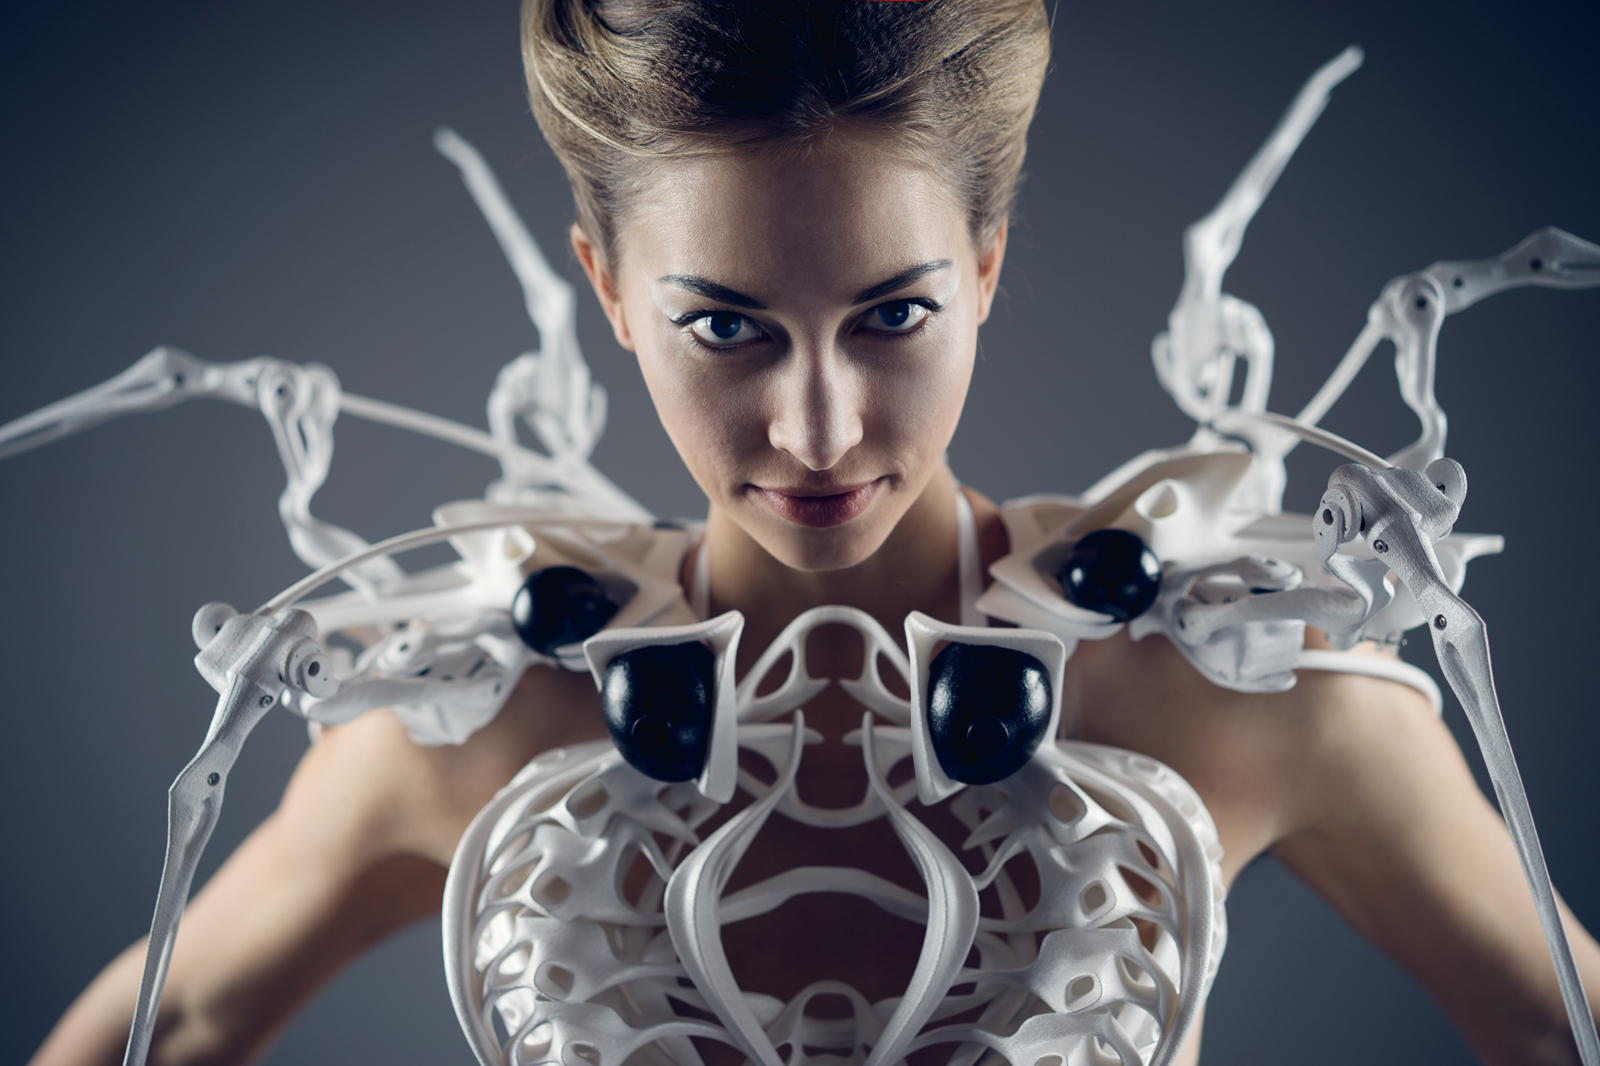
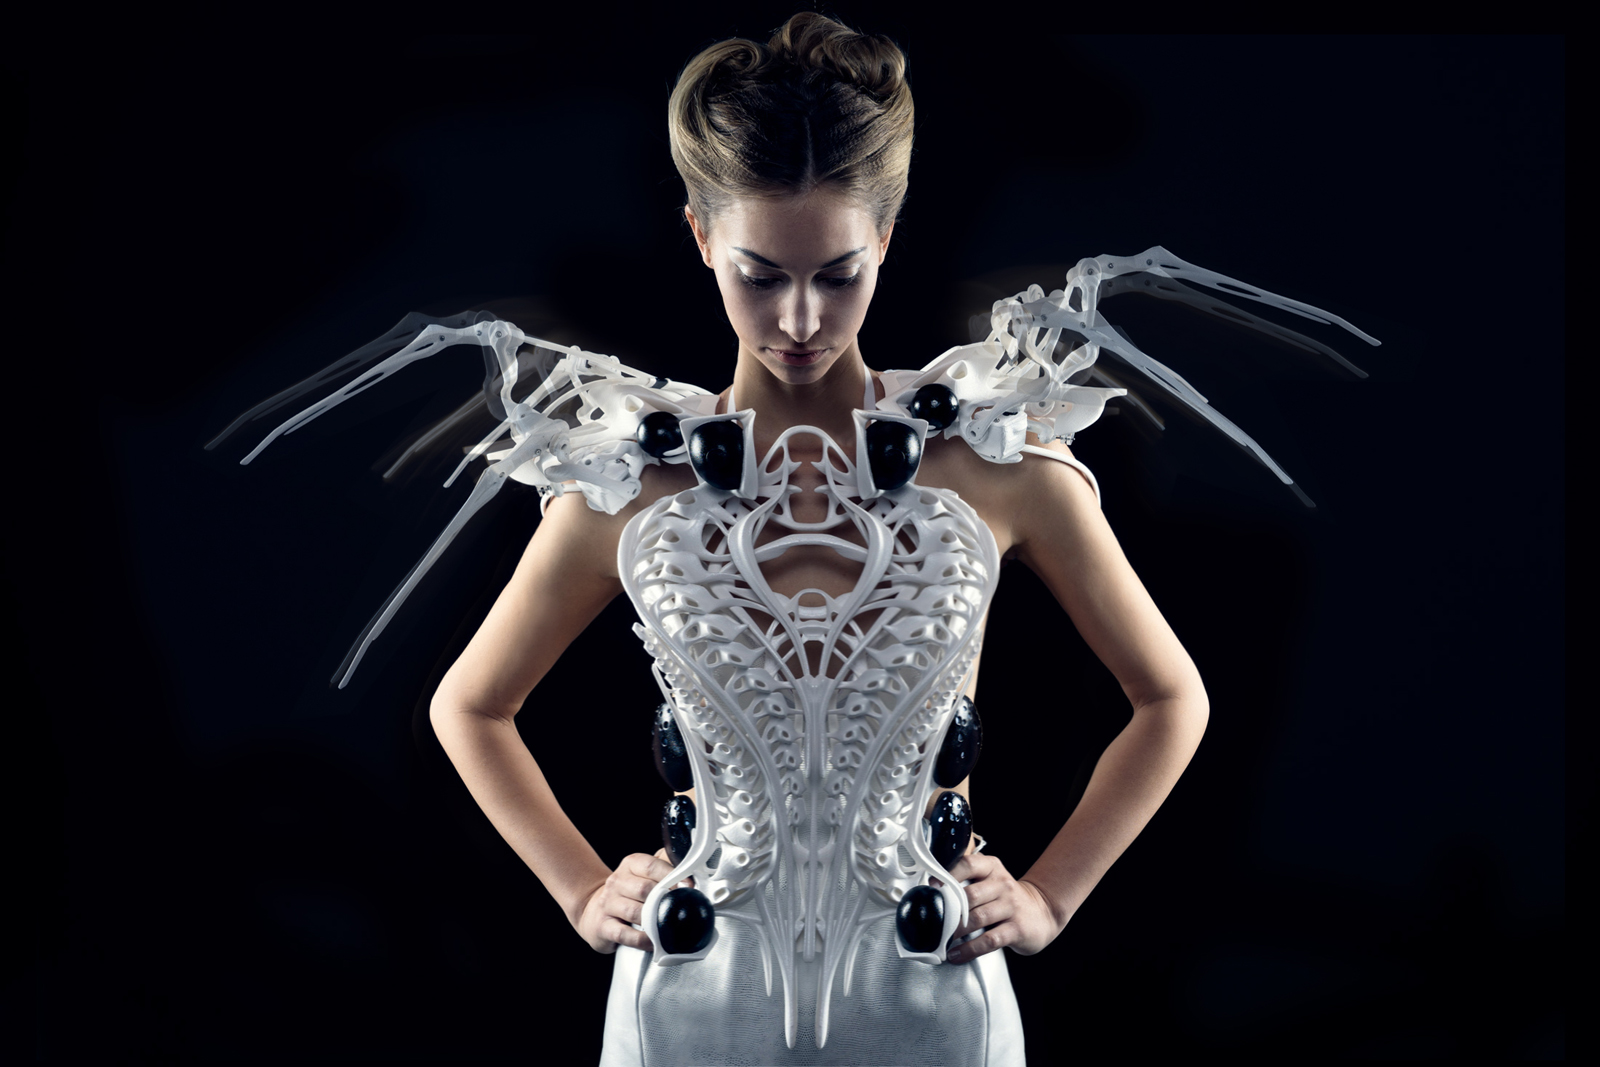
One of our biggest inspirations was the Spider Dress by Anouk Wipprecht. It plays with the idea of planting spider legs onto the shoulders of the wearable. If there are people nearby the dress, the legs of the spider would extend, sending the signal of “do not approach” to the outsiders. This dress inspired us with its biological yet mechanical movements as well as the play of integrating an animal mechanism into a wearable.
Another precedent that inspired us is Birce Ozkan’s Self Defense Wearable for Women. Inspired by hedgehogs, she wanted to create a wearable belt that imitates the movements of a hedgehog when it is prepared to defend itself.
Though we were inspired by these wearables and their incredible messages, we wanted to create something that was more discrete and feminine. We wanted our exoskeleton to be elegant and fierce looking.
Initial sketches
We were imagining the sensors to be activated through proximity or touch. So we were thinking of either adding a capacitive sensor or proximity sensor.
Prototyping
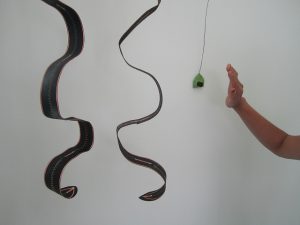
We begin the prototyping with seeing how the flip dot moves with a spike attached to it. Once we saw that its movement was what we wanted to achieve, we tried with 2 flip dots.
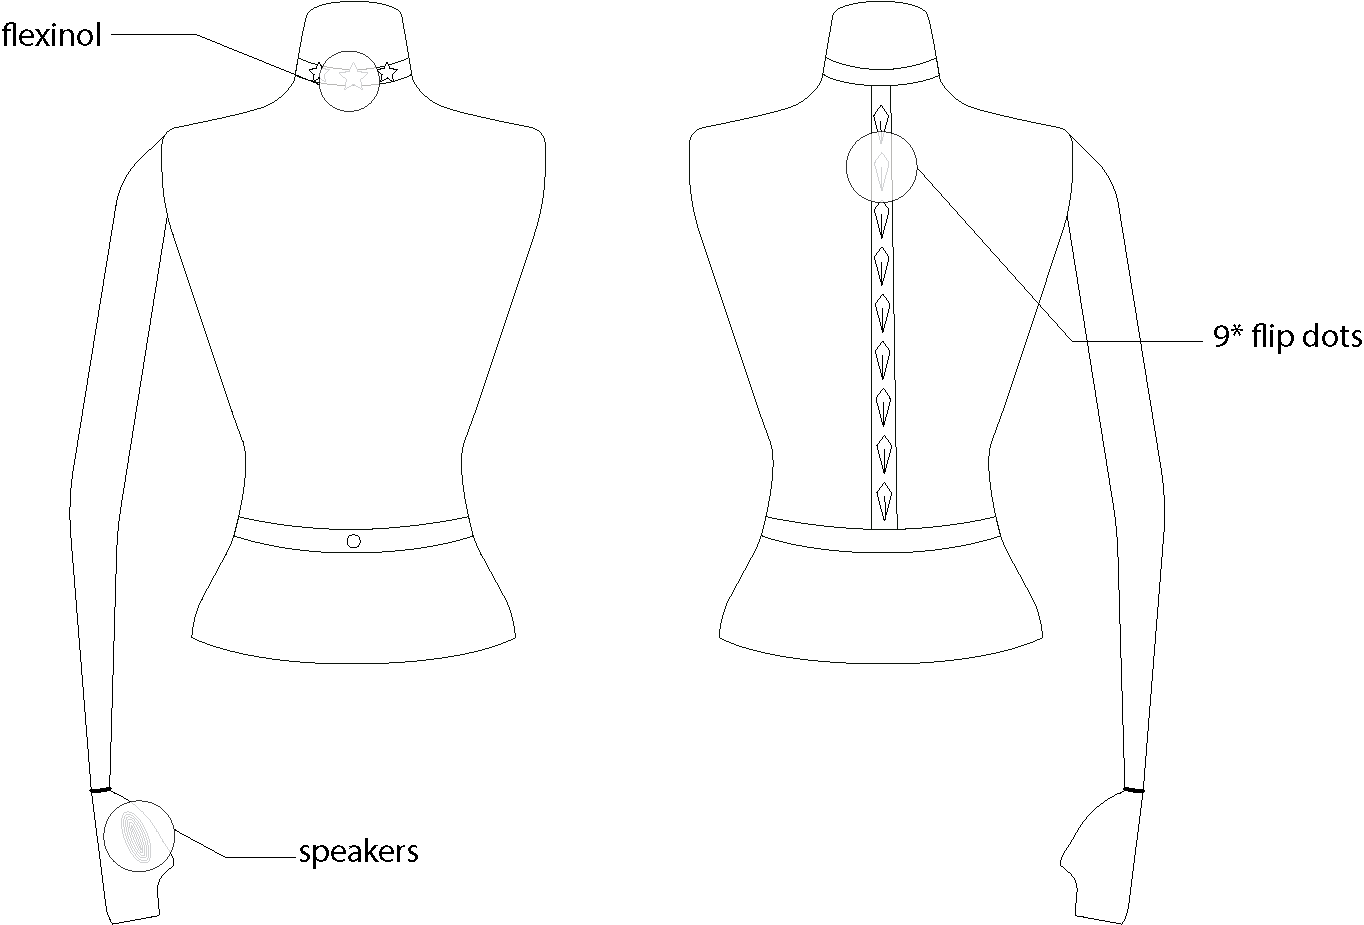
Then we started thinking about how the movement of the flowers on the neck would look like. We wanted the to become spikier once the flexinol wire shrinks too.
Making
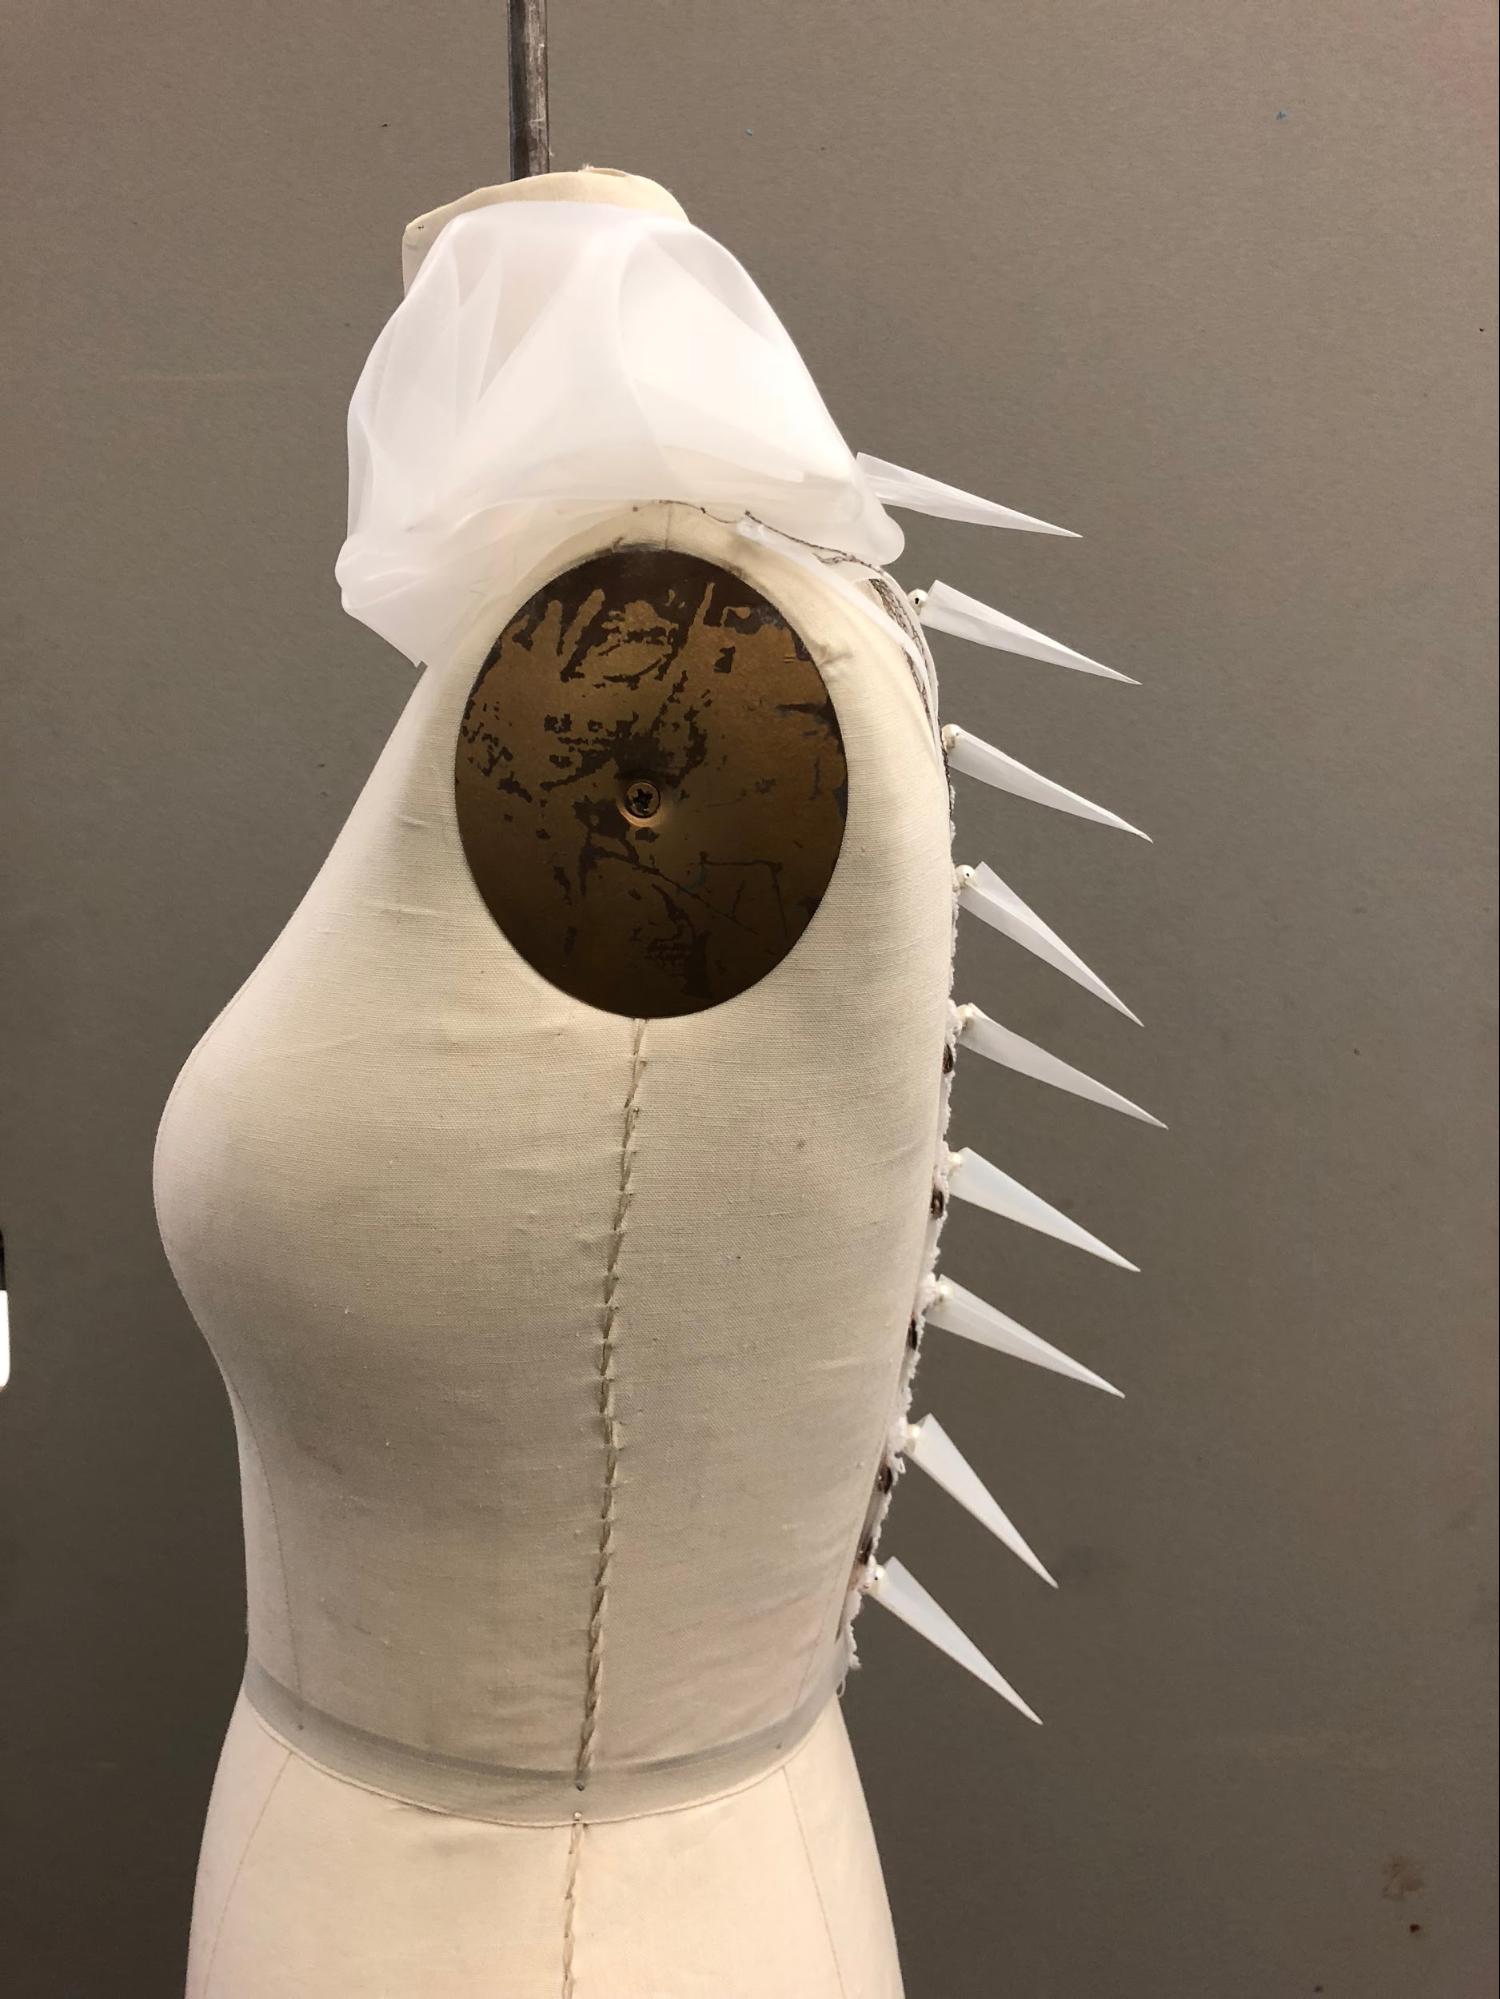
The Spike
We made spikes to attach to the flip dots. However, the initial material we made the spikes from resulted to be too heavy for the flip dots, so we used rice paper for flip dots that do activate.
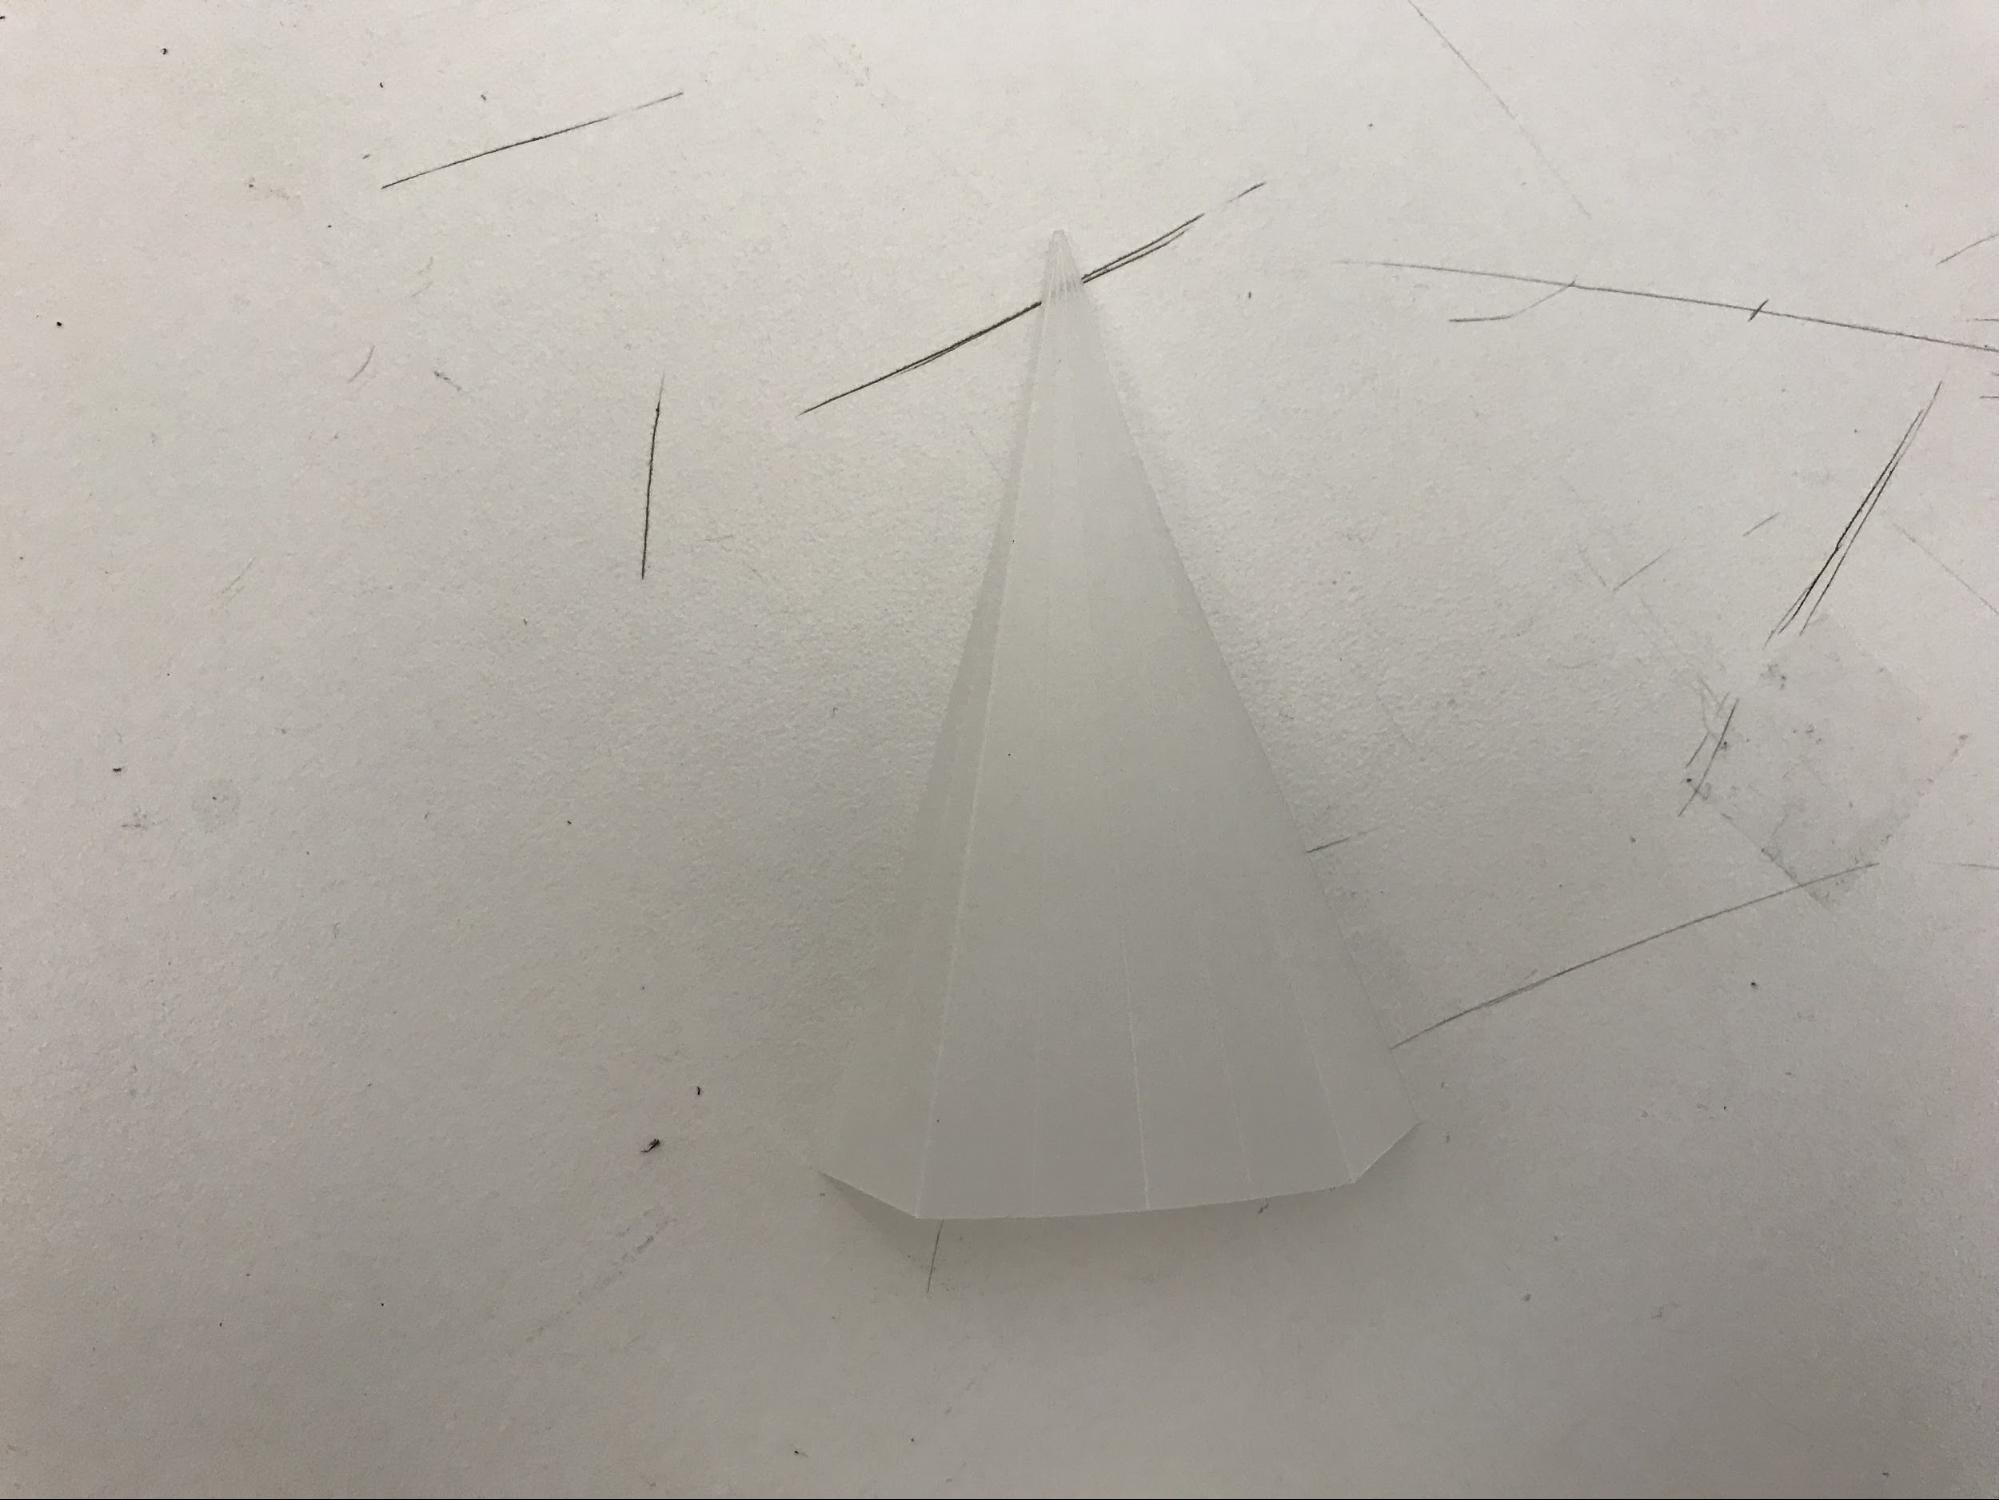
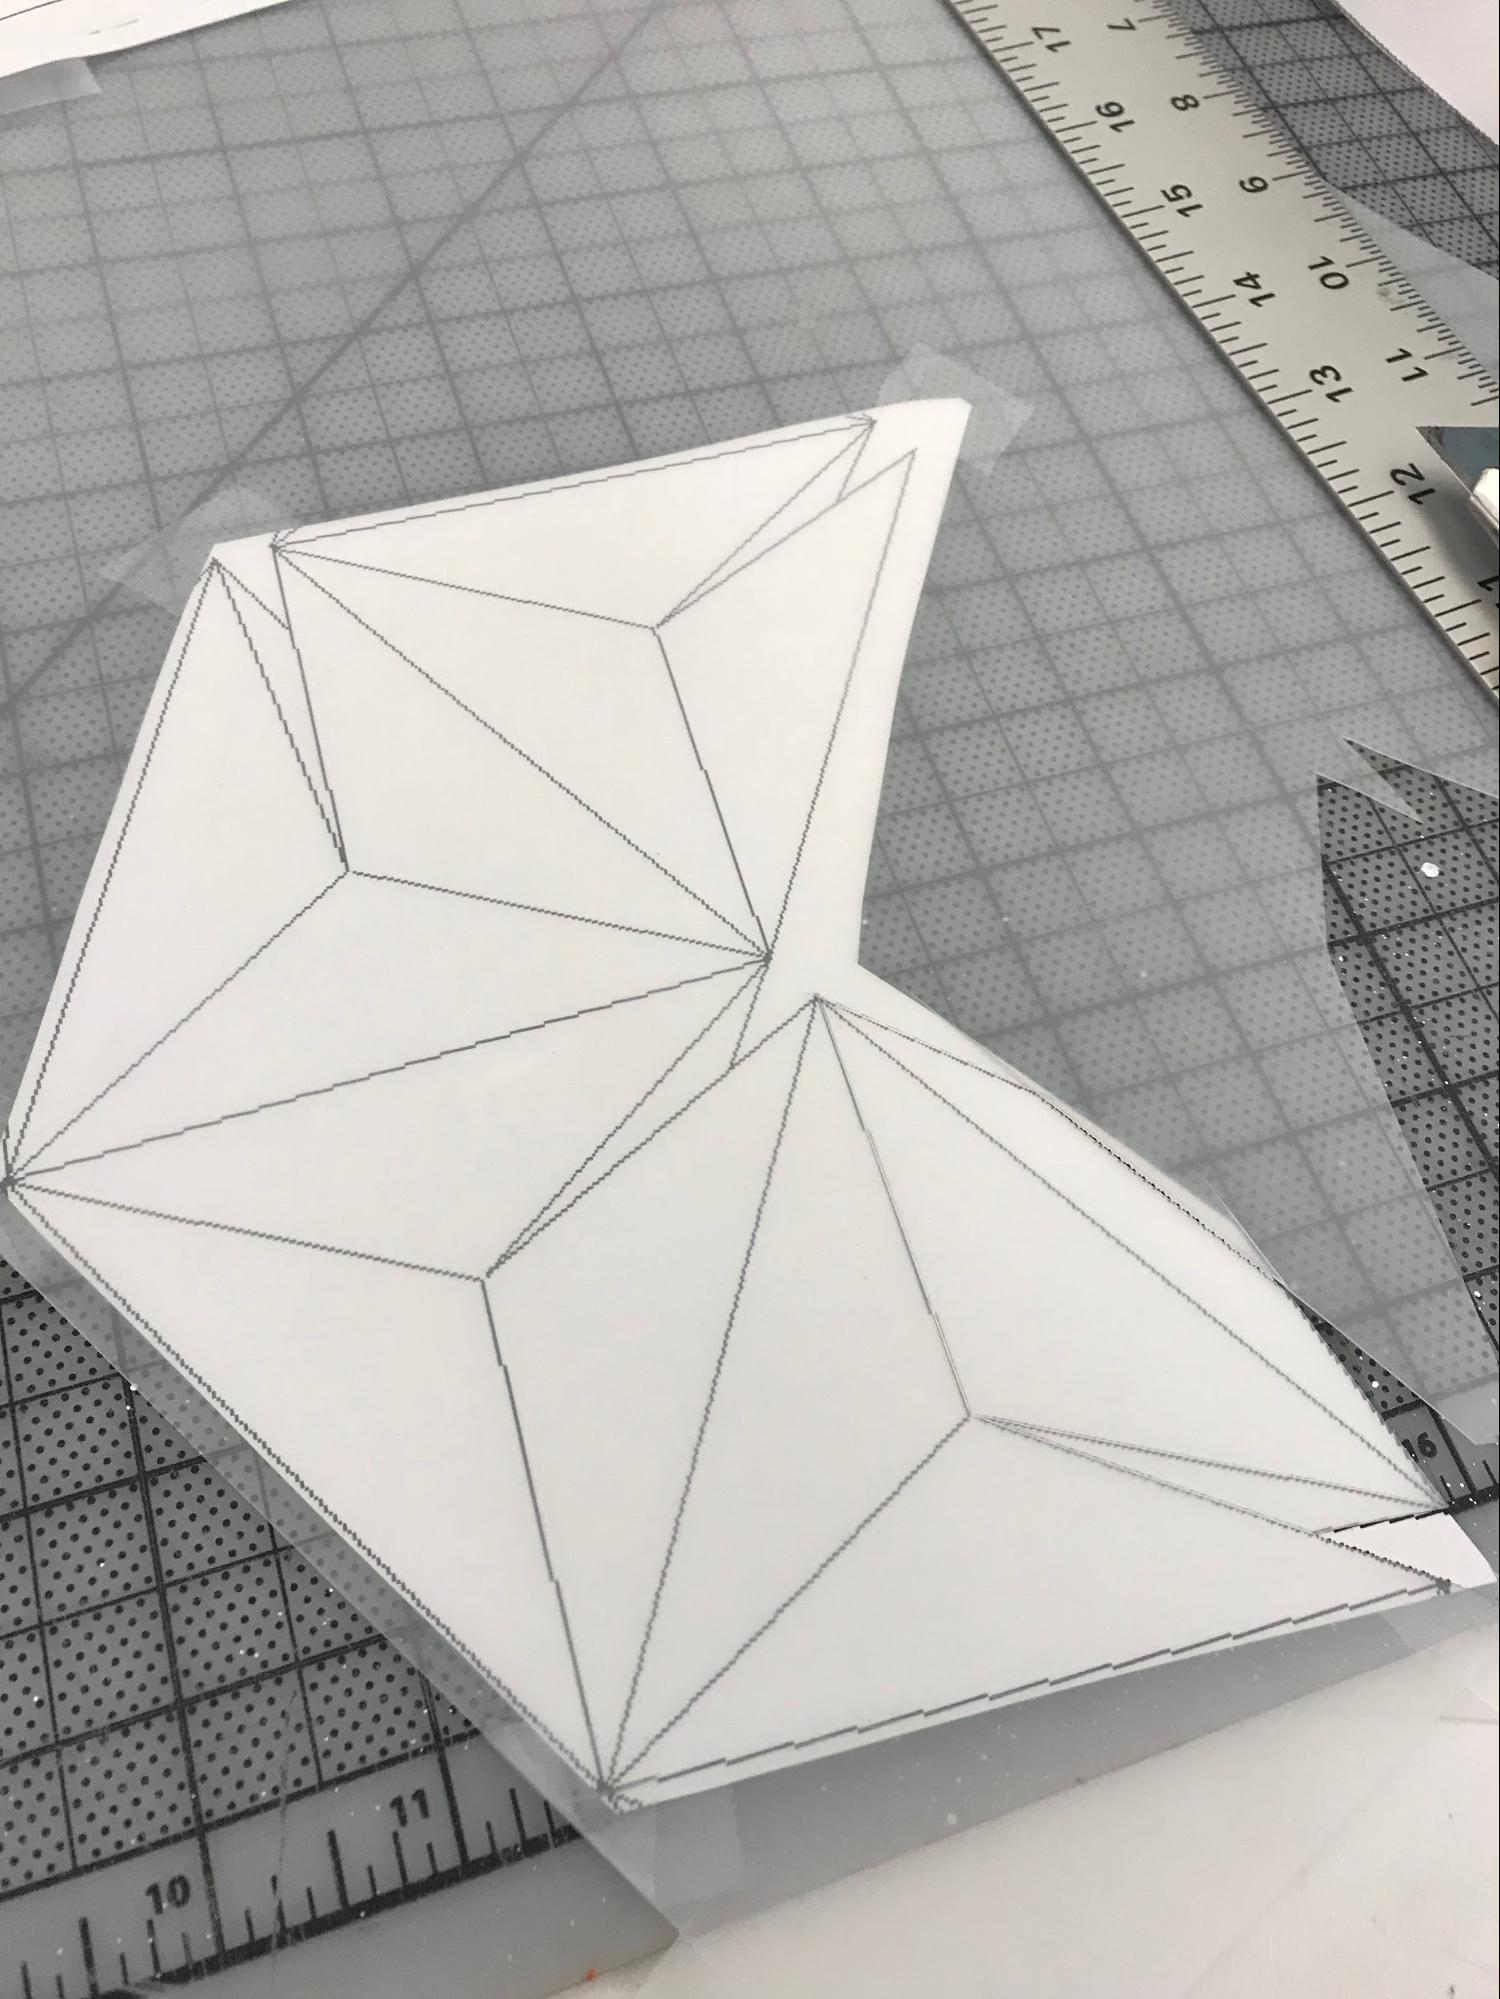
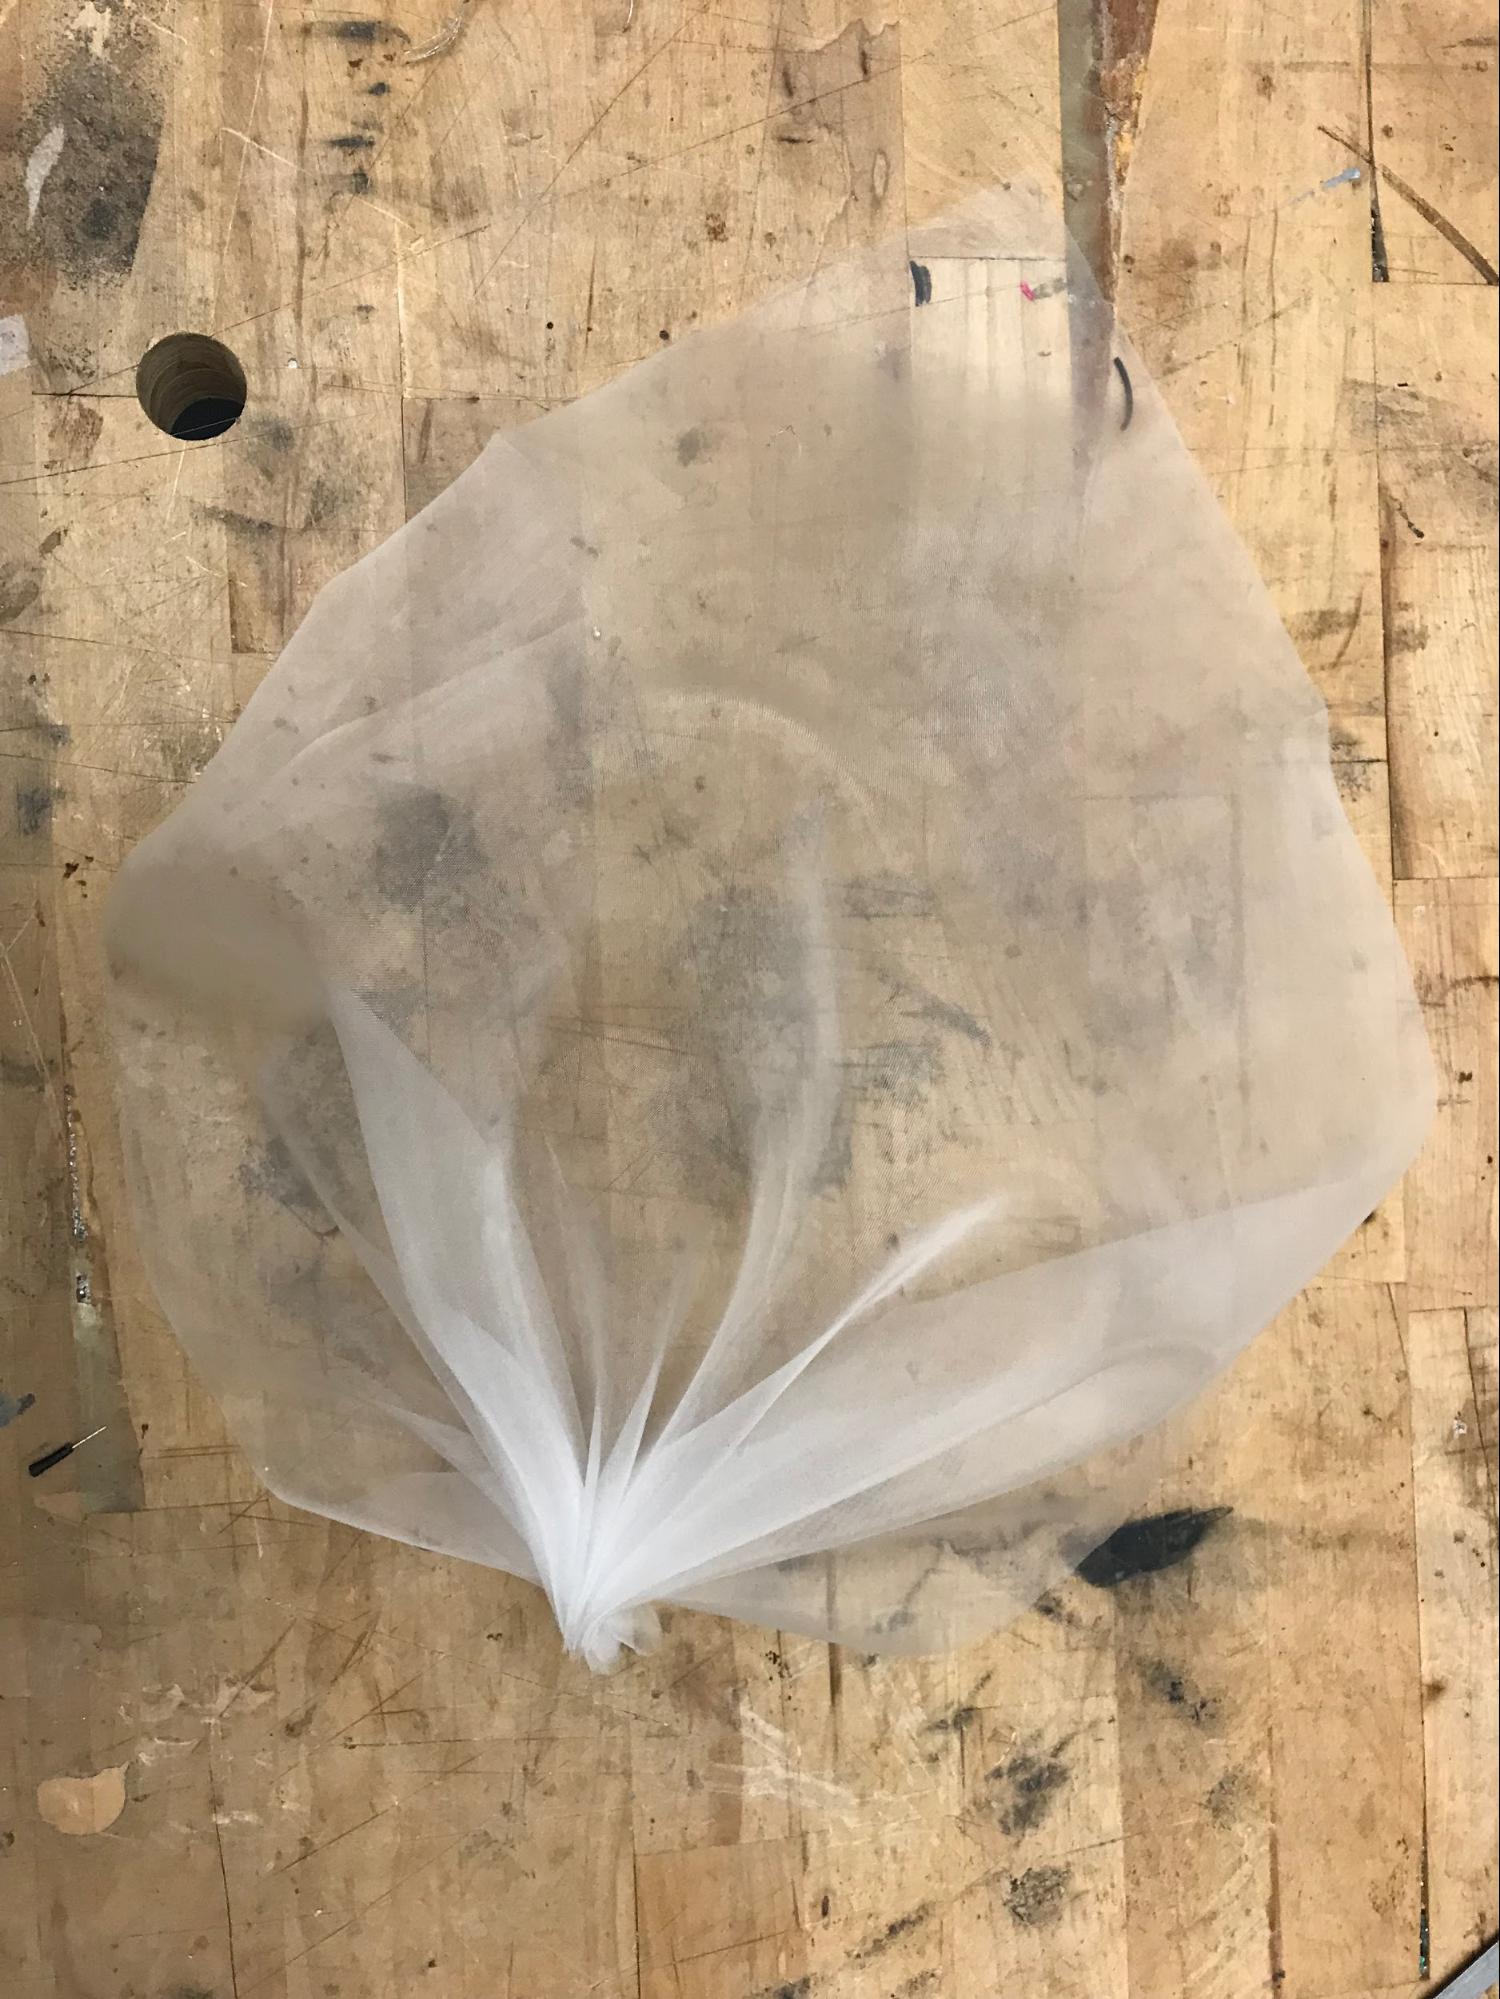
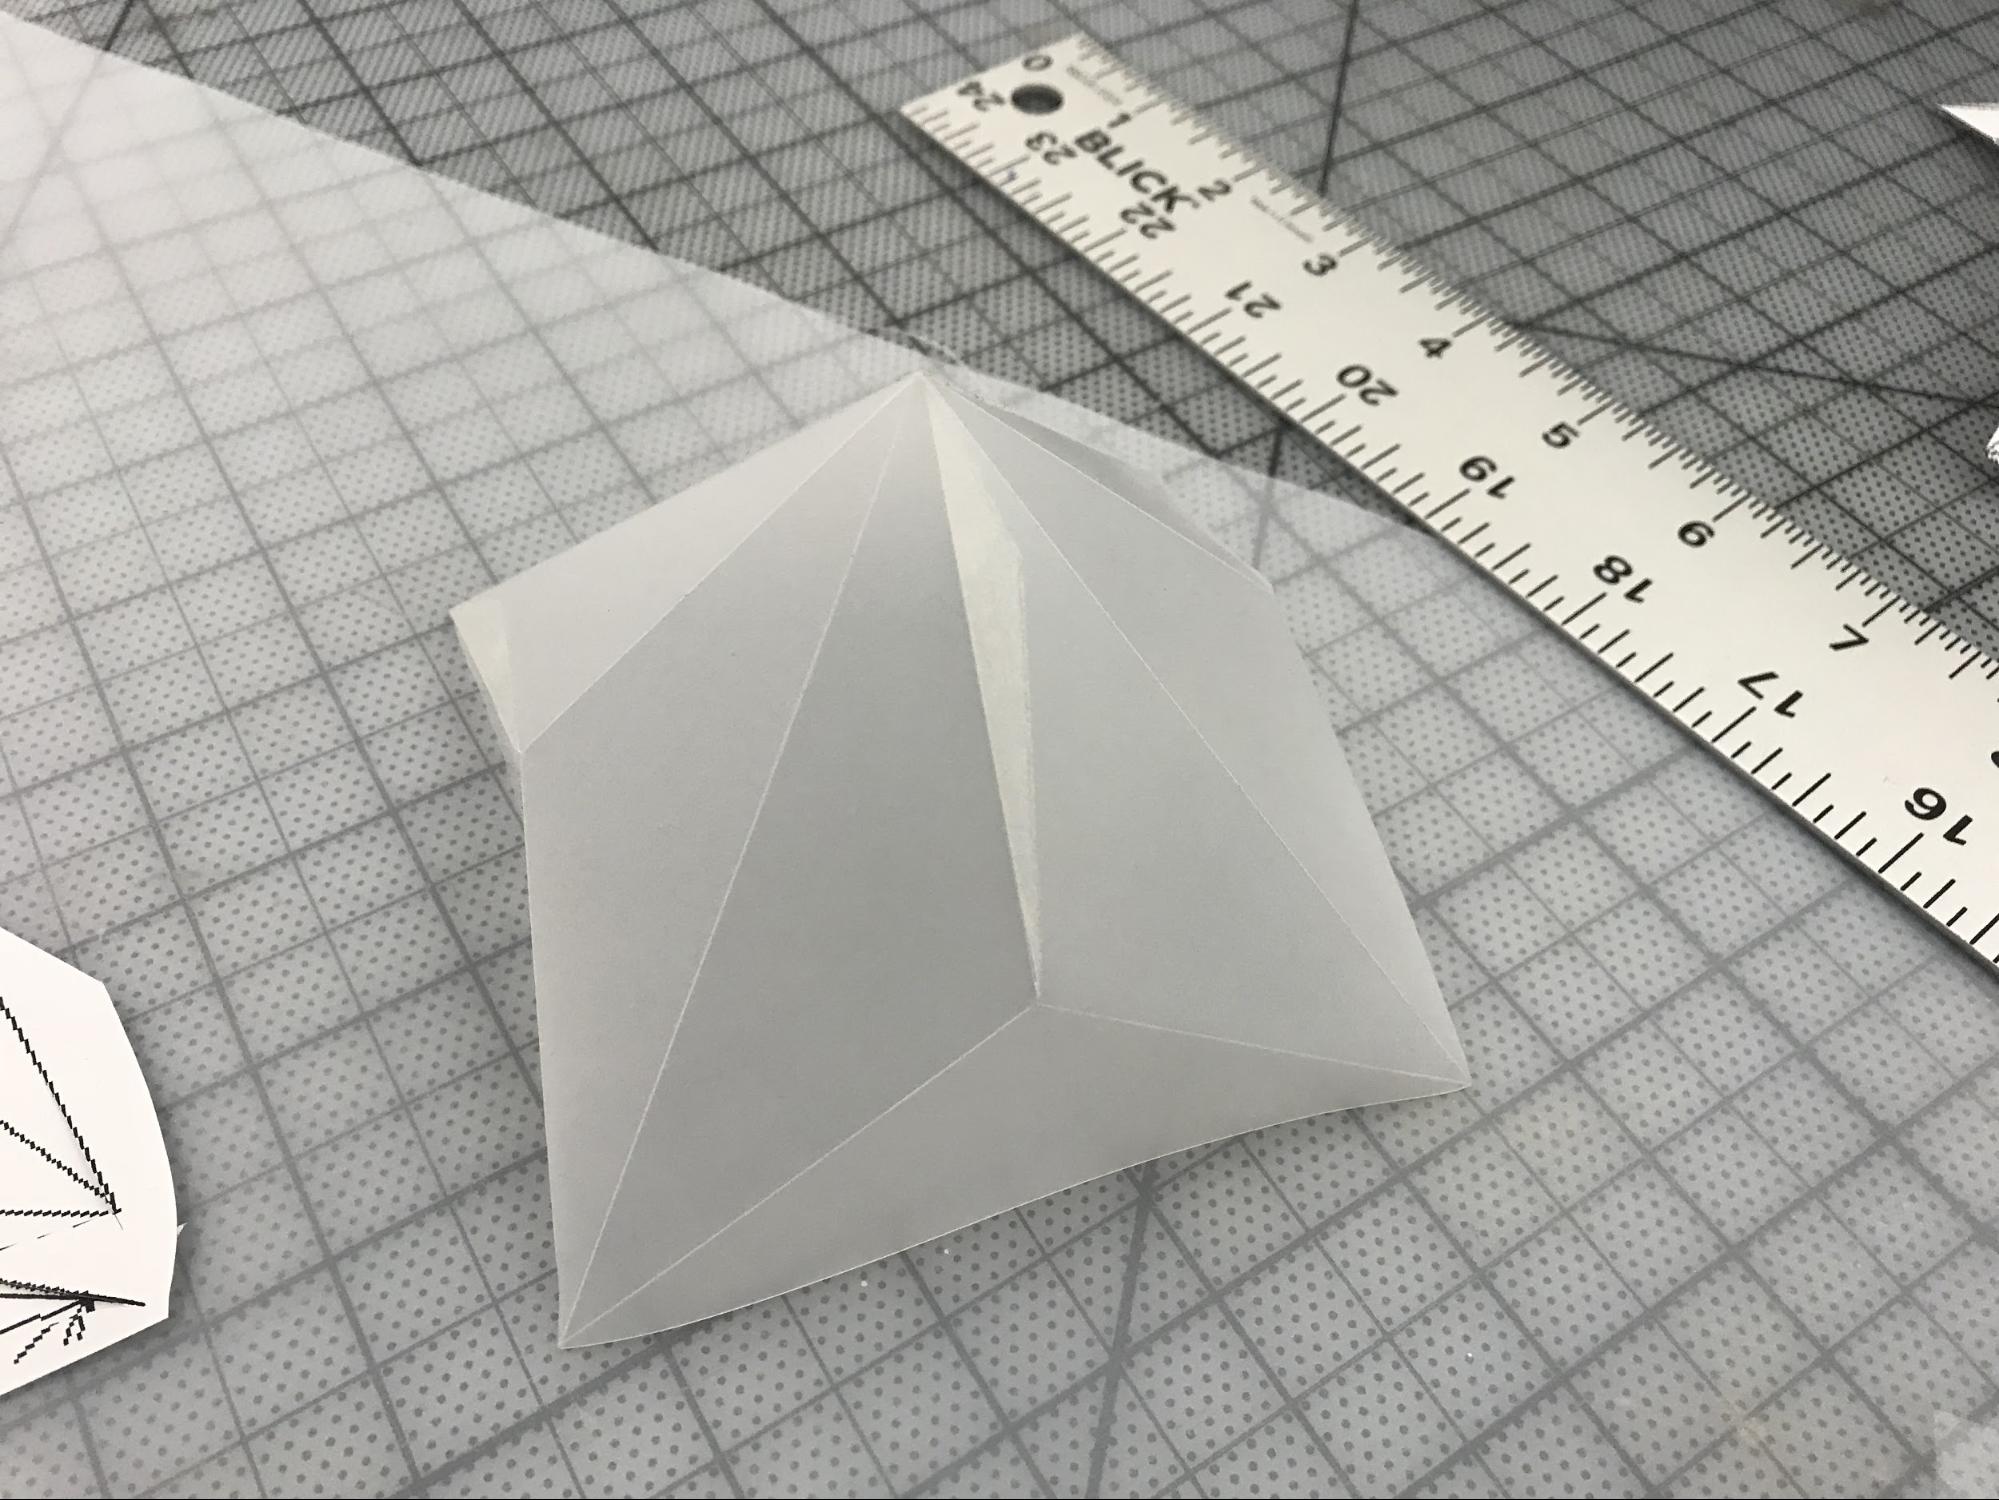
Diamond Shoulder
We also made 2 diamond shoulder pieces to contain the batteries and the Arduino UNO, and covered them with tulle to make the appearance softer.
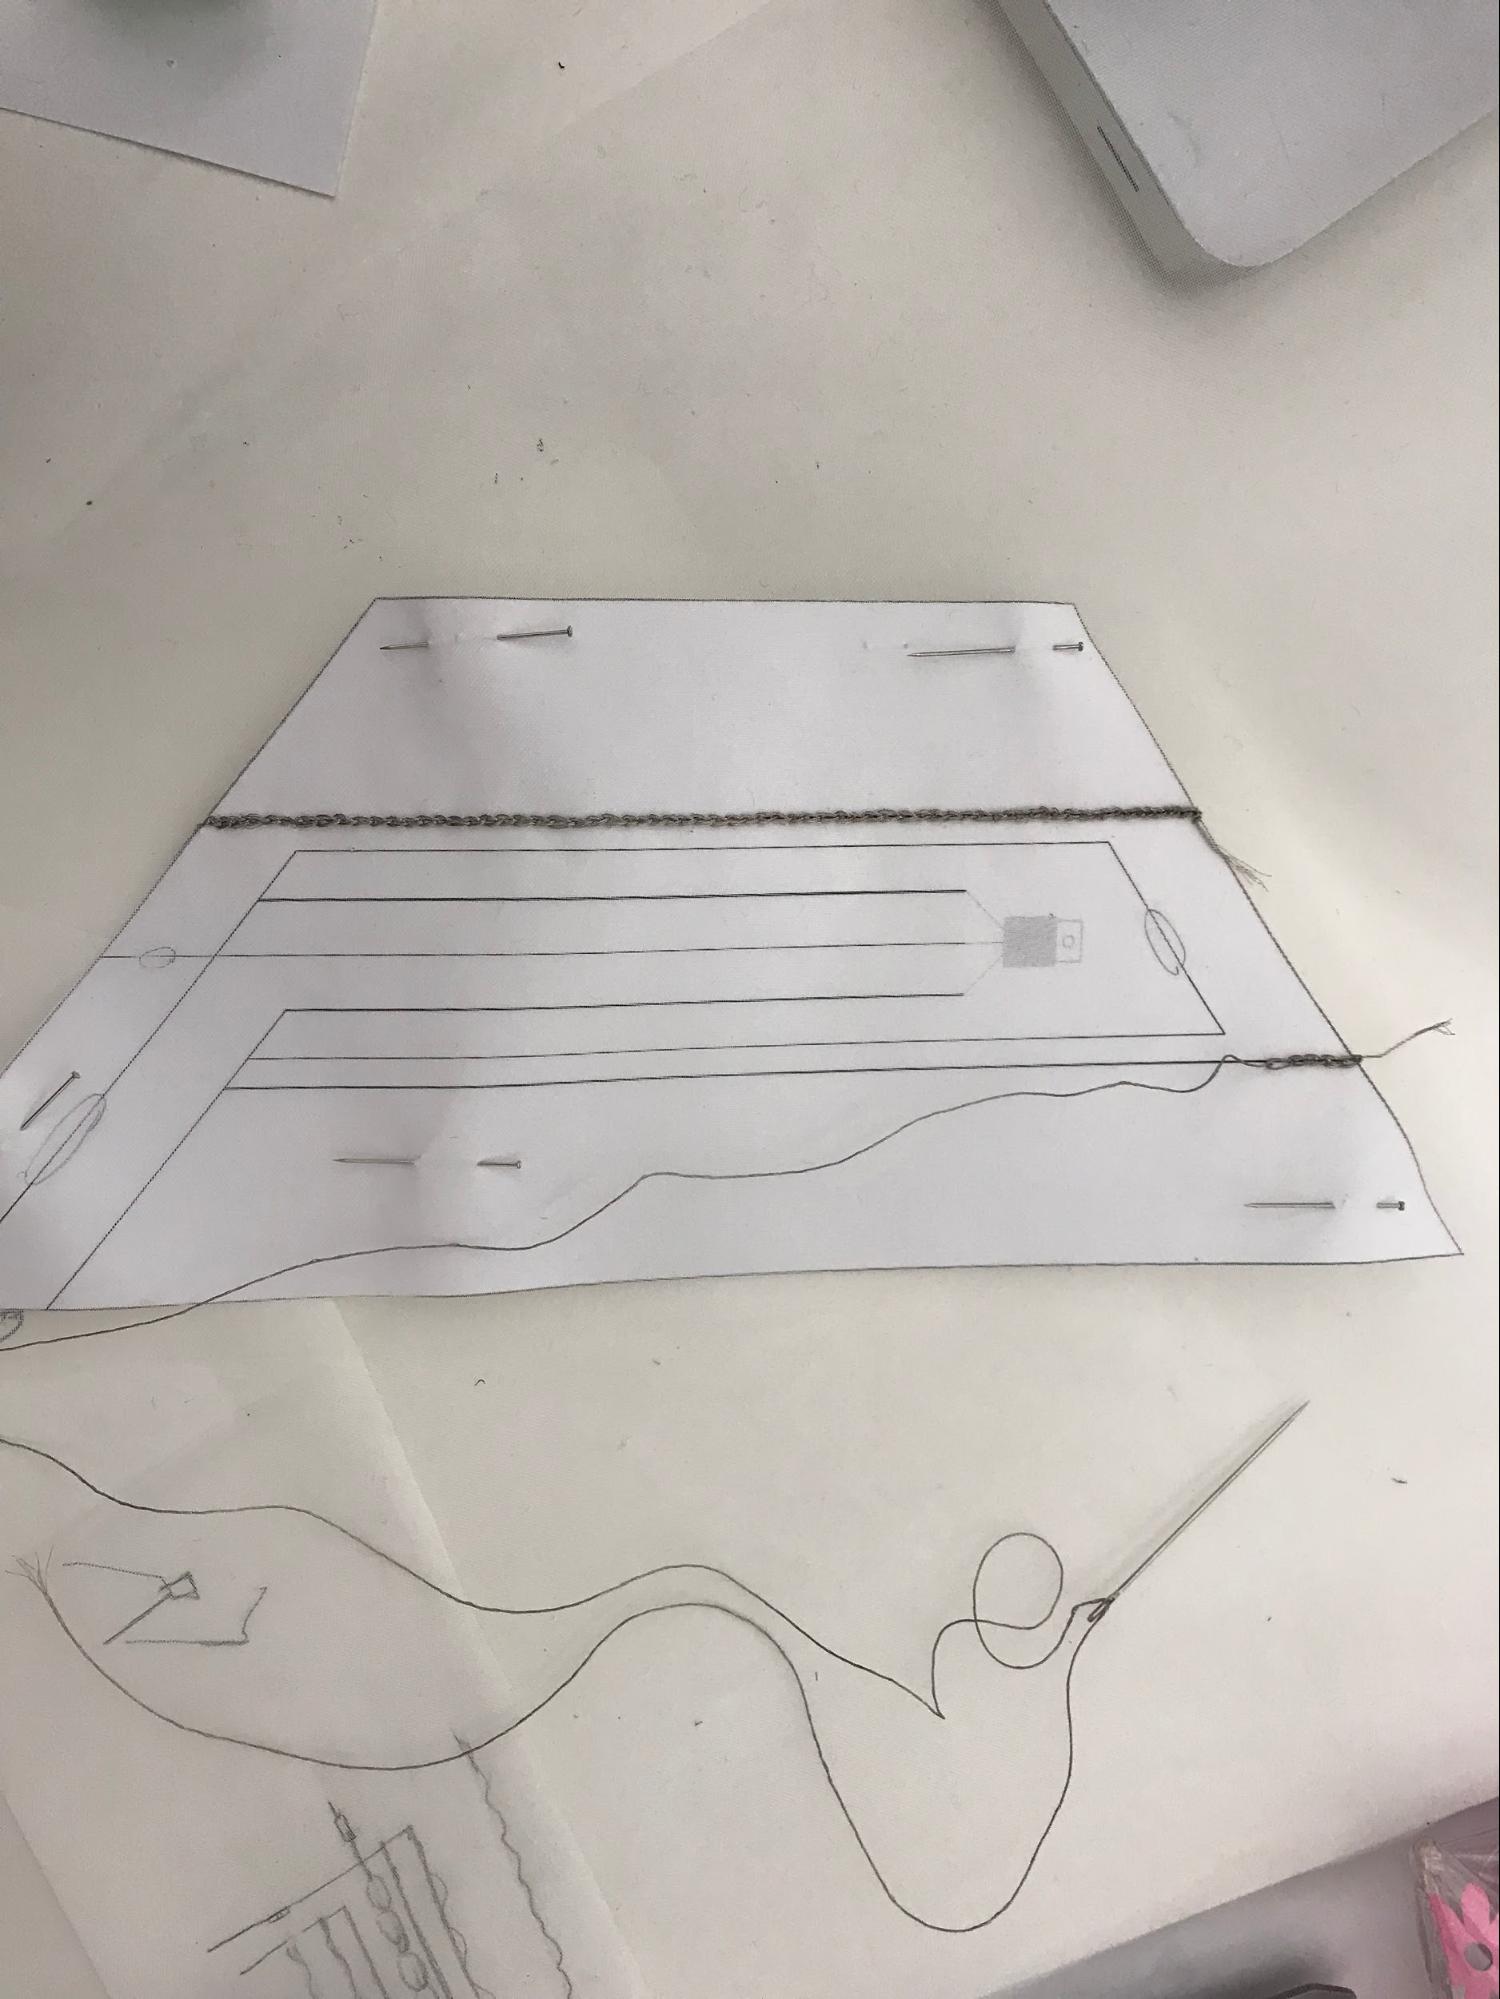
Circuit
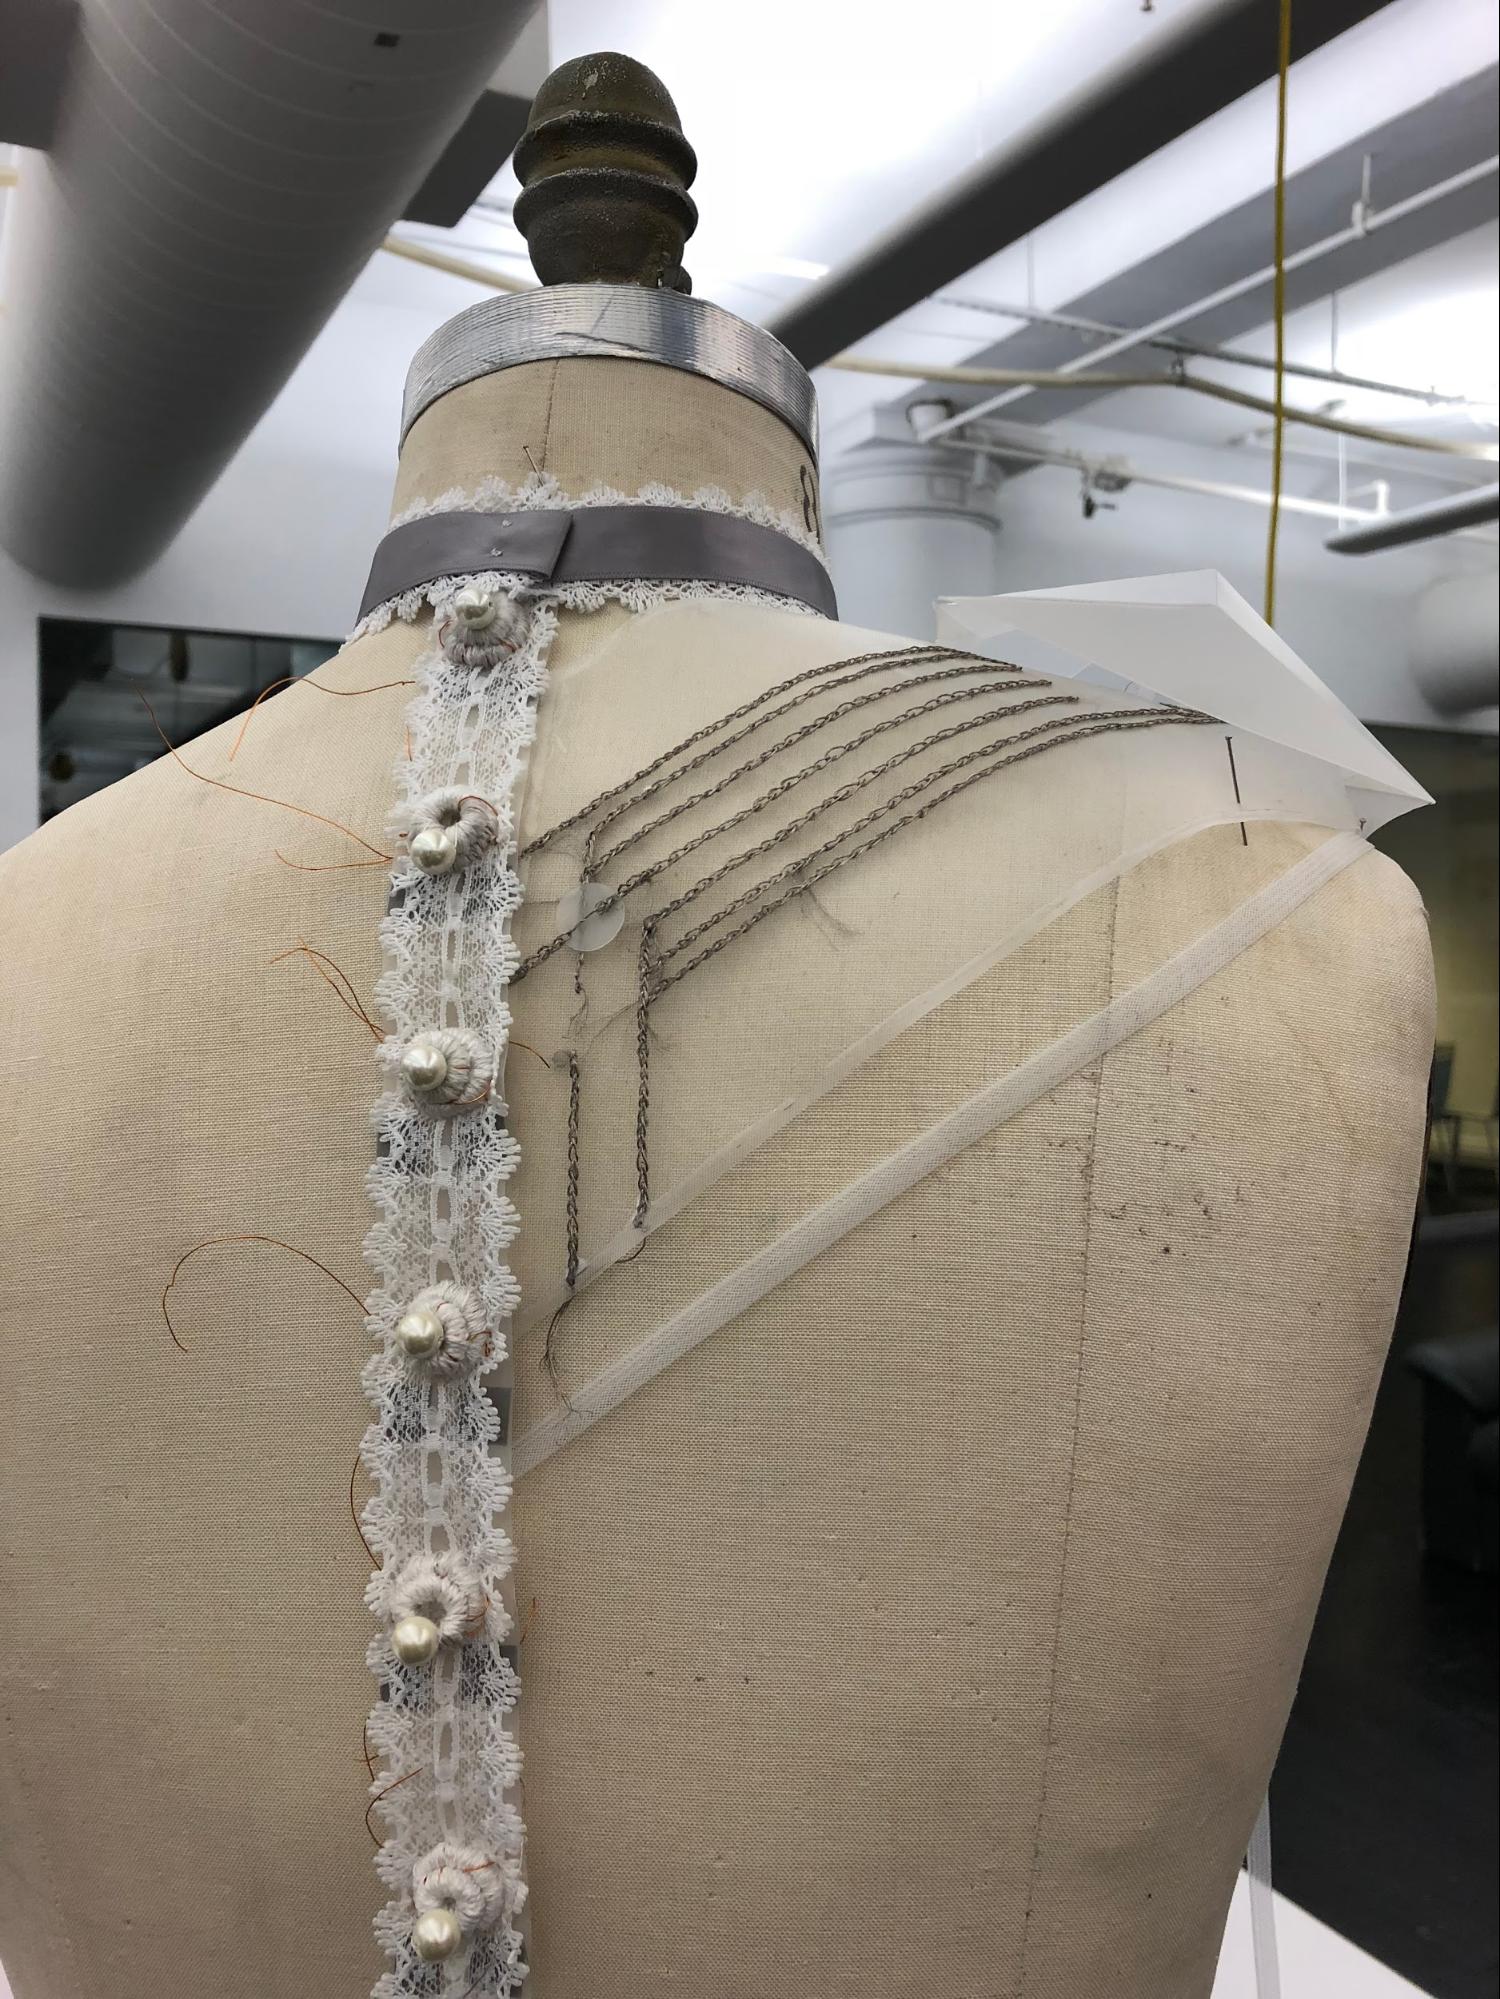
We also began to embroider the circuit into another piece of tulle in order to make it part of the back piece, as well as ease of access to connect to the batteries and Arduino on the shoulder.
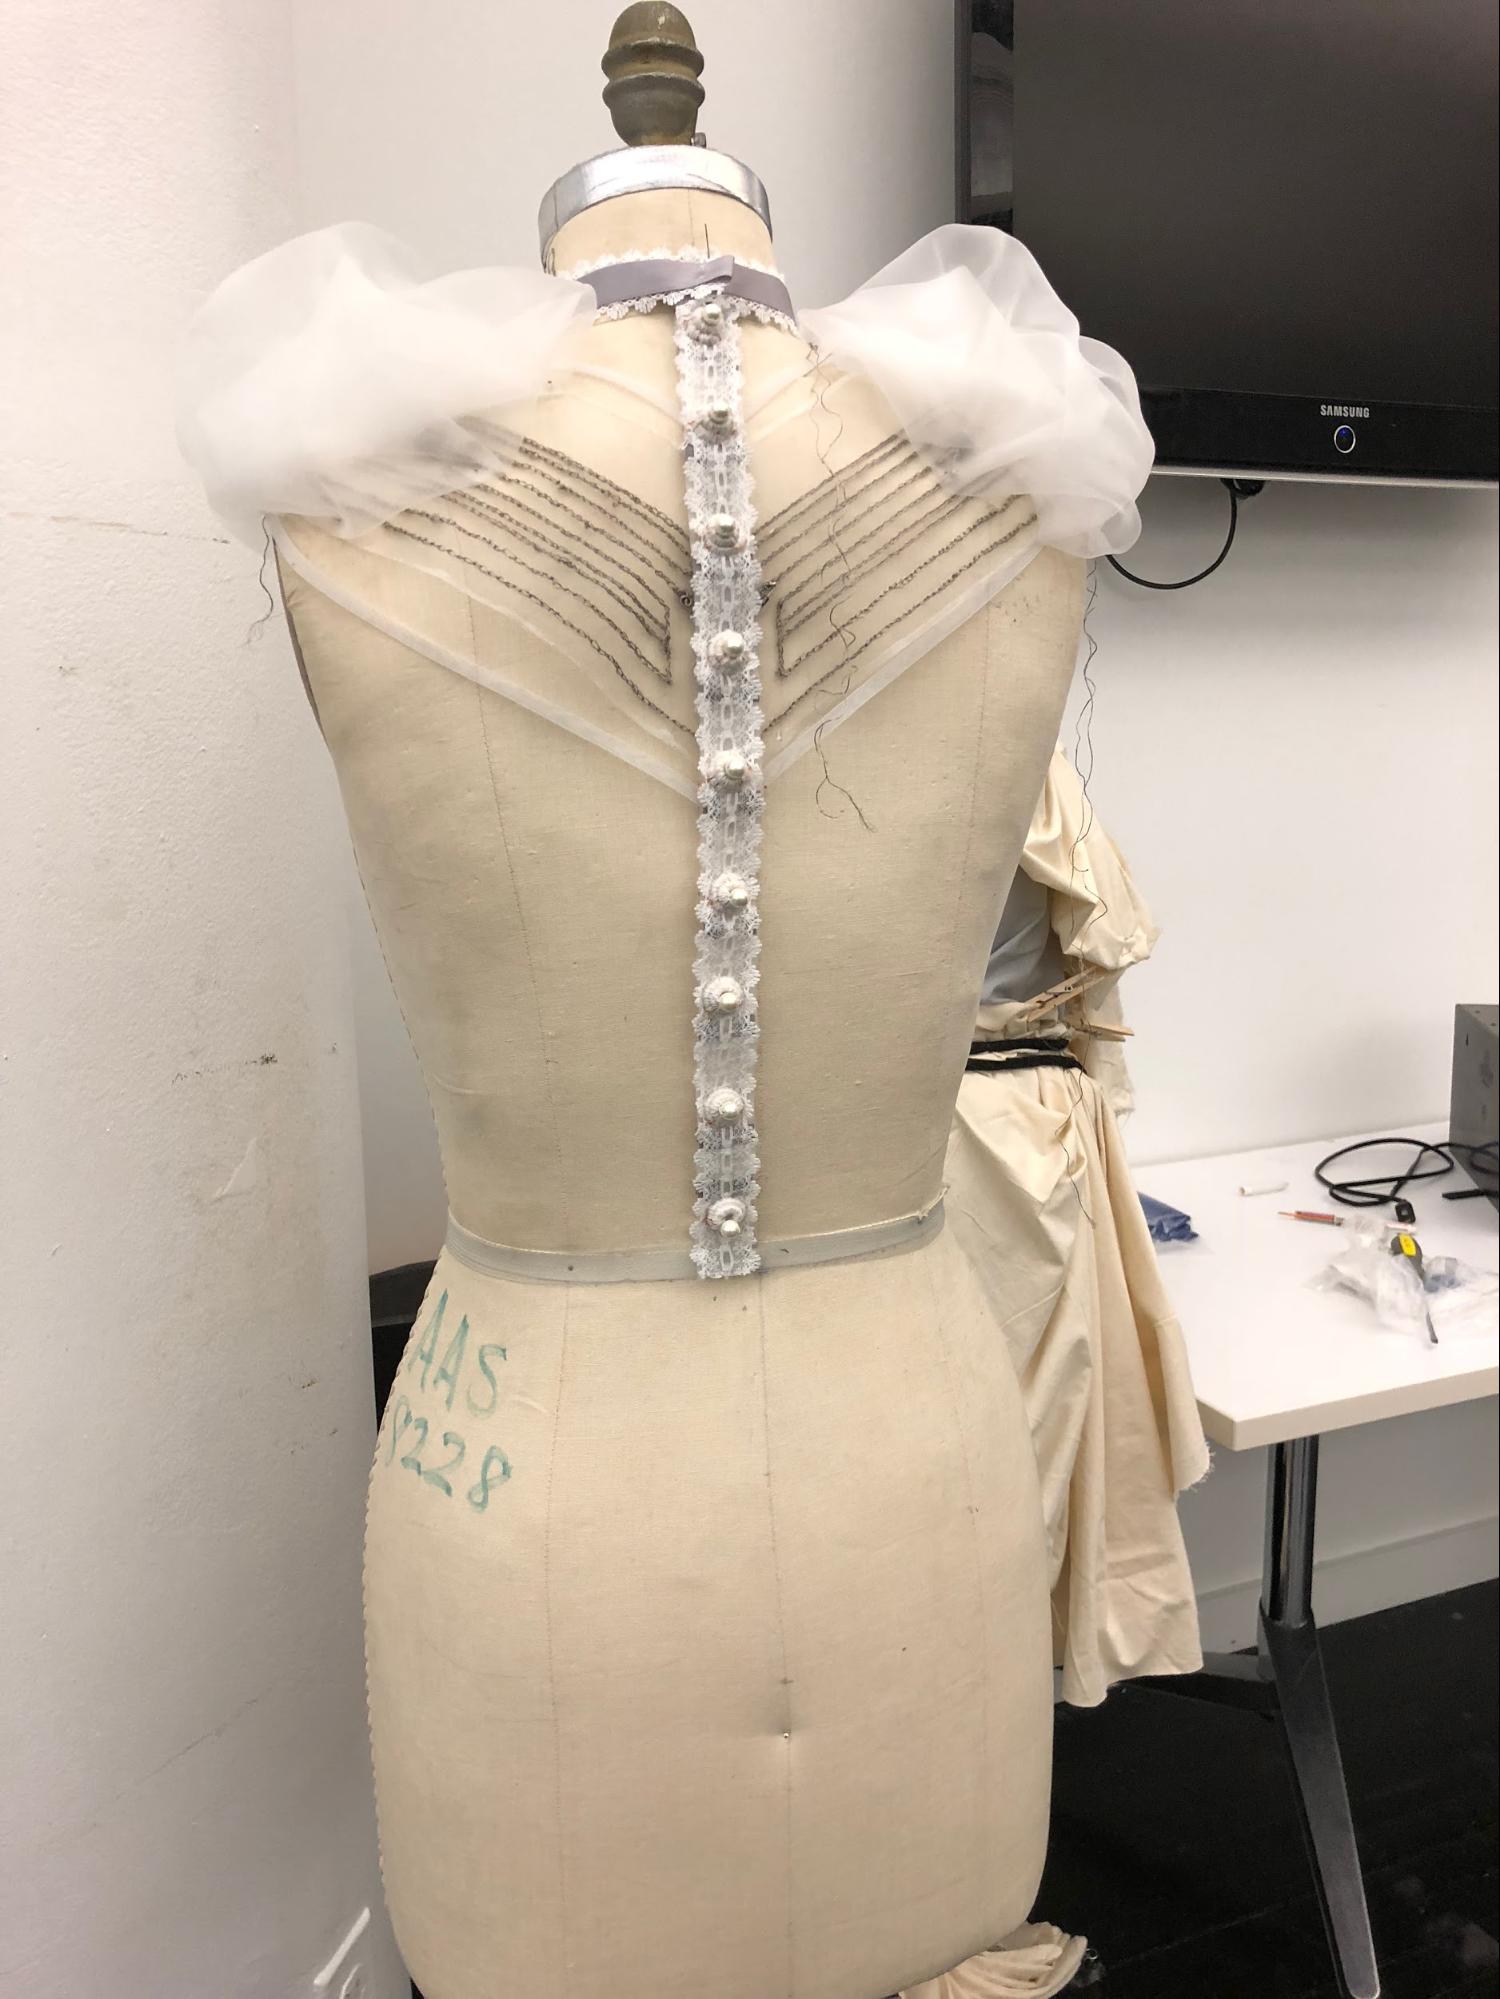
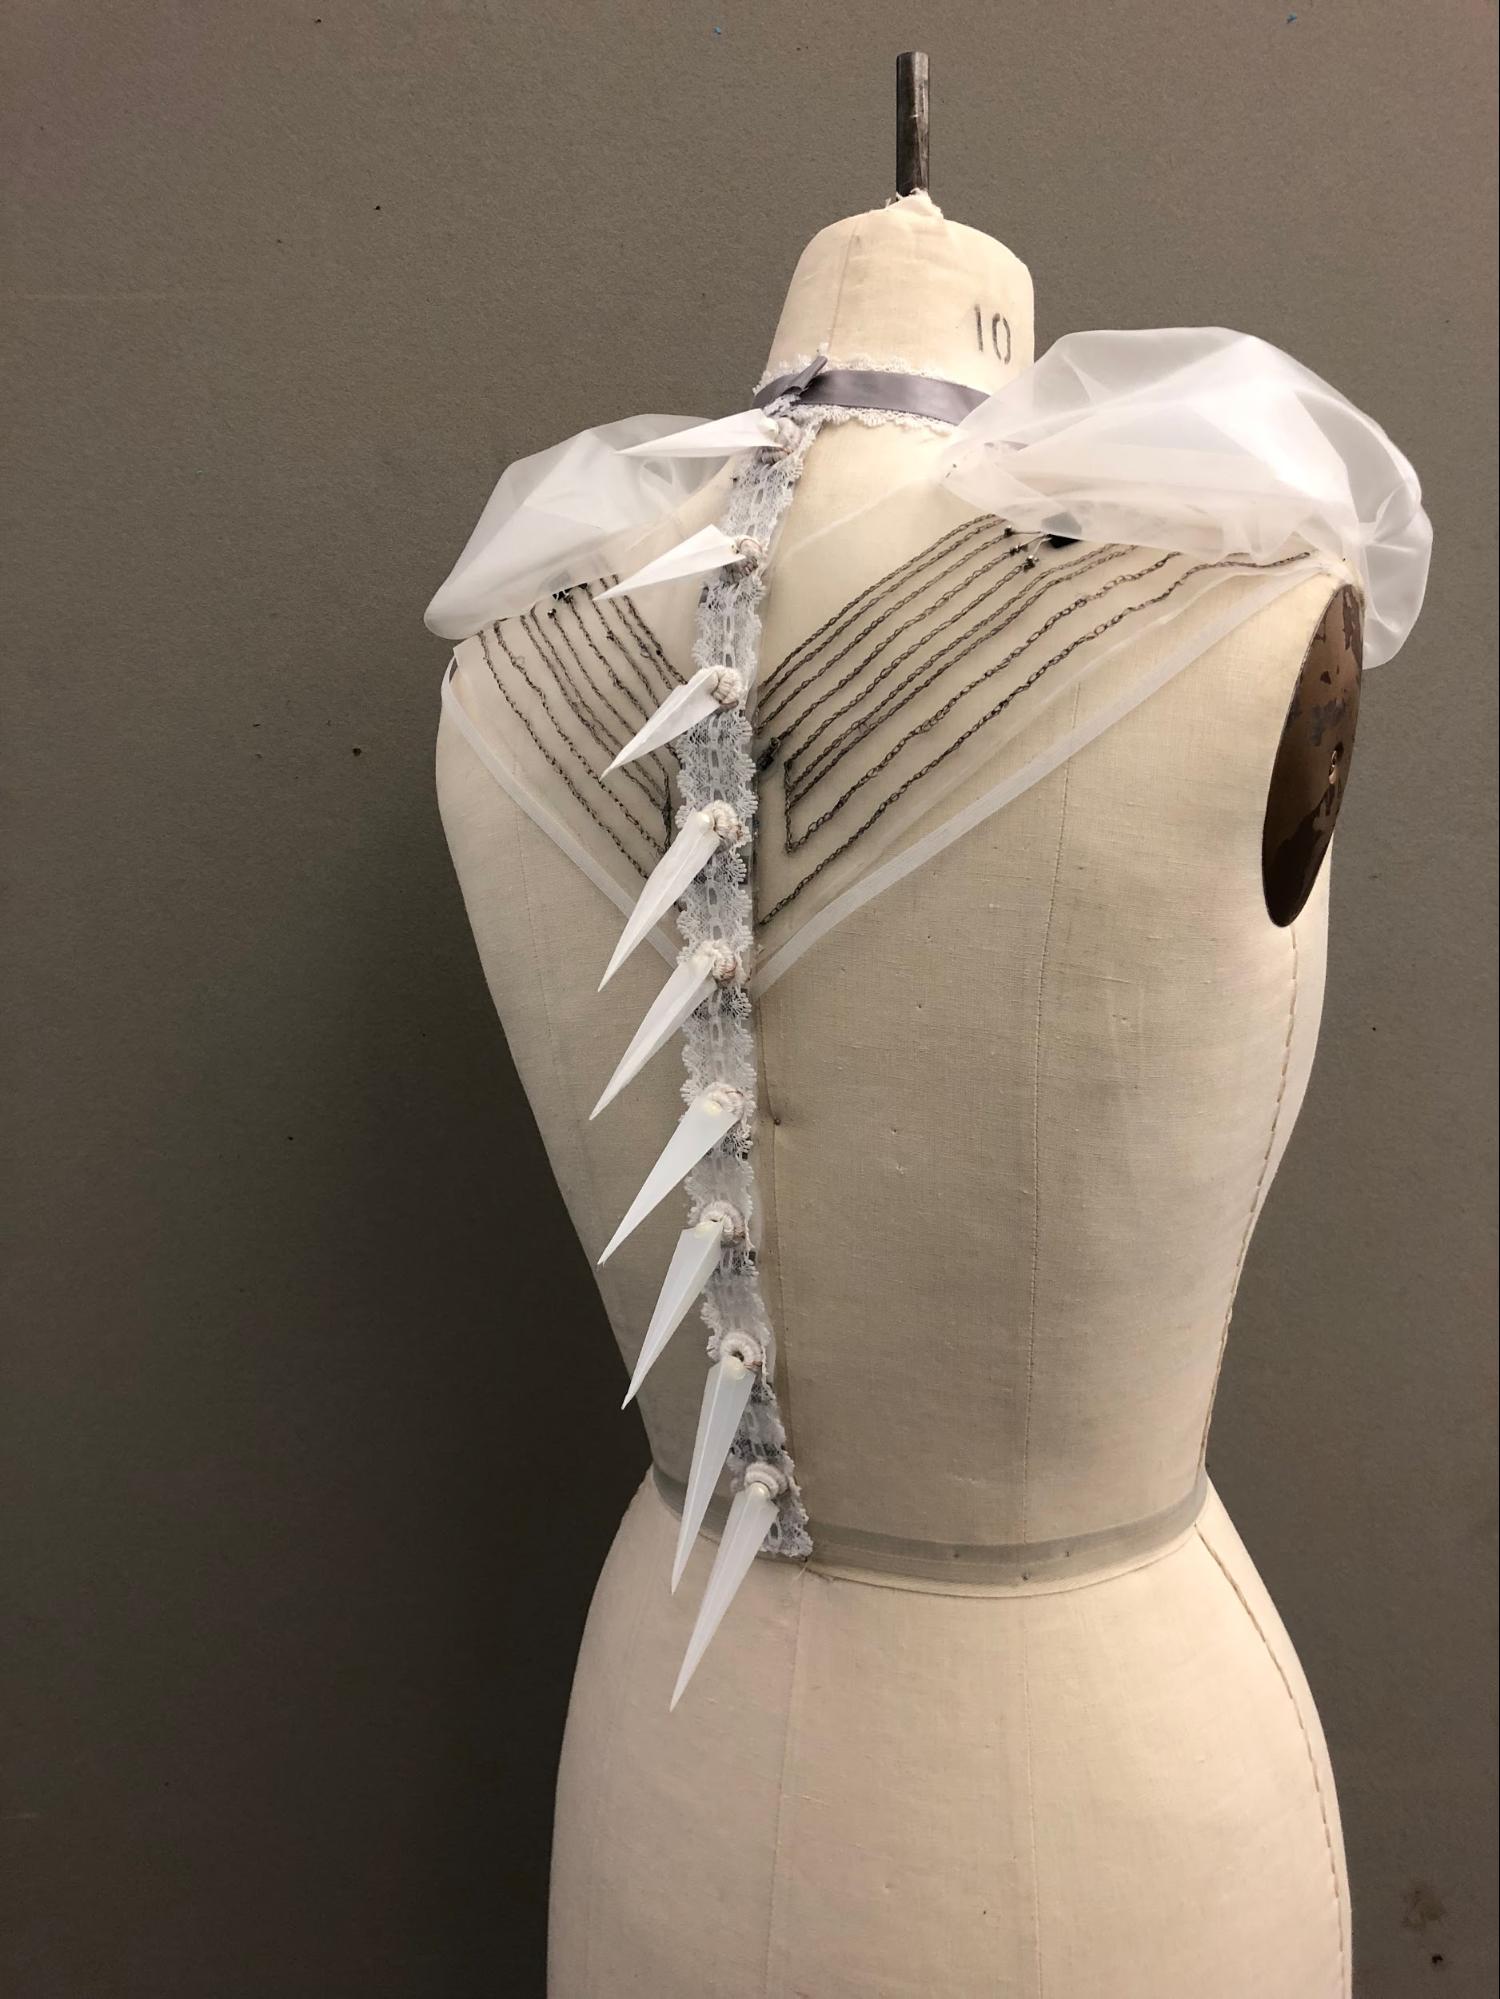
Back piece
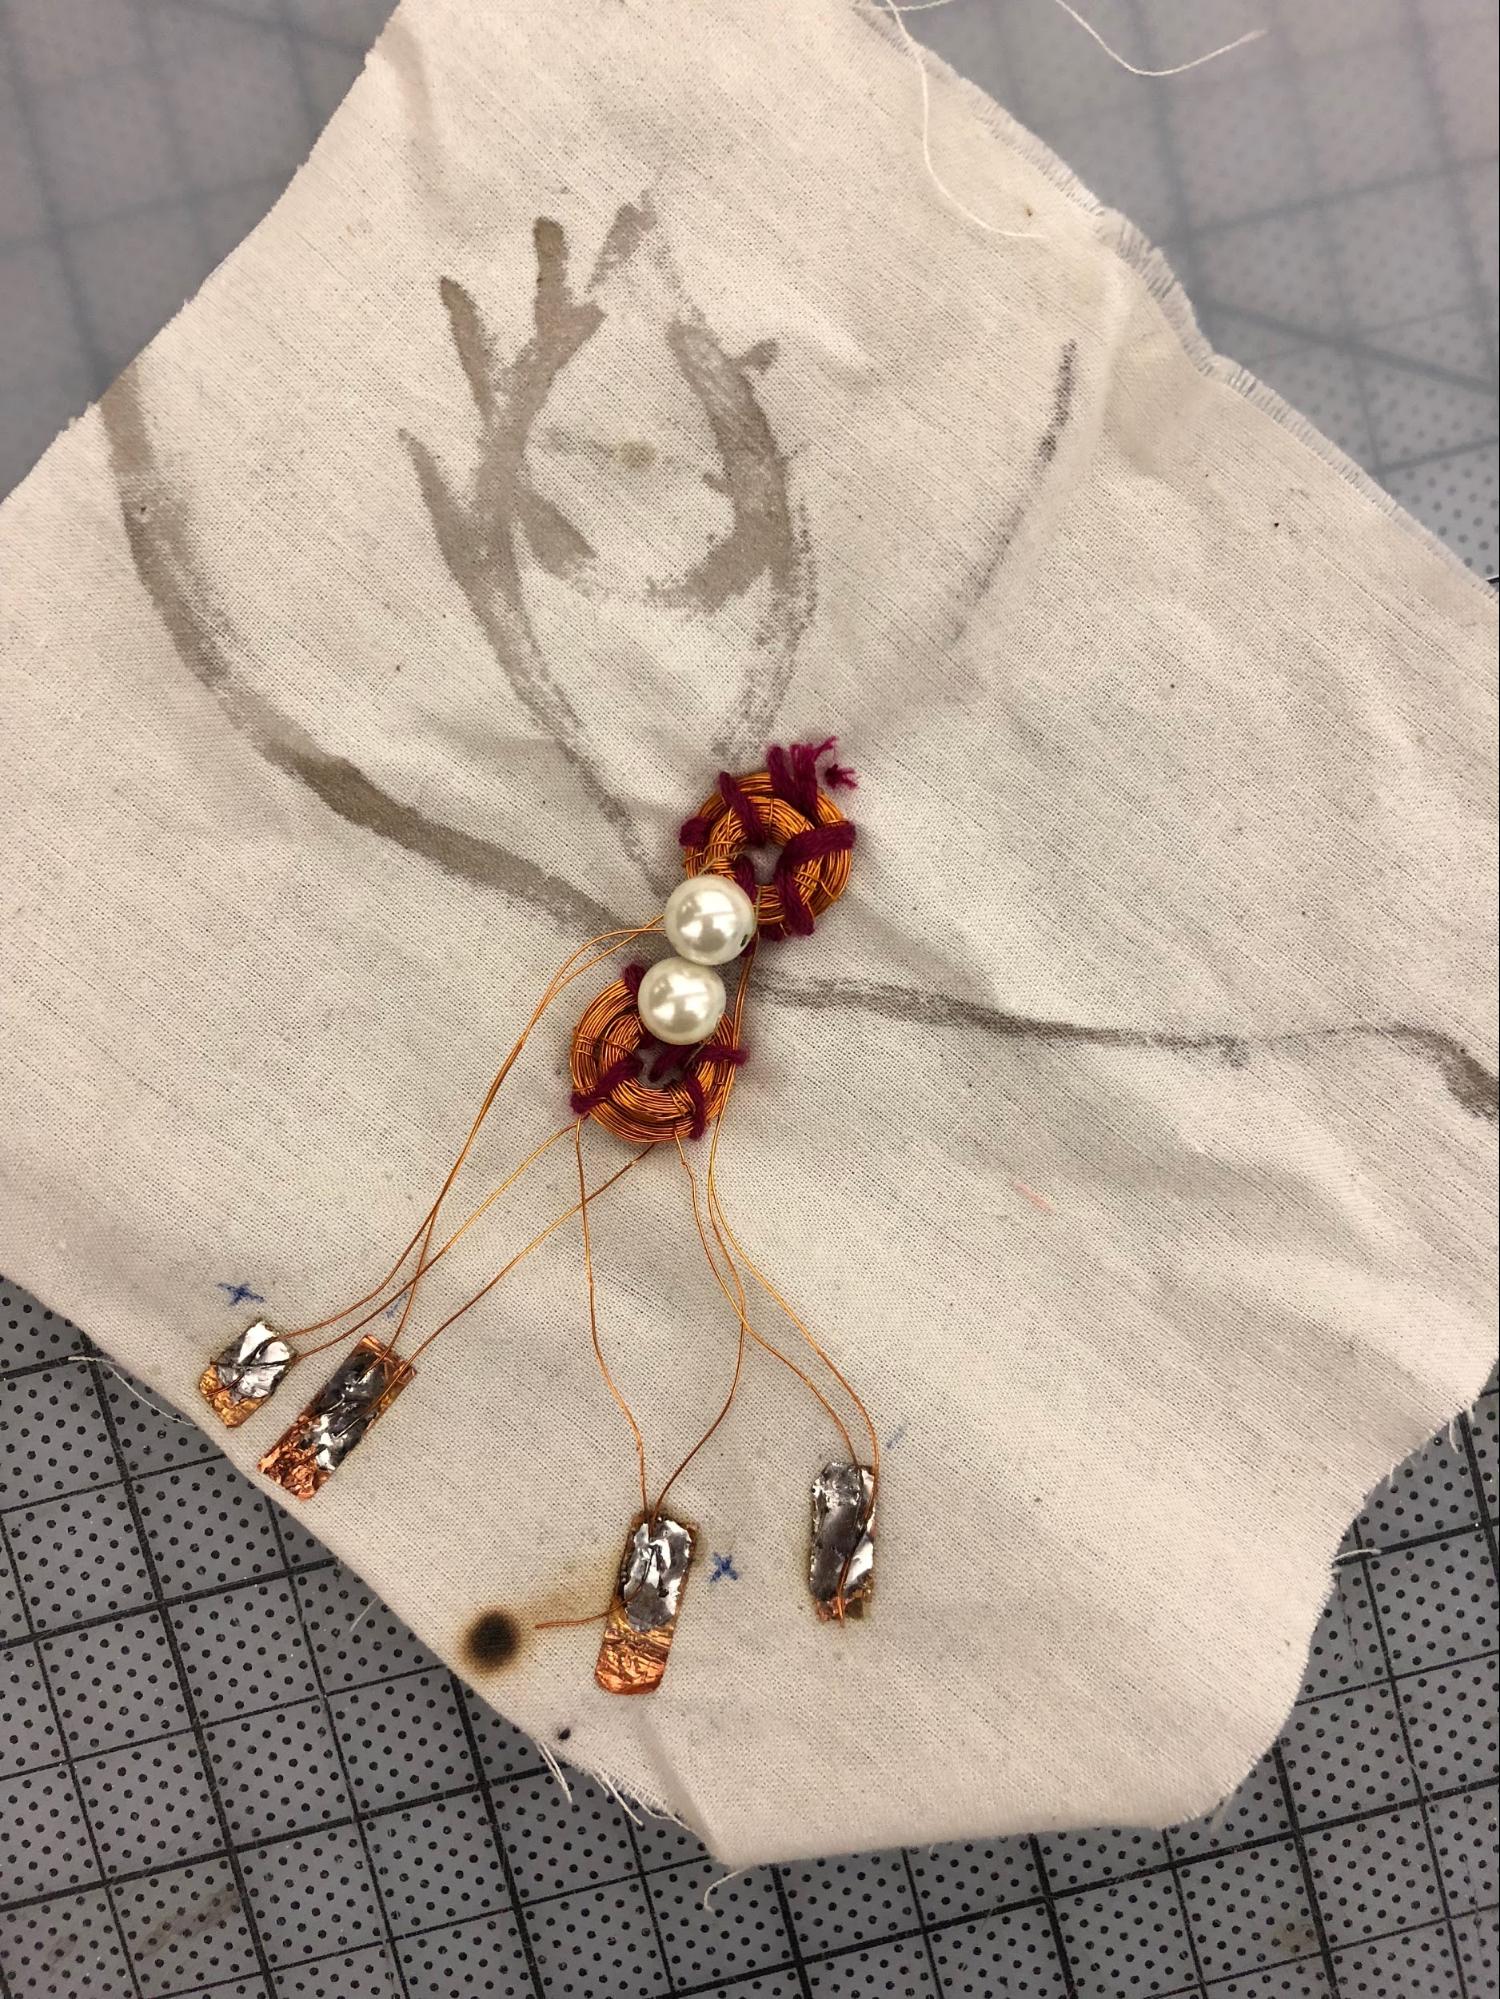
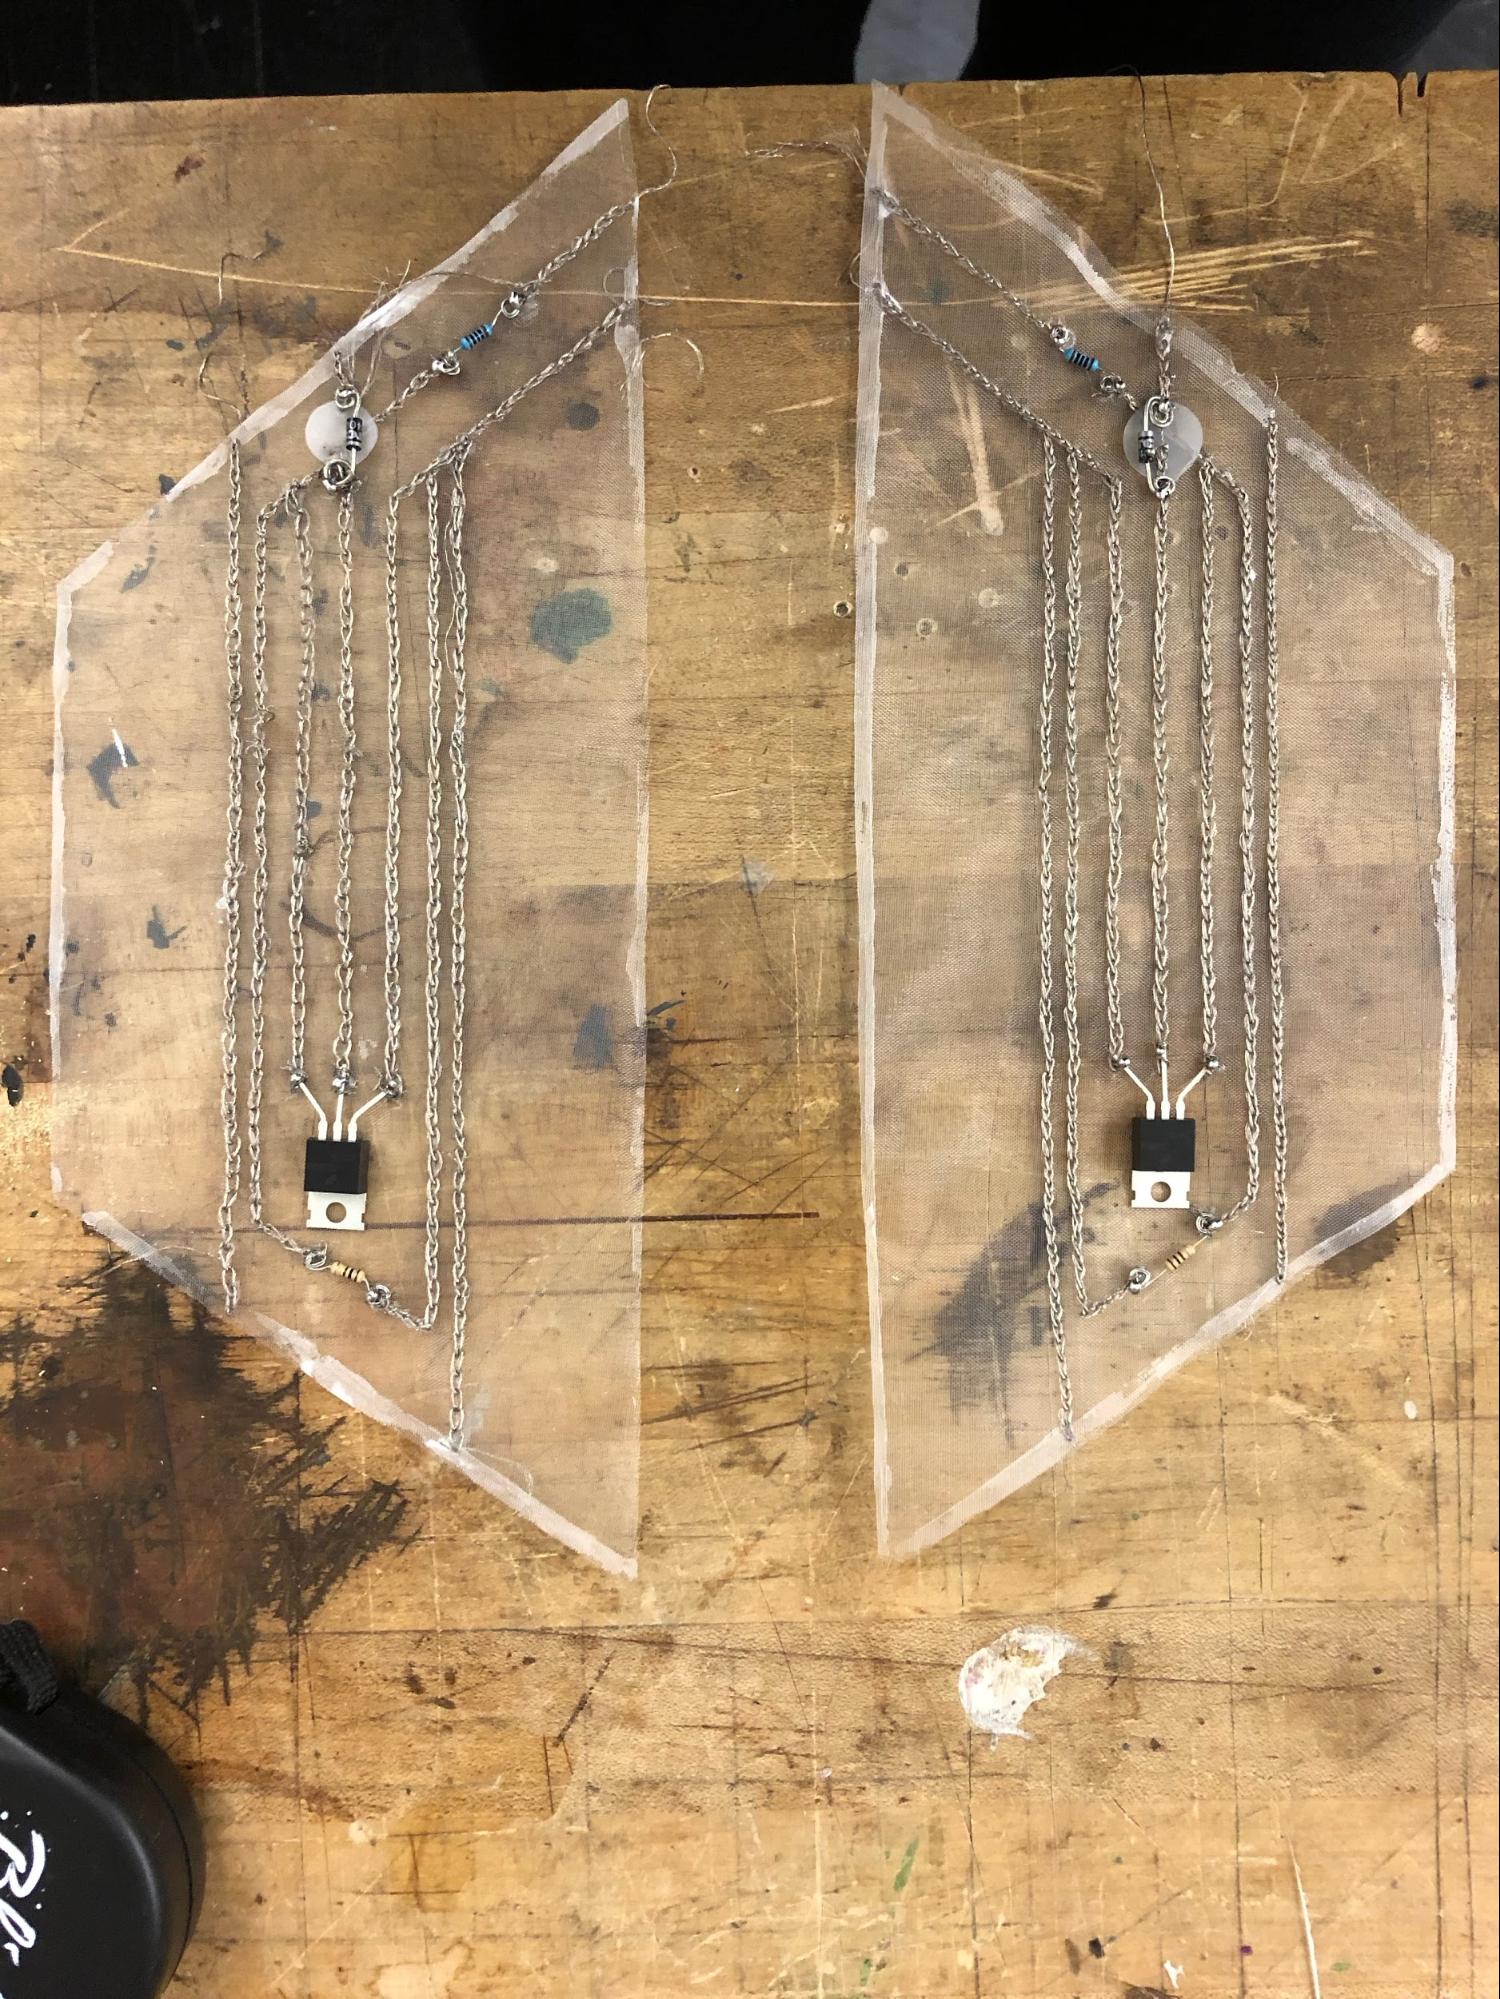
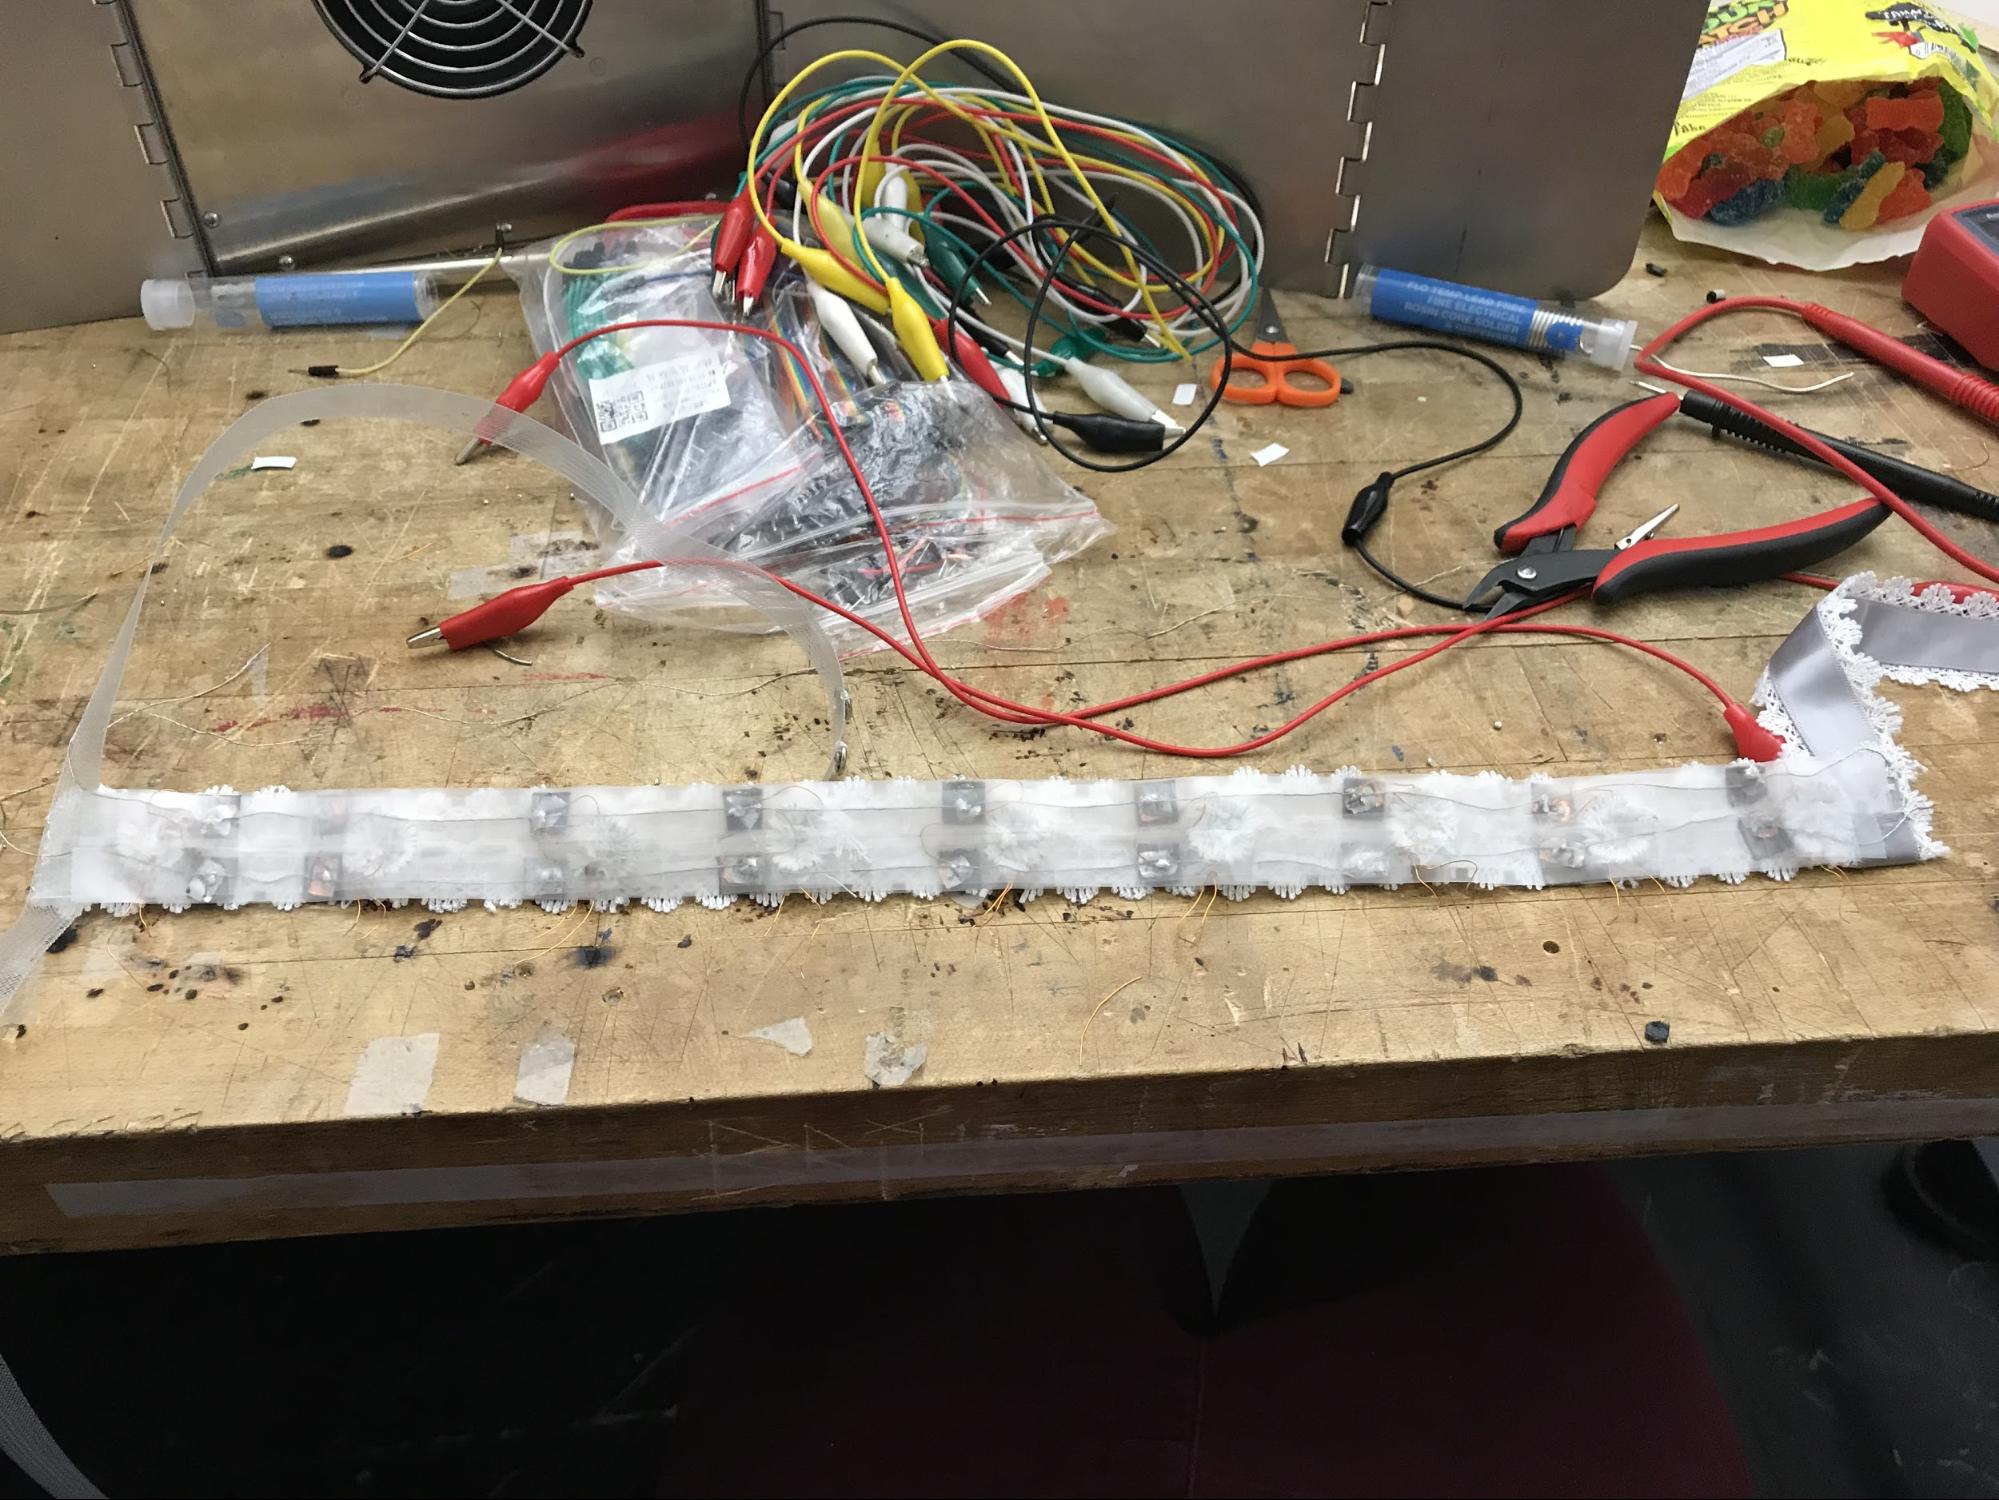
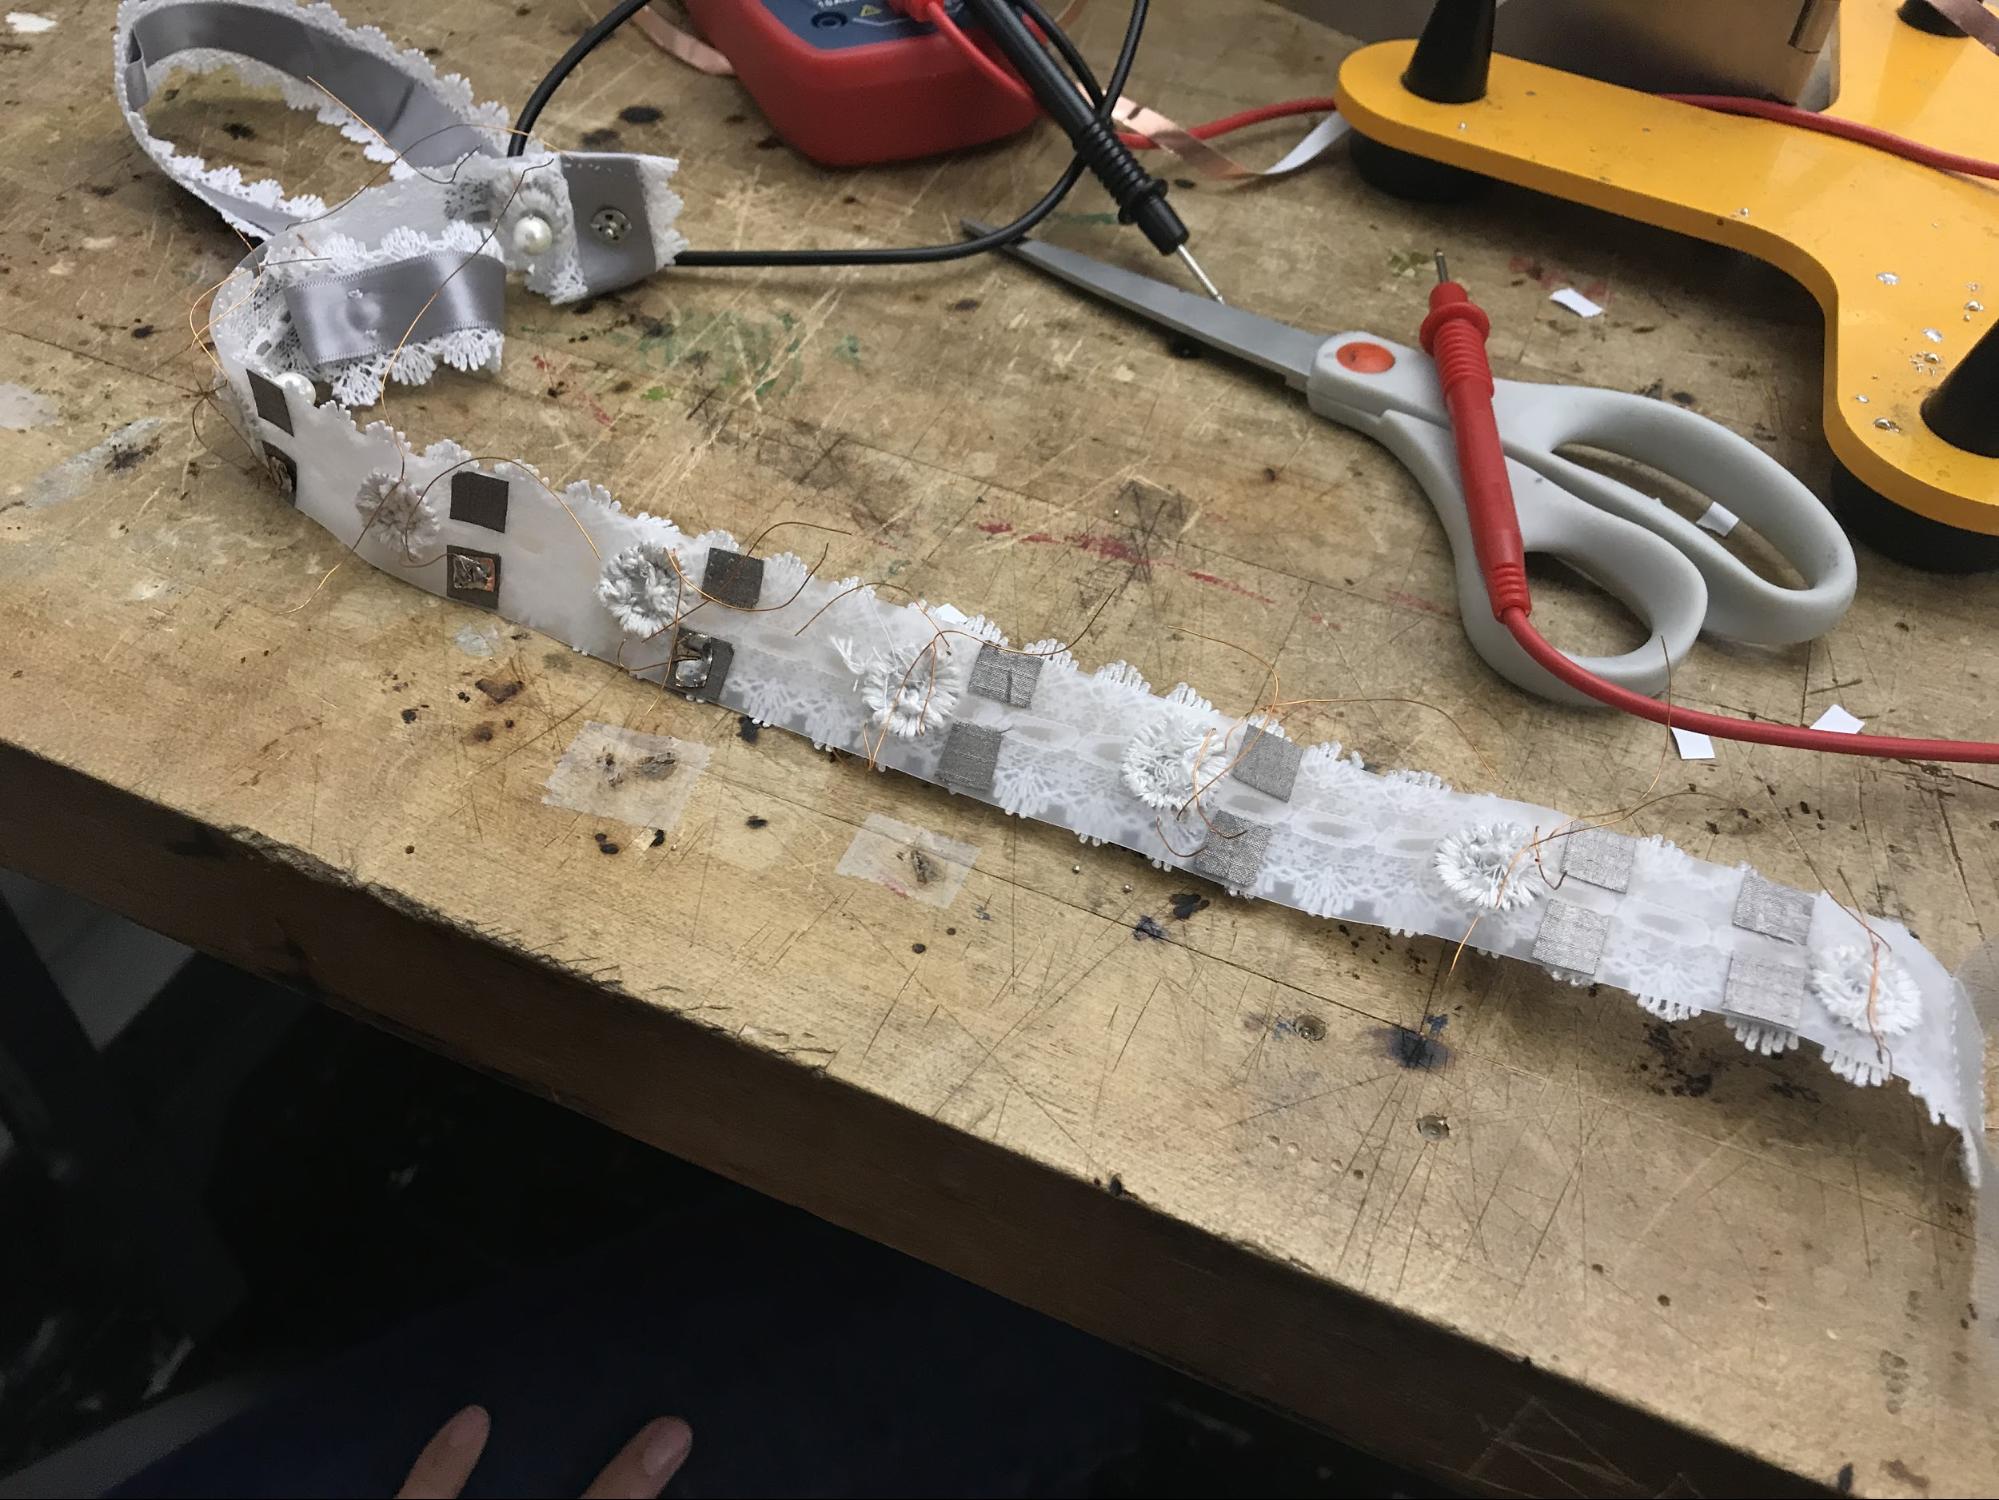
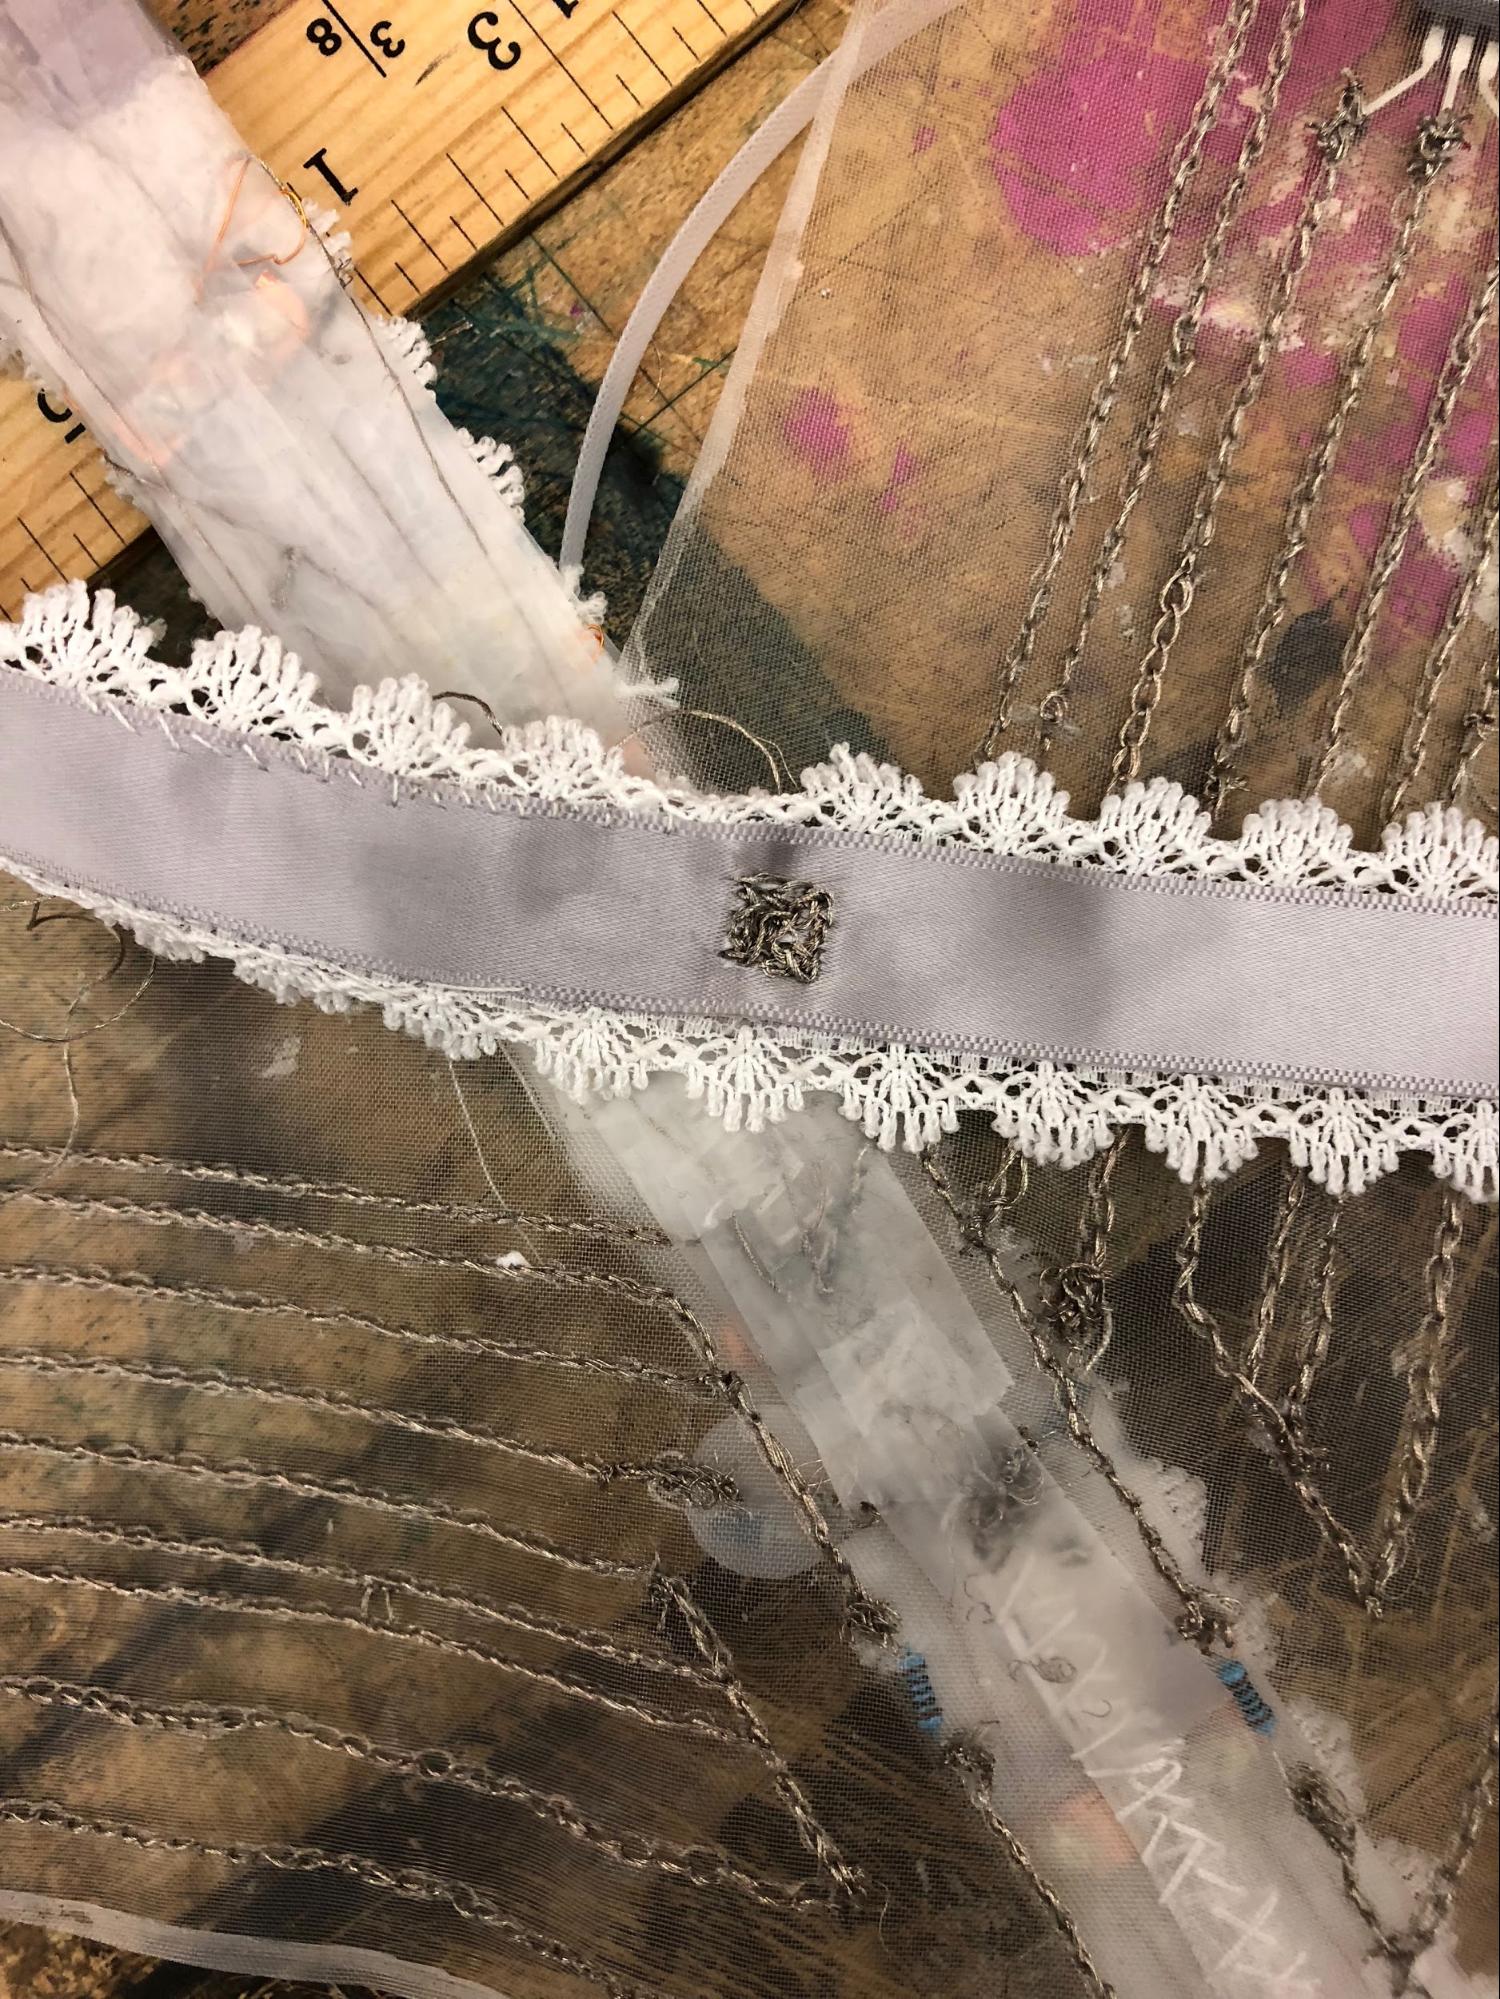
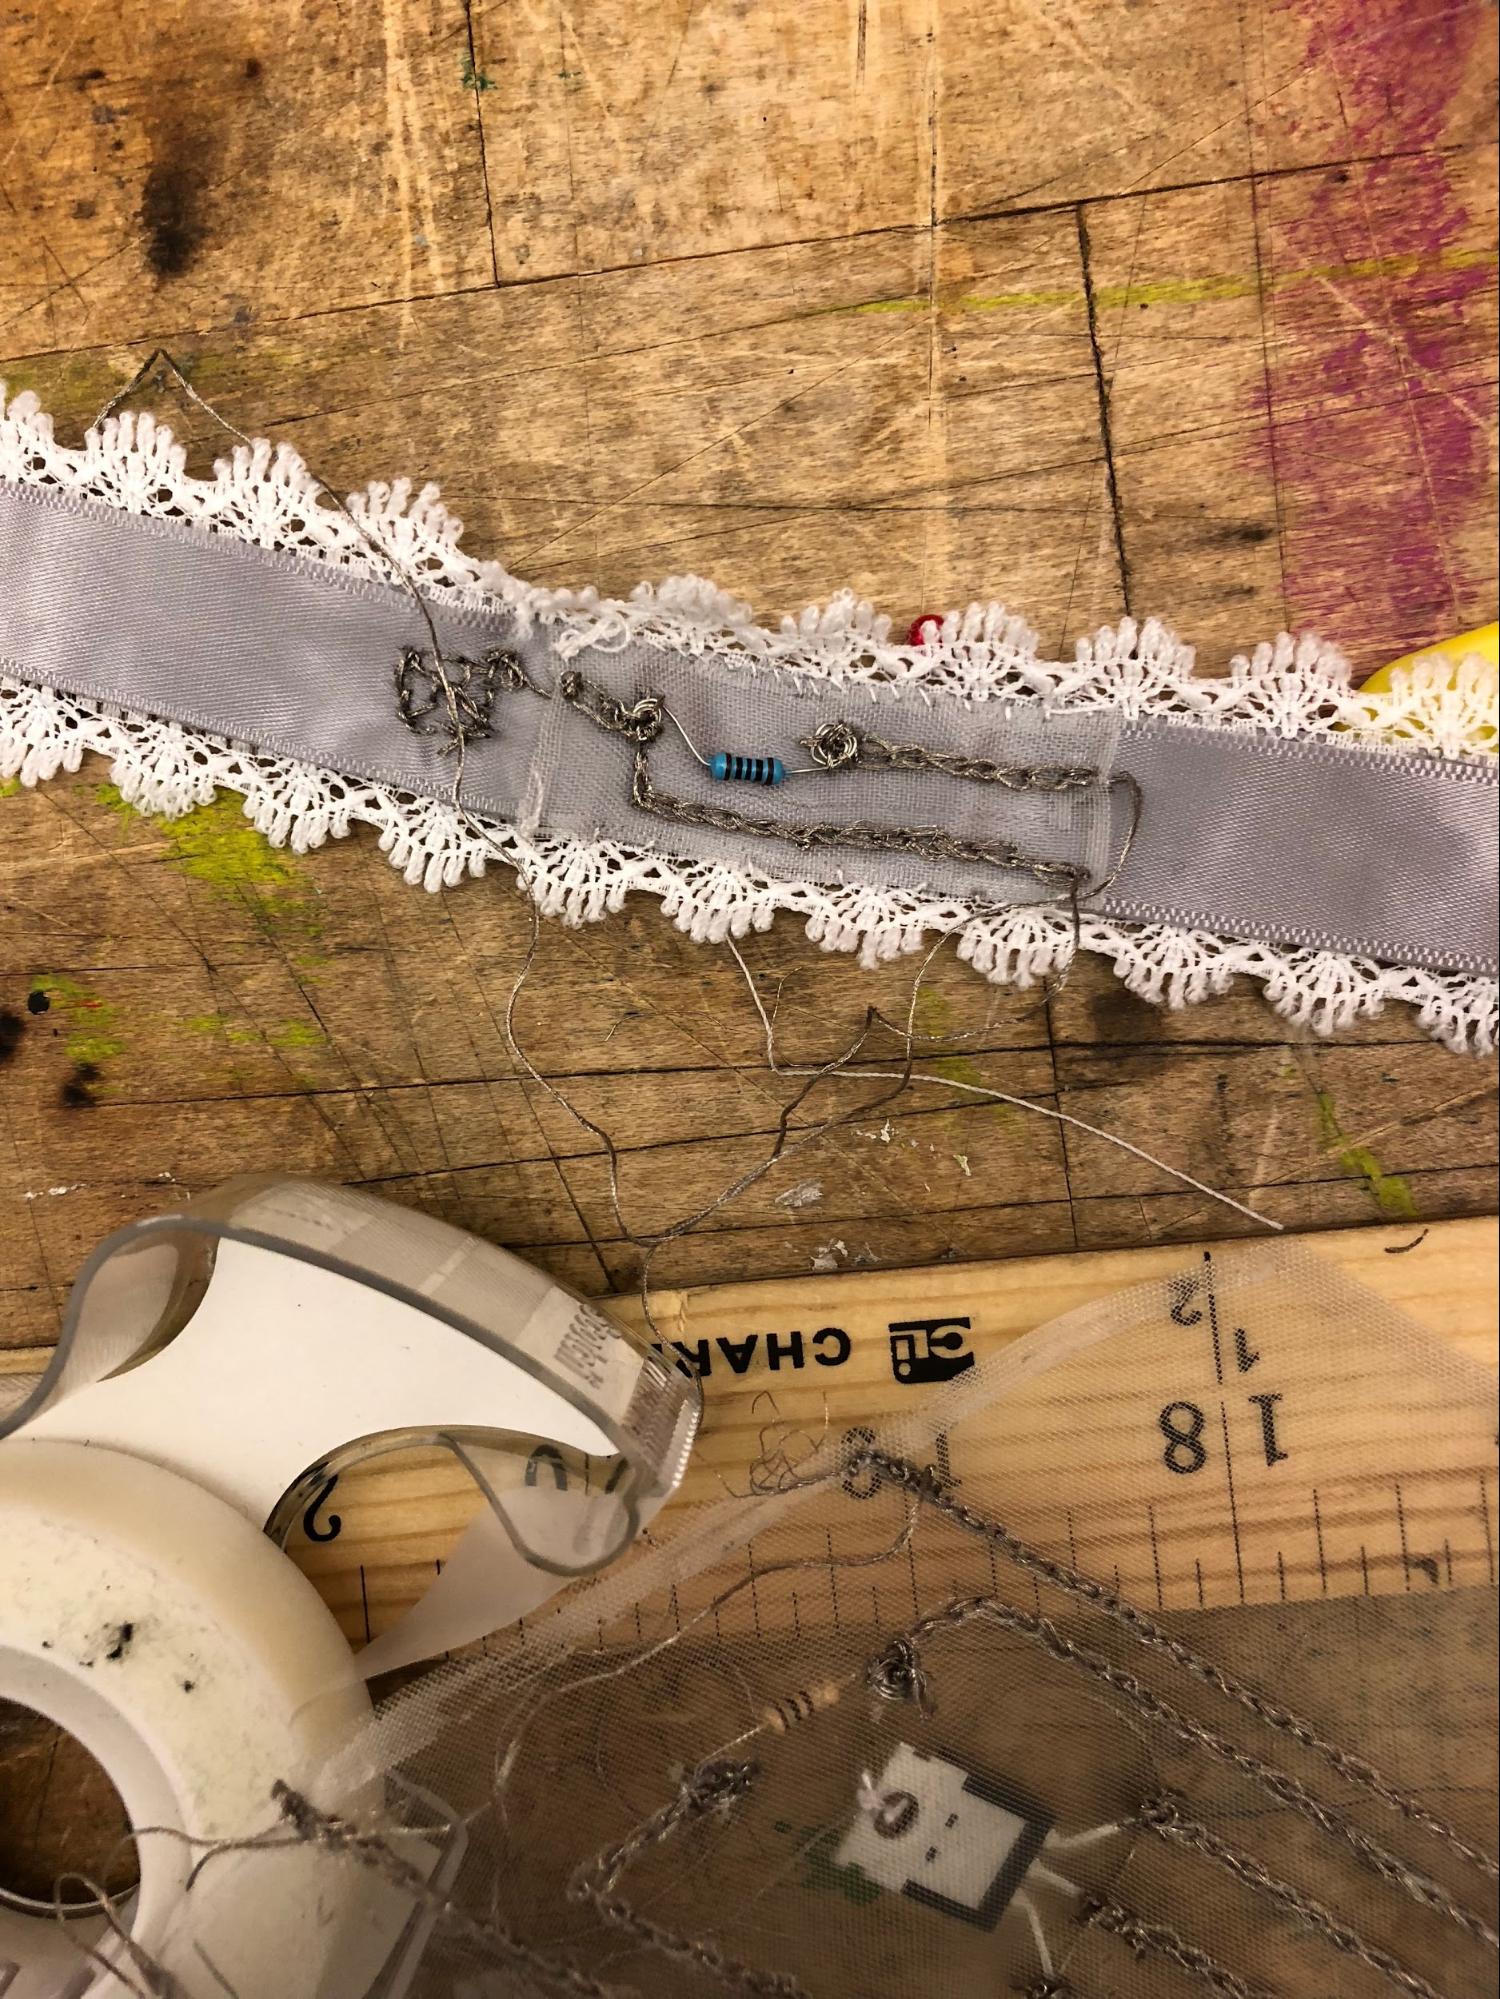
We attached the coils onto the lace with a plastic band to secure the movement and make sure the lace won’t break in the process of testing. We soldered the coils and attached them onto conductive threads. All top coils attached to left side of the circuit and all bottom coils are attached to the right side of the circuit.
Capacitive sensor
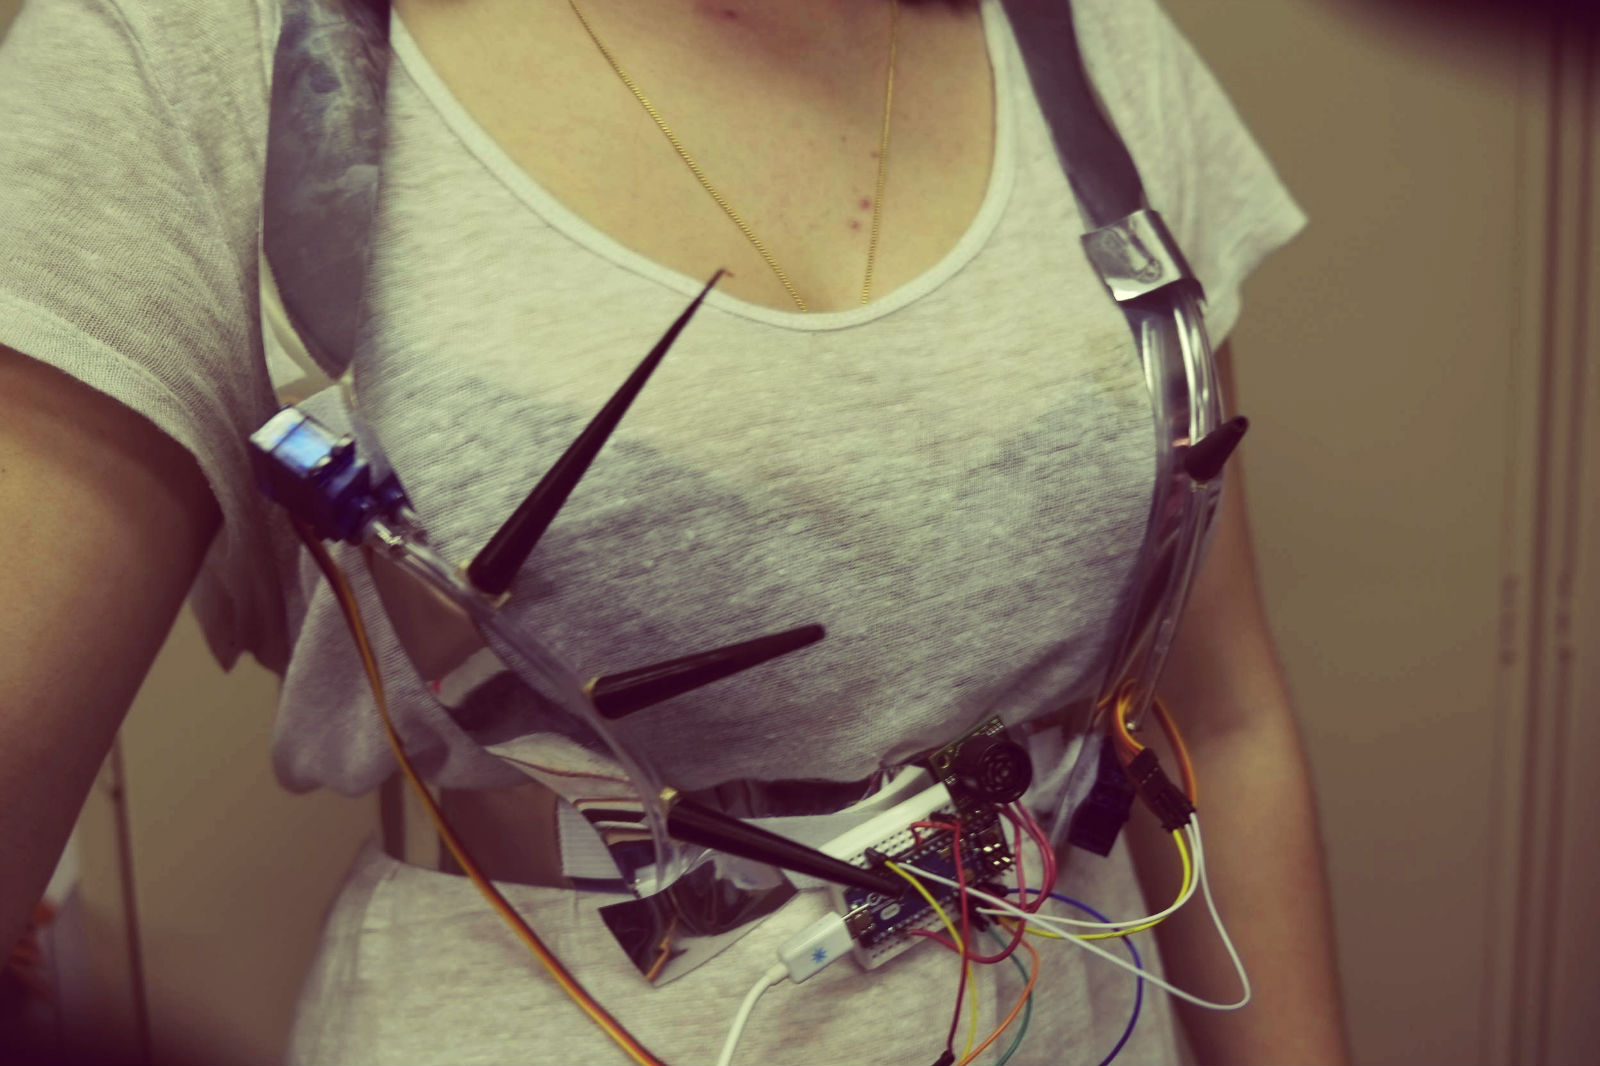
We also made a capacitive sensor onto the front of the choker and connected it to the Arduino through the back.
Assembling
Technology
Final Prototype Sketch
Circuit Sketch
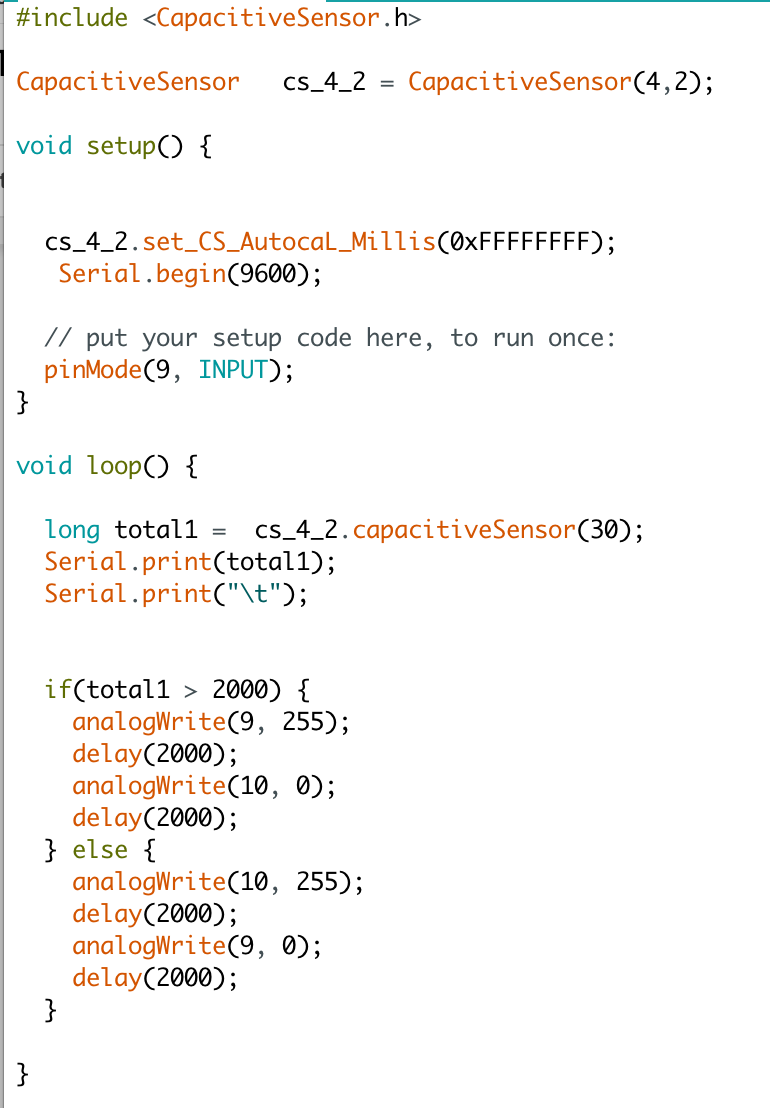
Code
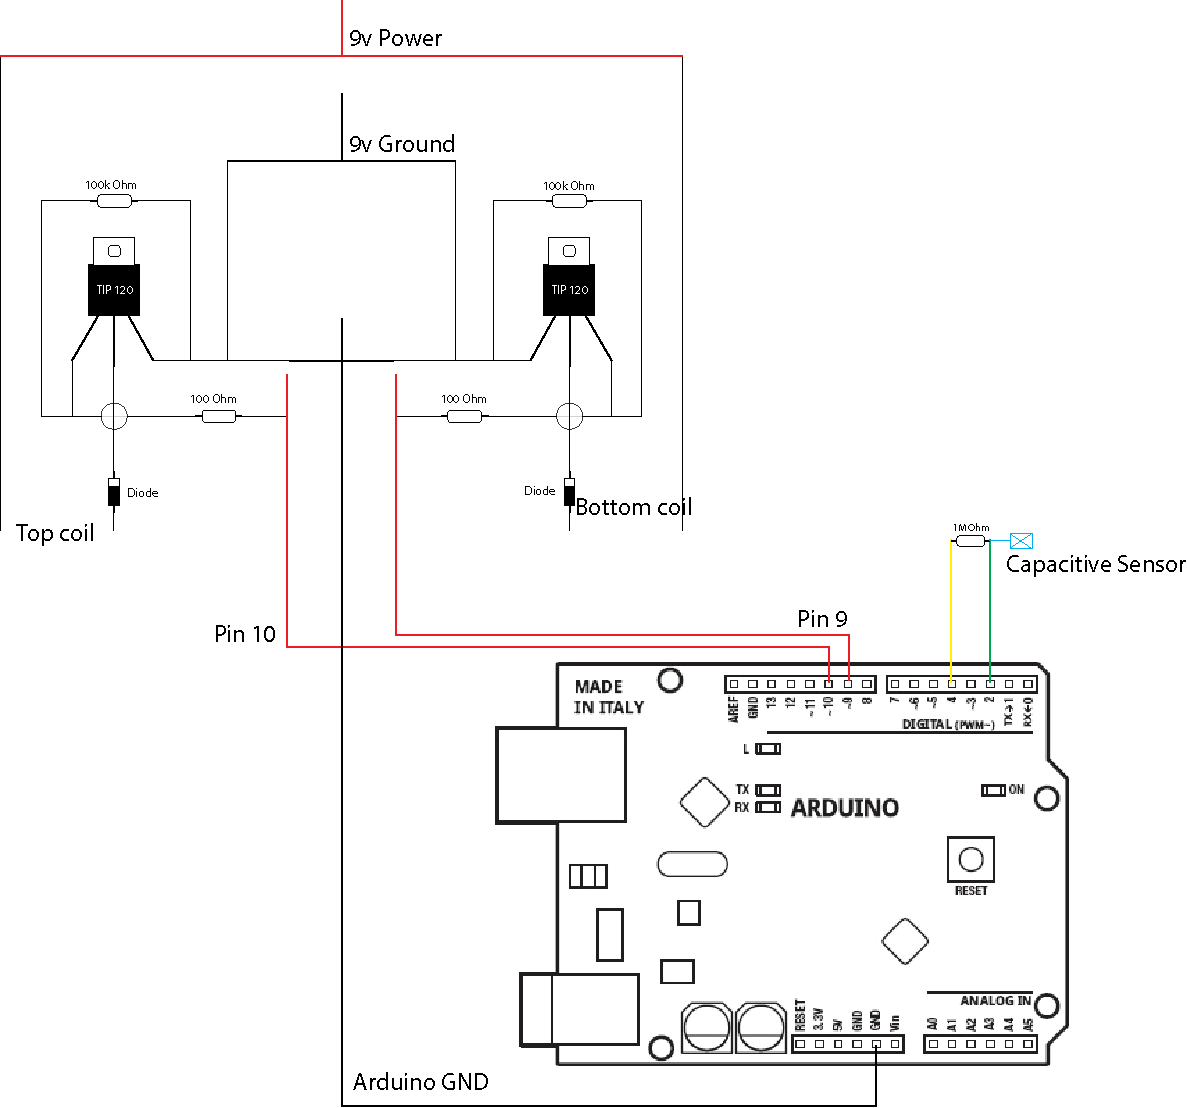
We used Arduino UNO and 2 9v batteries to power up the flip dots and capacitive sensor. There are 2 coils under each magnetic bead to facilitate the switching of power to activate the flip dots. The top coil would be controlled by one transistor and the bottom coil by another transistor. If the capacitive sensor is activated, then the top coil would activate and make the flip dots move downwards. Otherwise, it would remain upwards.
We had a lot of issues finding out how to power the 9 flip dots, as we were able to only move 5 with 18 volts of power. Once we tried applying more power, the conductive thread start sparkling at certain parts. One assumption we had is that there is too much resistance towards the tail of the back piece, making it hard for electricity to pass through. Another issue could have been that the sewing of the magnetic beads was wrong, so it is unable to move.
Final Outcome
Future Steps
We want to continue working on this project in order to make it a fully functional prototype. Moreover, the overall design of the exoskeleton made it difficult to test while assembling, so we need to rethink of a new way to allow the testing to be done while soldering the backpiece.
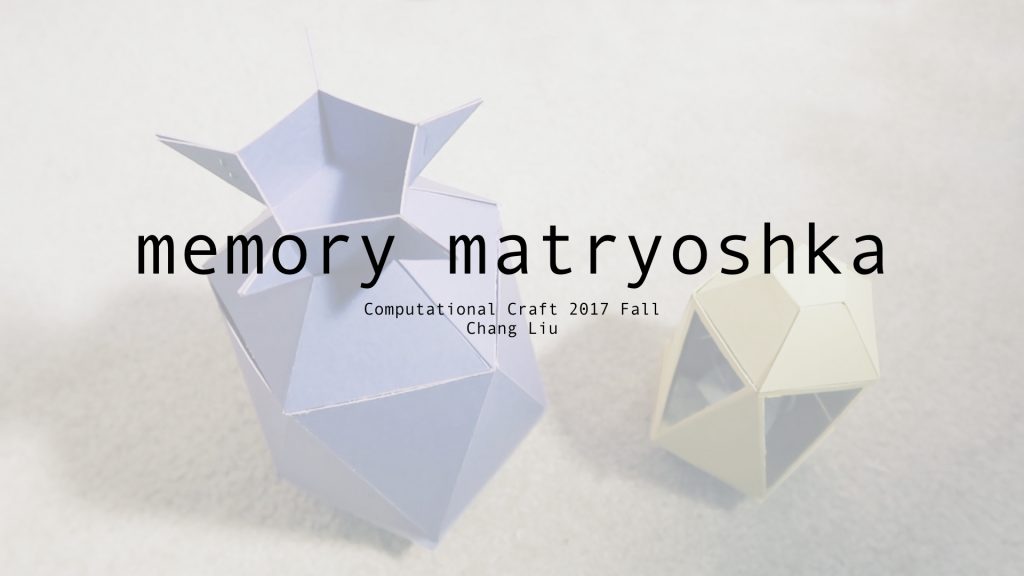
How can we think of each other by sharing different pieces of objects?
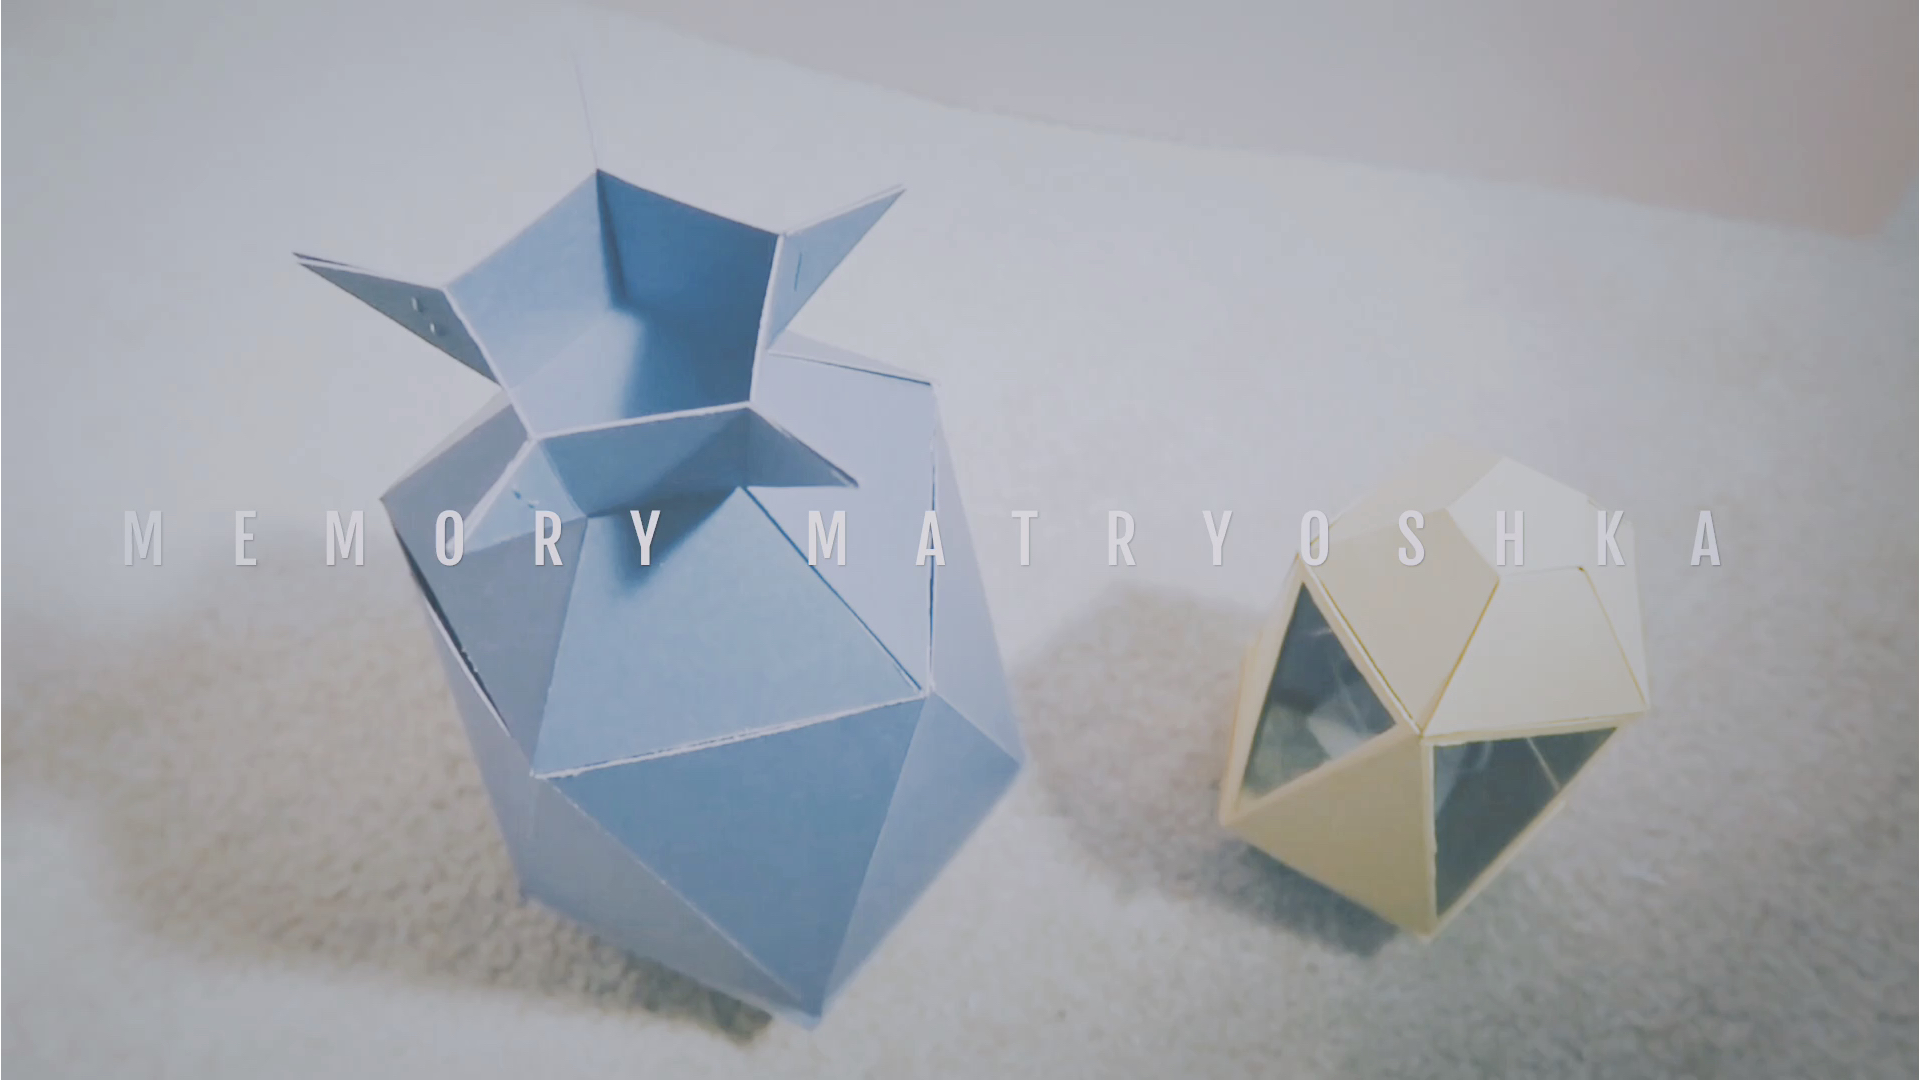
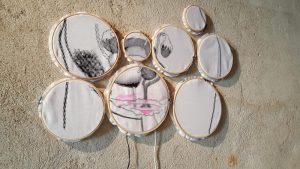
Memory Matryoshka is a set of 2 boxes that share the same idea with Russian nesting dolls of decreasing size placed one inside another. Each of them can be separated from an individual memory box, but the goal is to unite them together so that when the smaller one is set inside the bigger one, they will trigger changes.
Intended audience
This is a spiritual sustenance for people who are not living together or cannot see each other for a long time.
Materials list
1. white paper
2. cardboards (purple/ yellow)
3. LEDs
4. conductive tape
5. double-sided adhesive tape
6. 3V battery
7. soldering tools
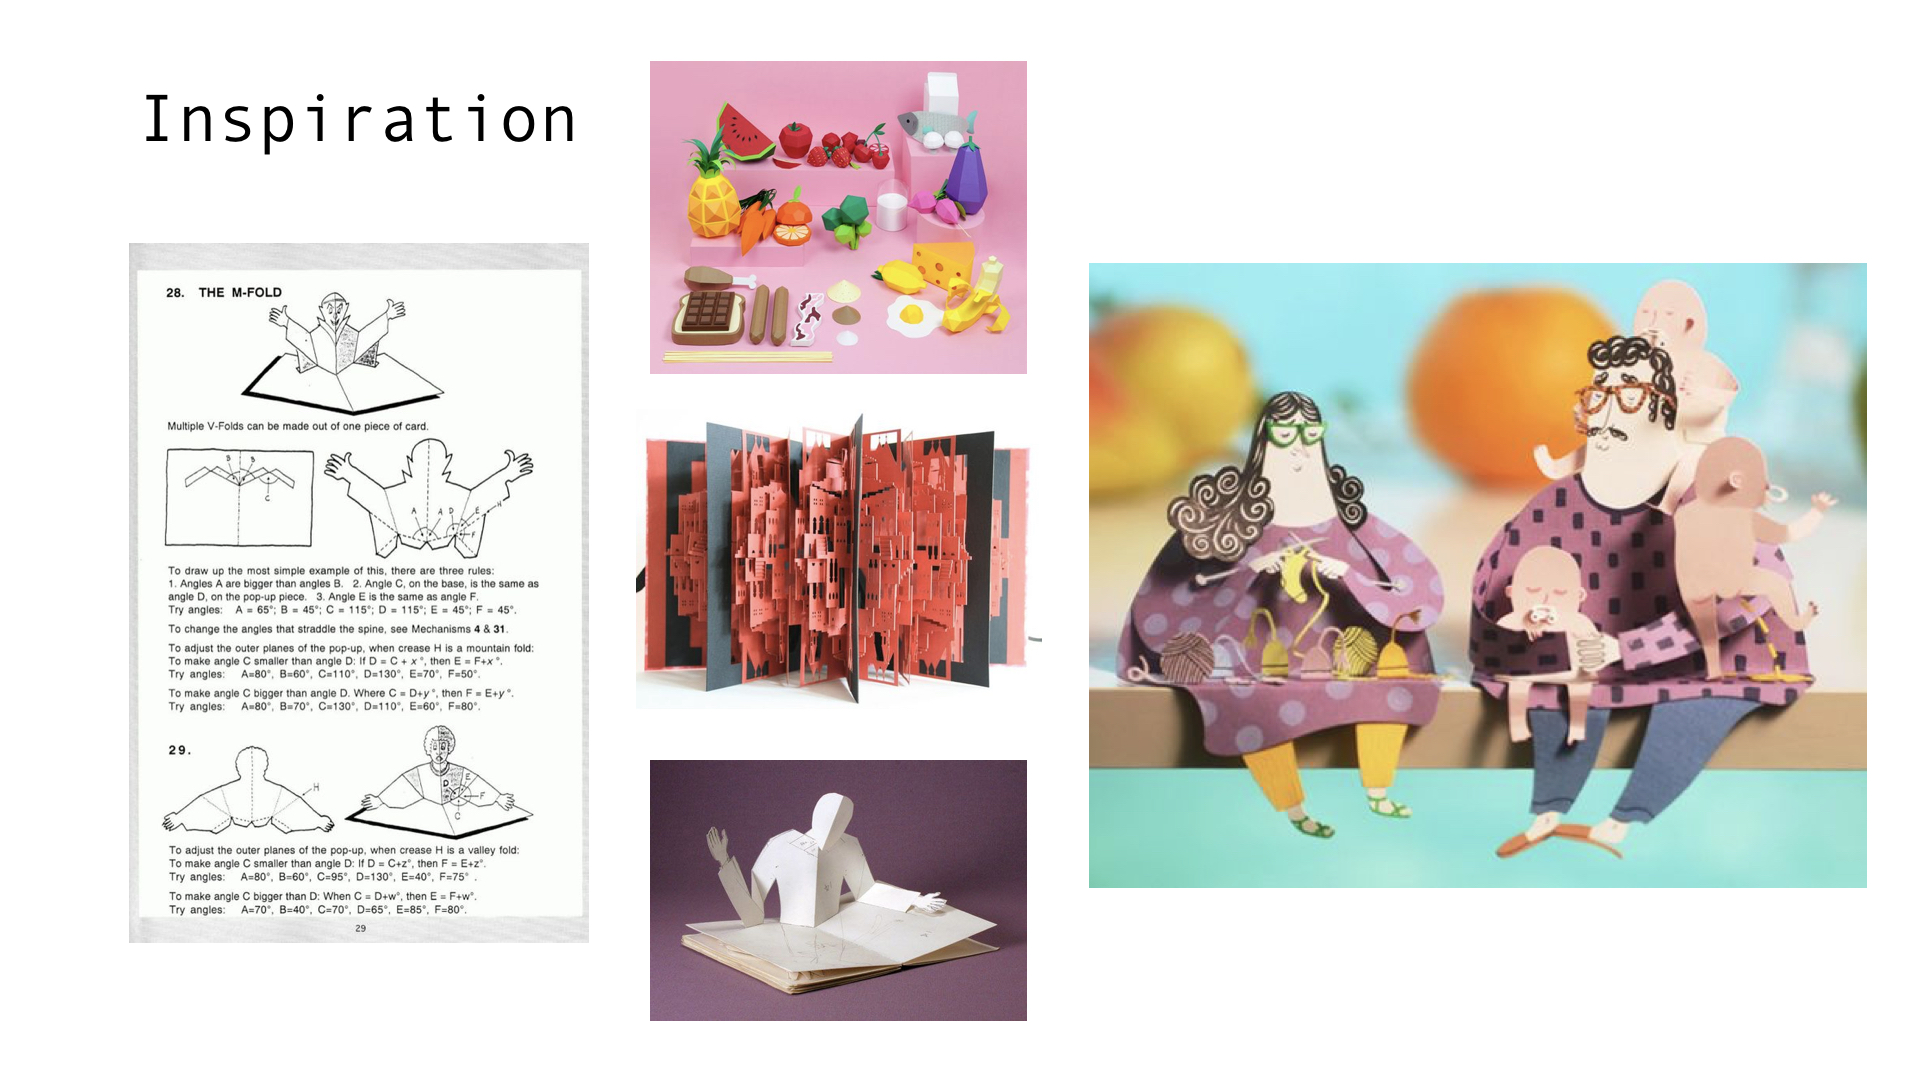
Inspiration
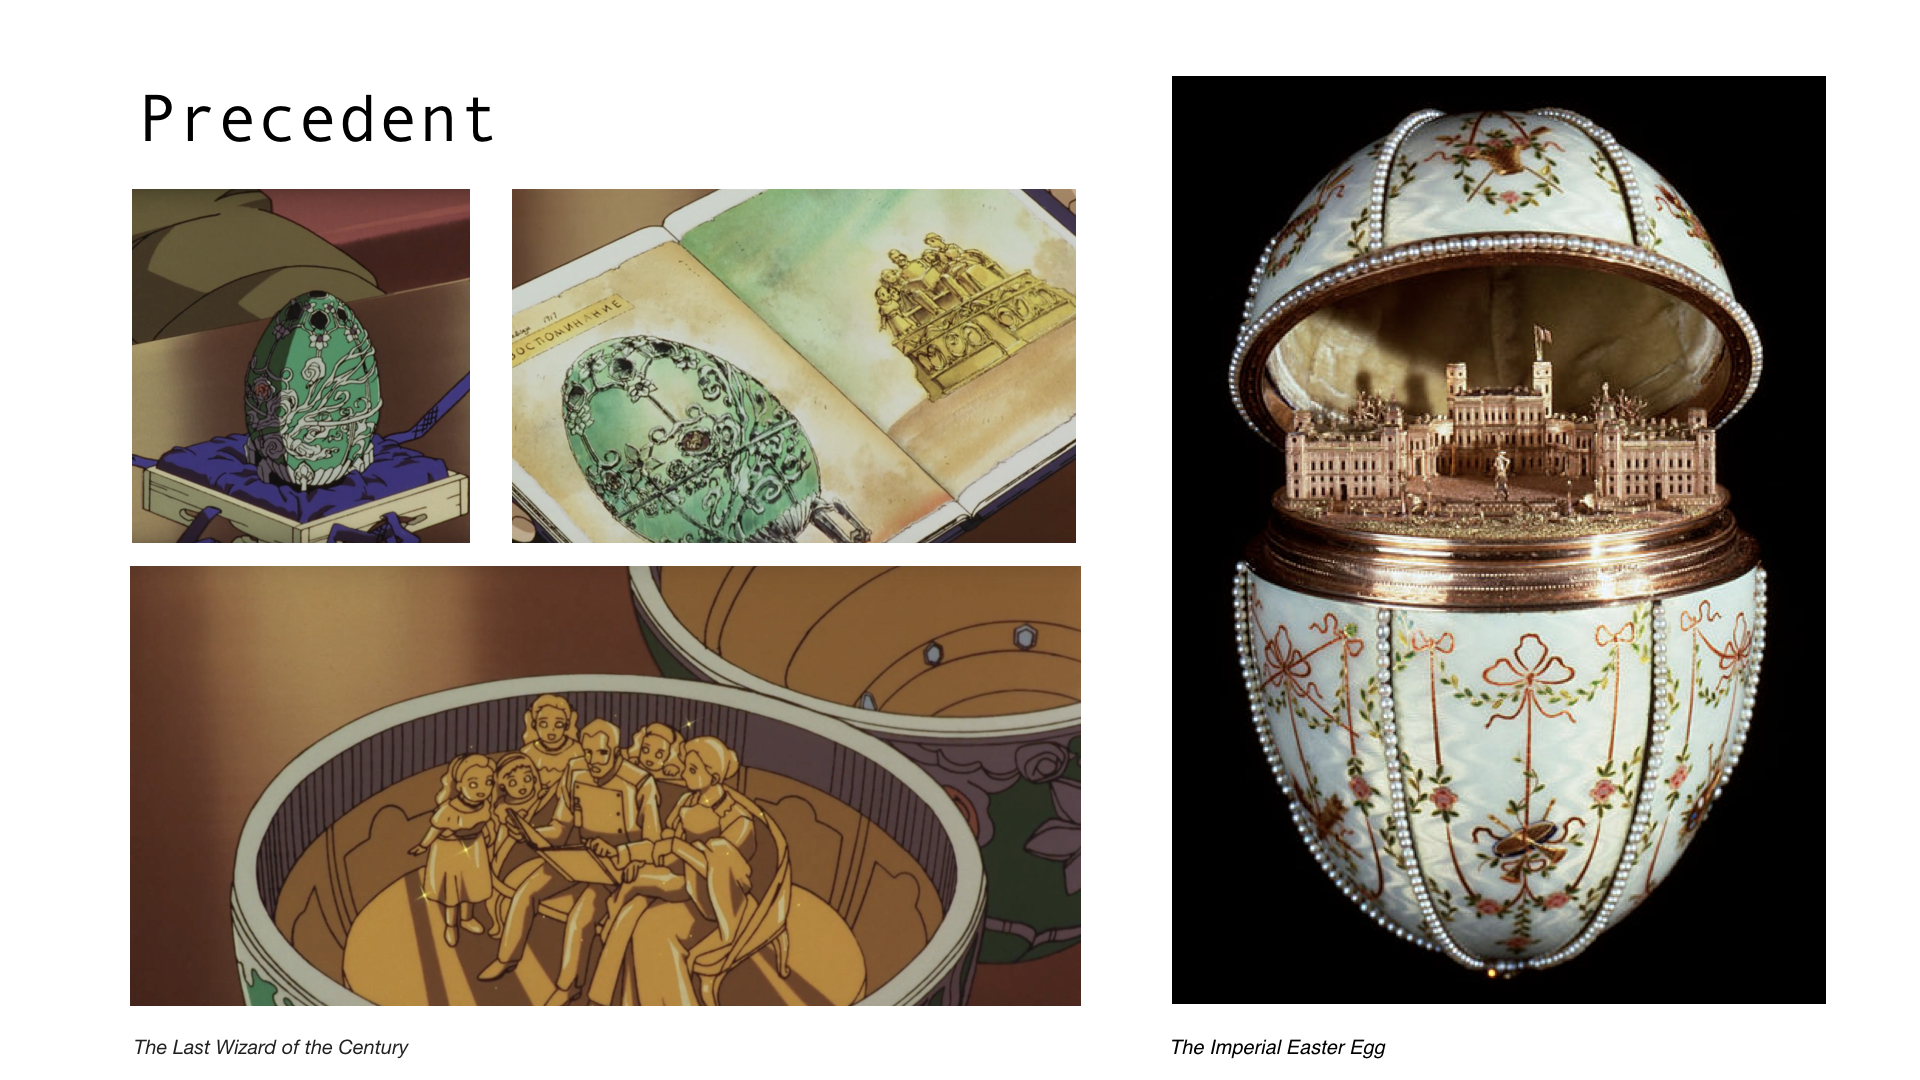
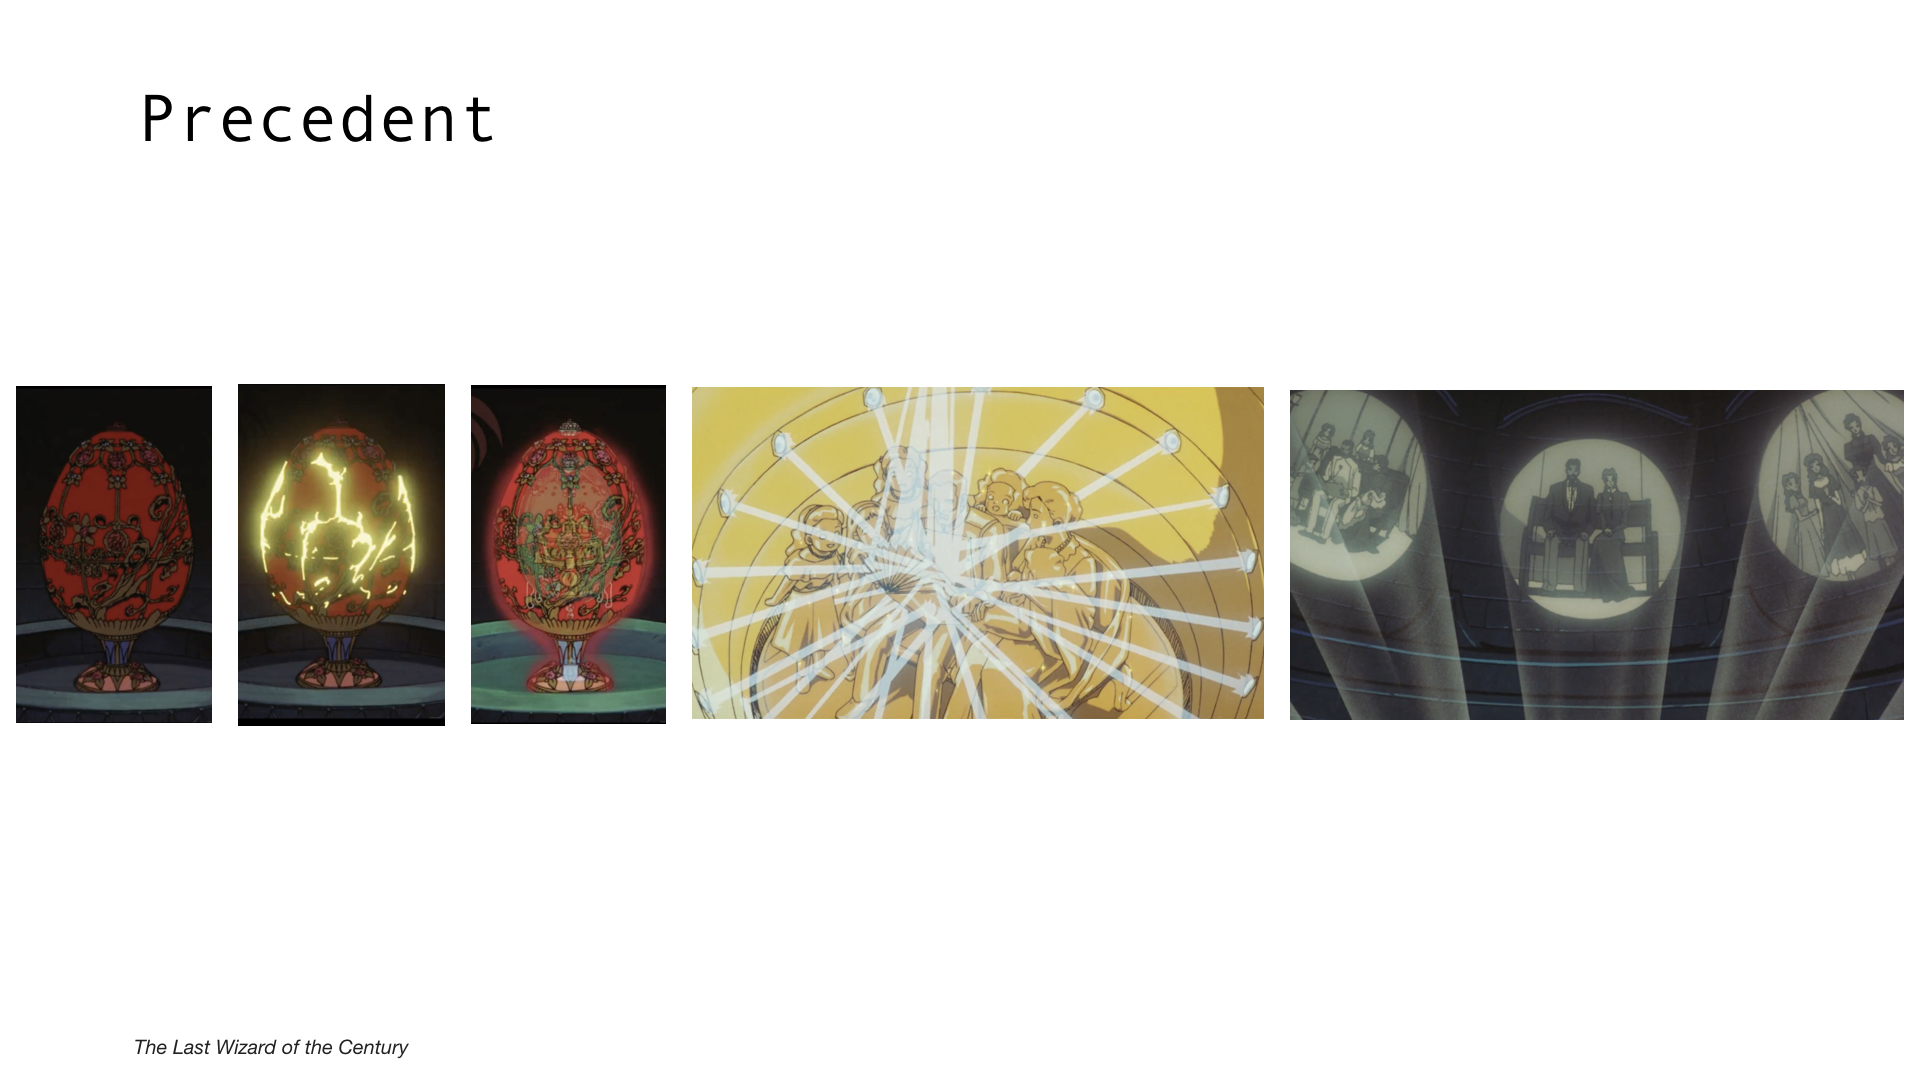
I got the inspiration from the movie called “The Last Wizard of the Century”. In the movie, it shows a set of two eggs, which were the connection between Natsumi Kousaka’s grandmother and grandfather’s mementos. When the smaller egg put inside the bigger one, as the light turned on, eggs start to change. Because of the light mechanism, eggs start to project photos of their family. I think this is a really touch point of this movie and I also want to make something that can be like that.
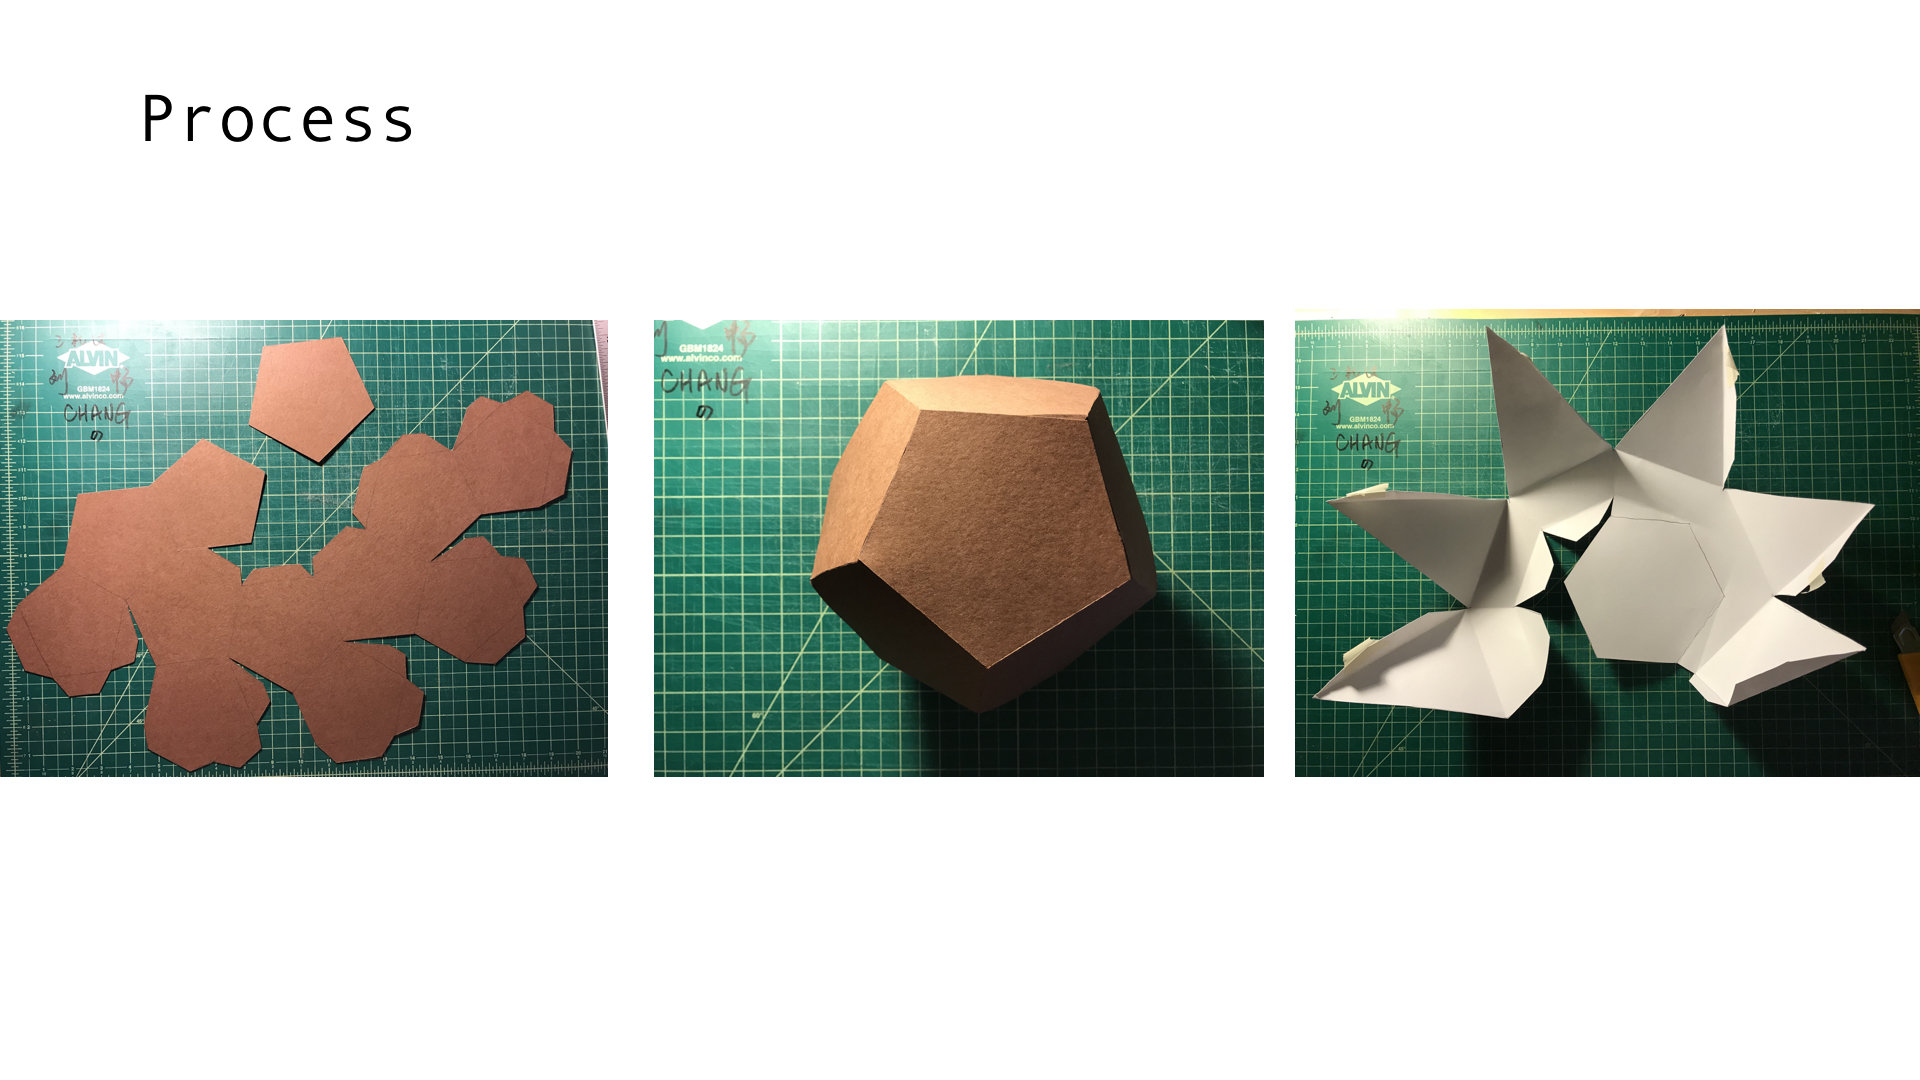
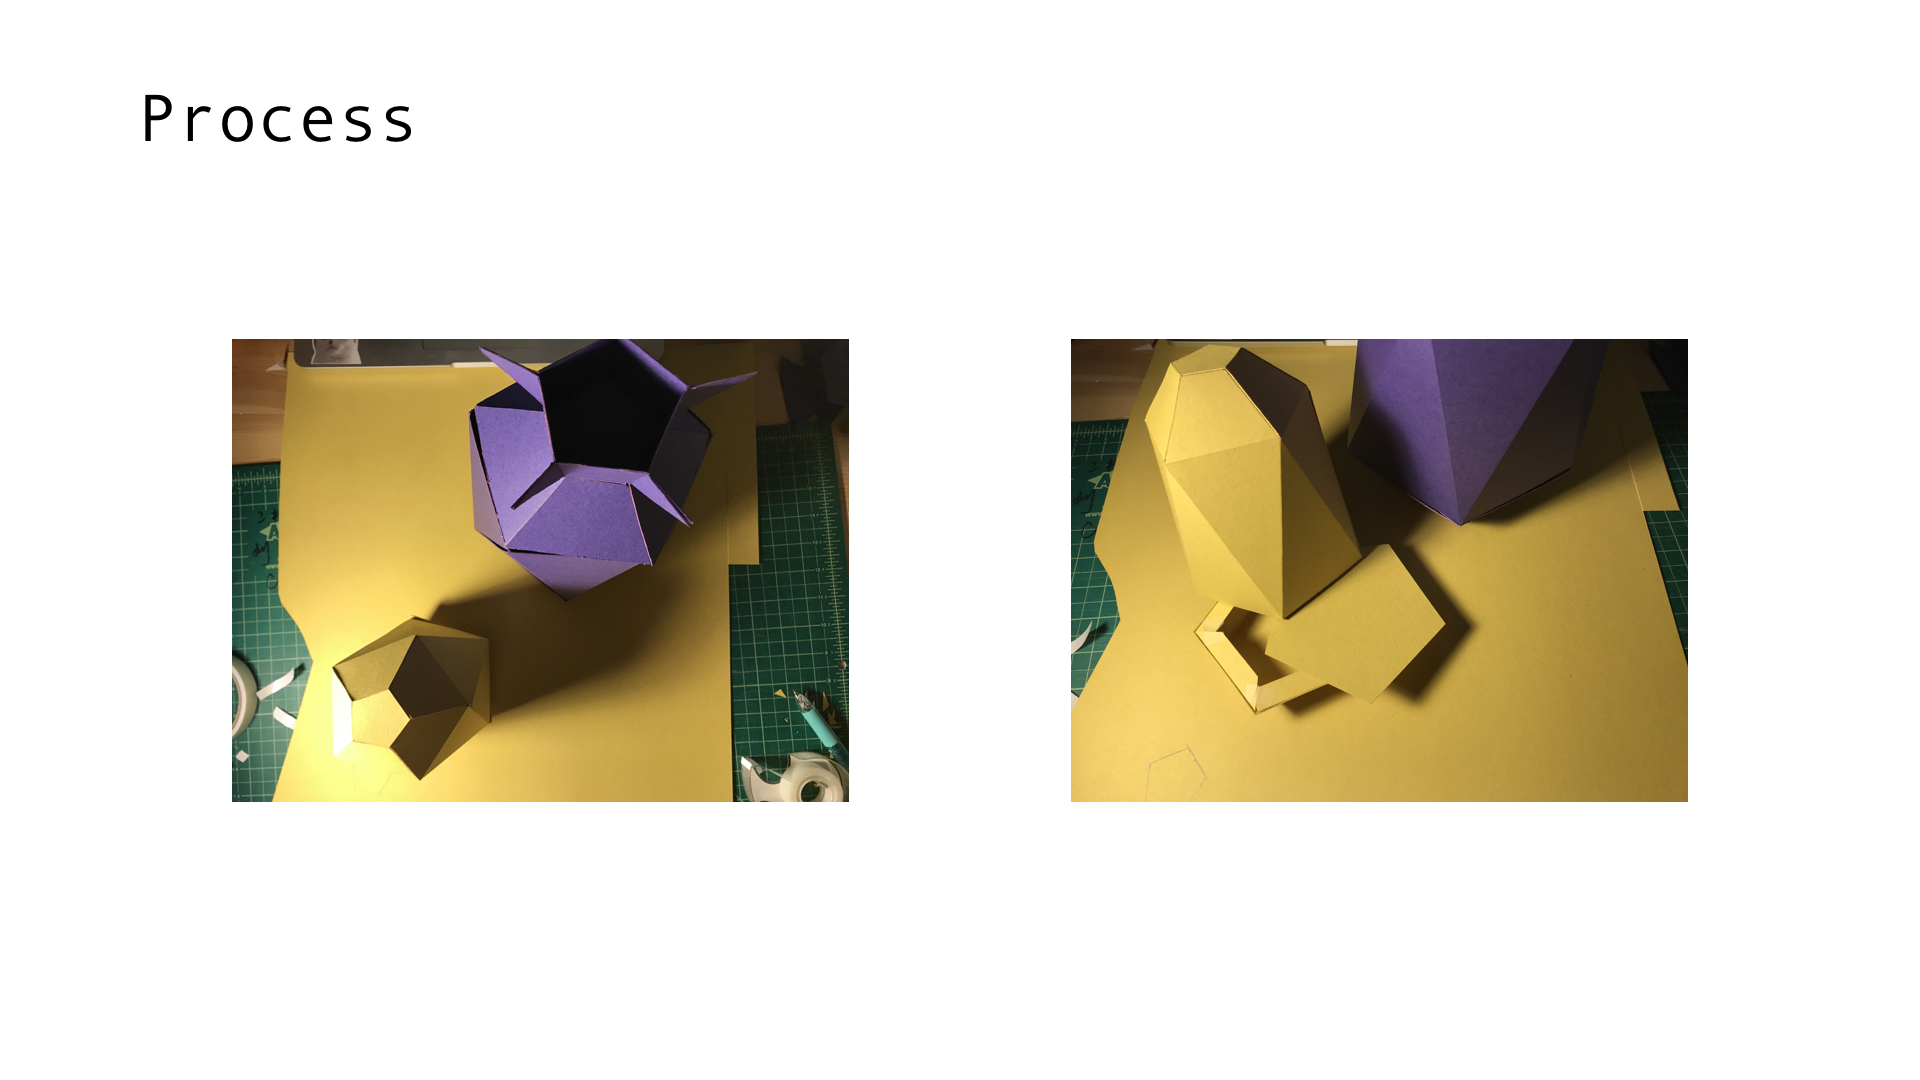
Process
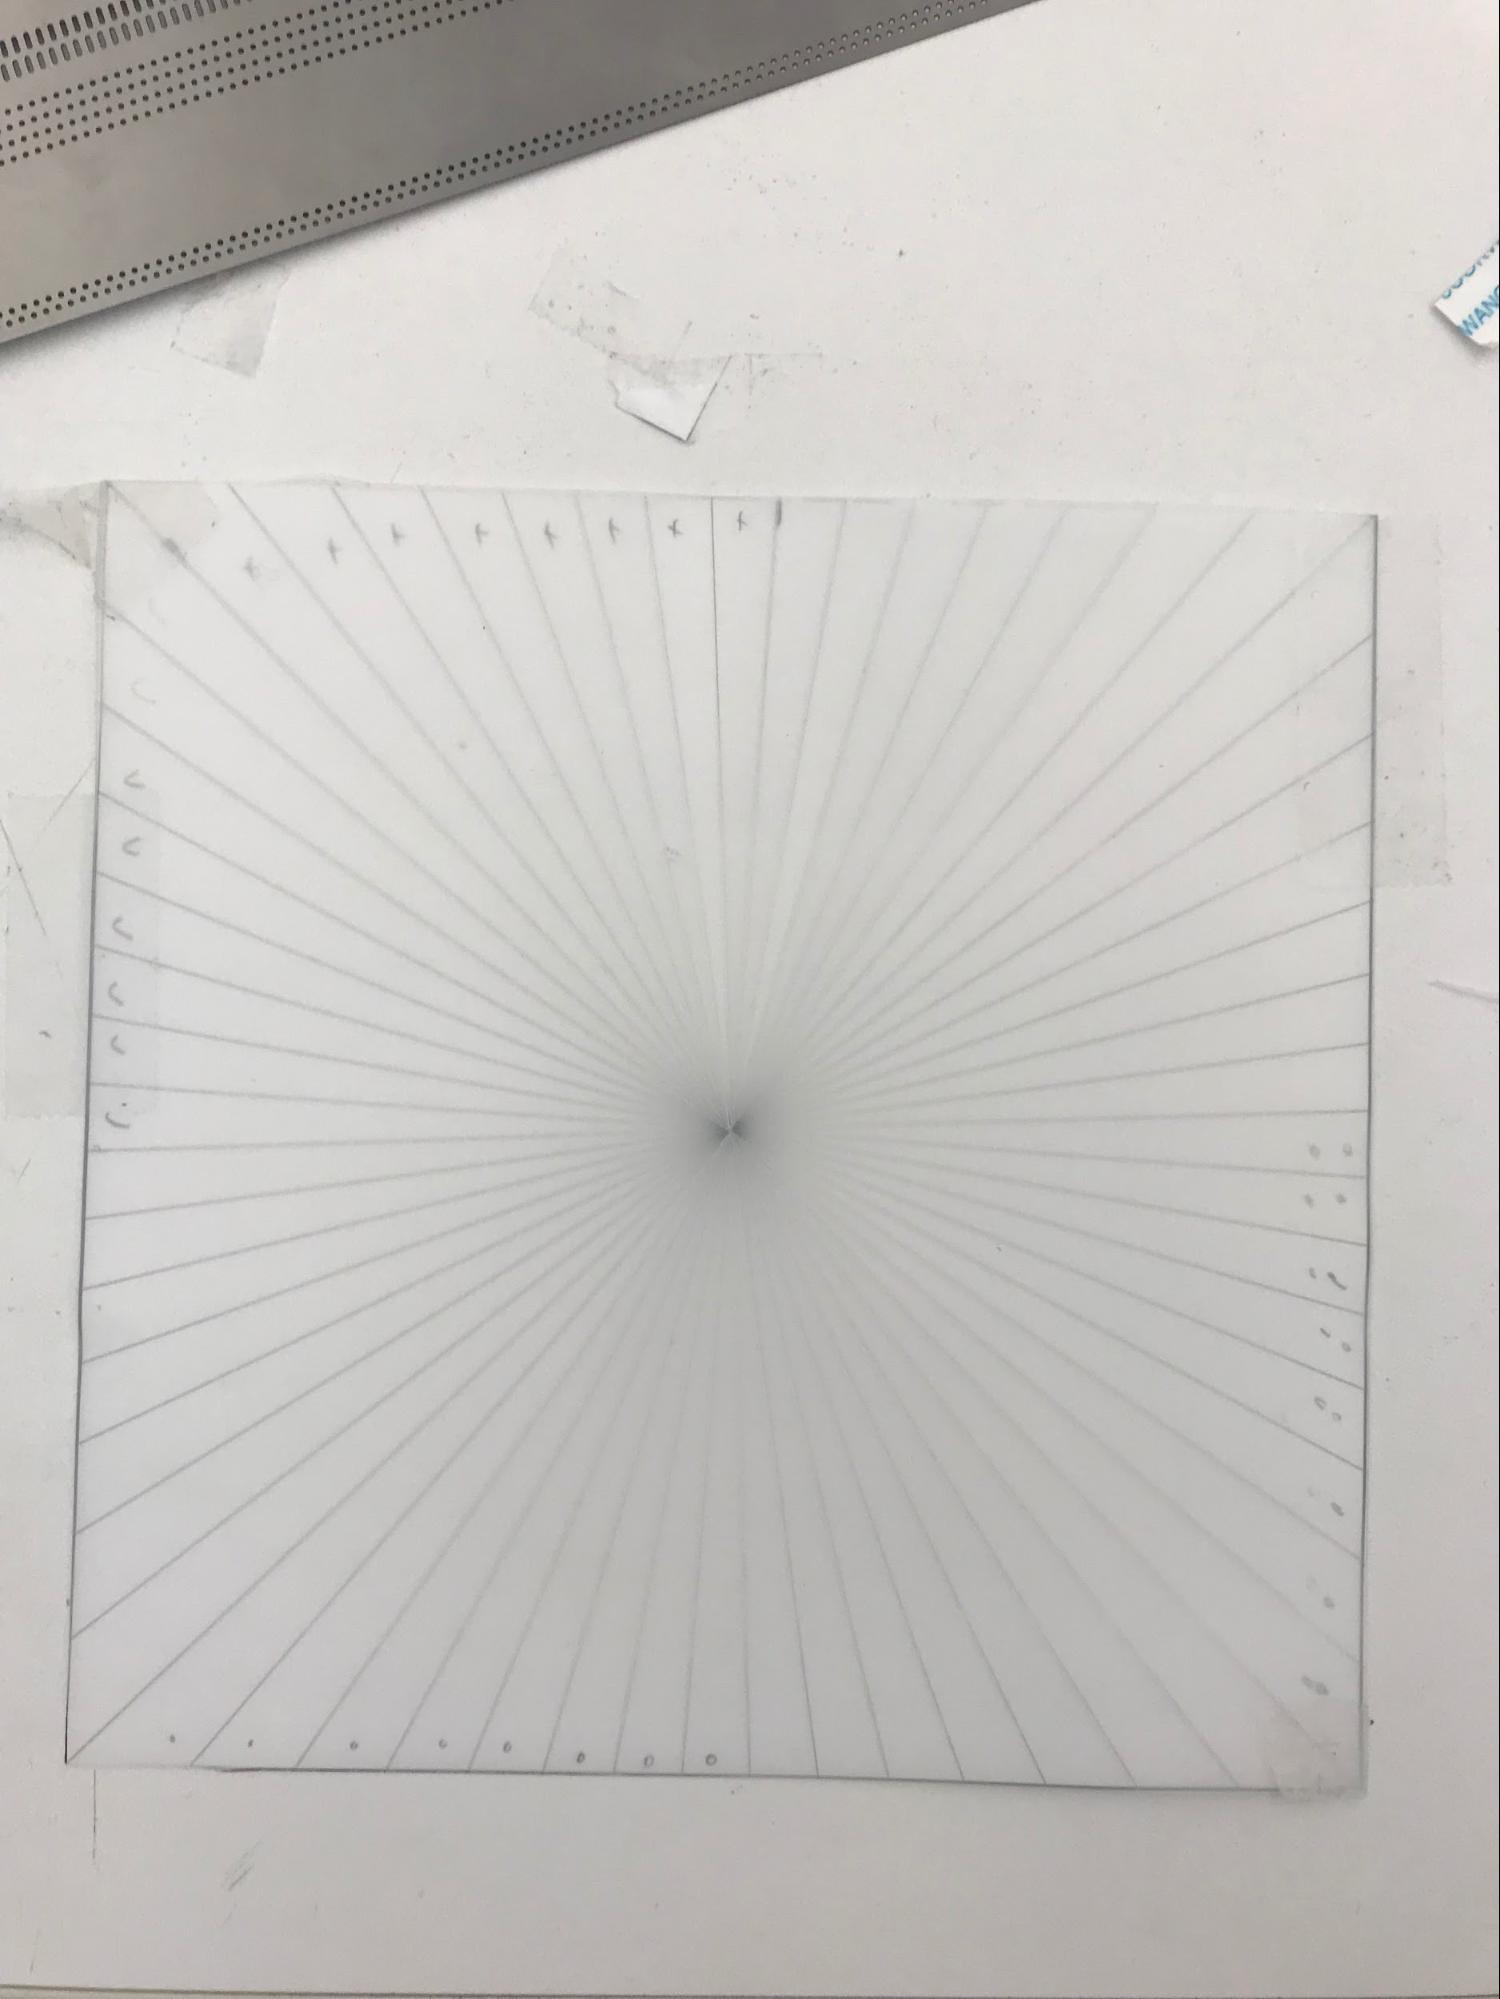
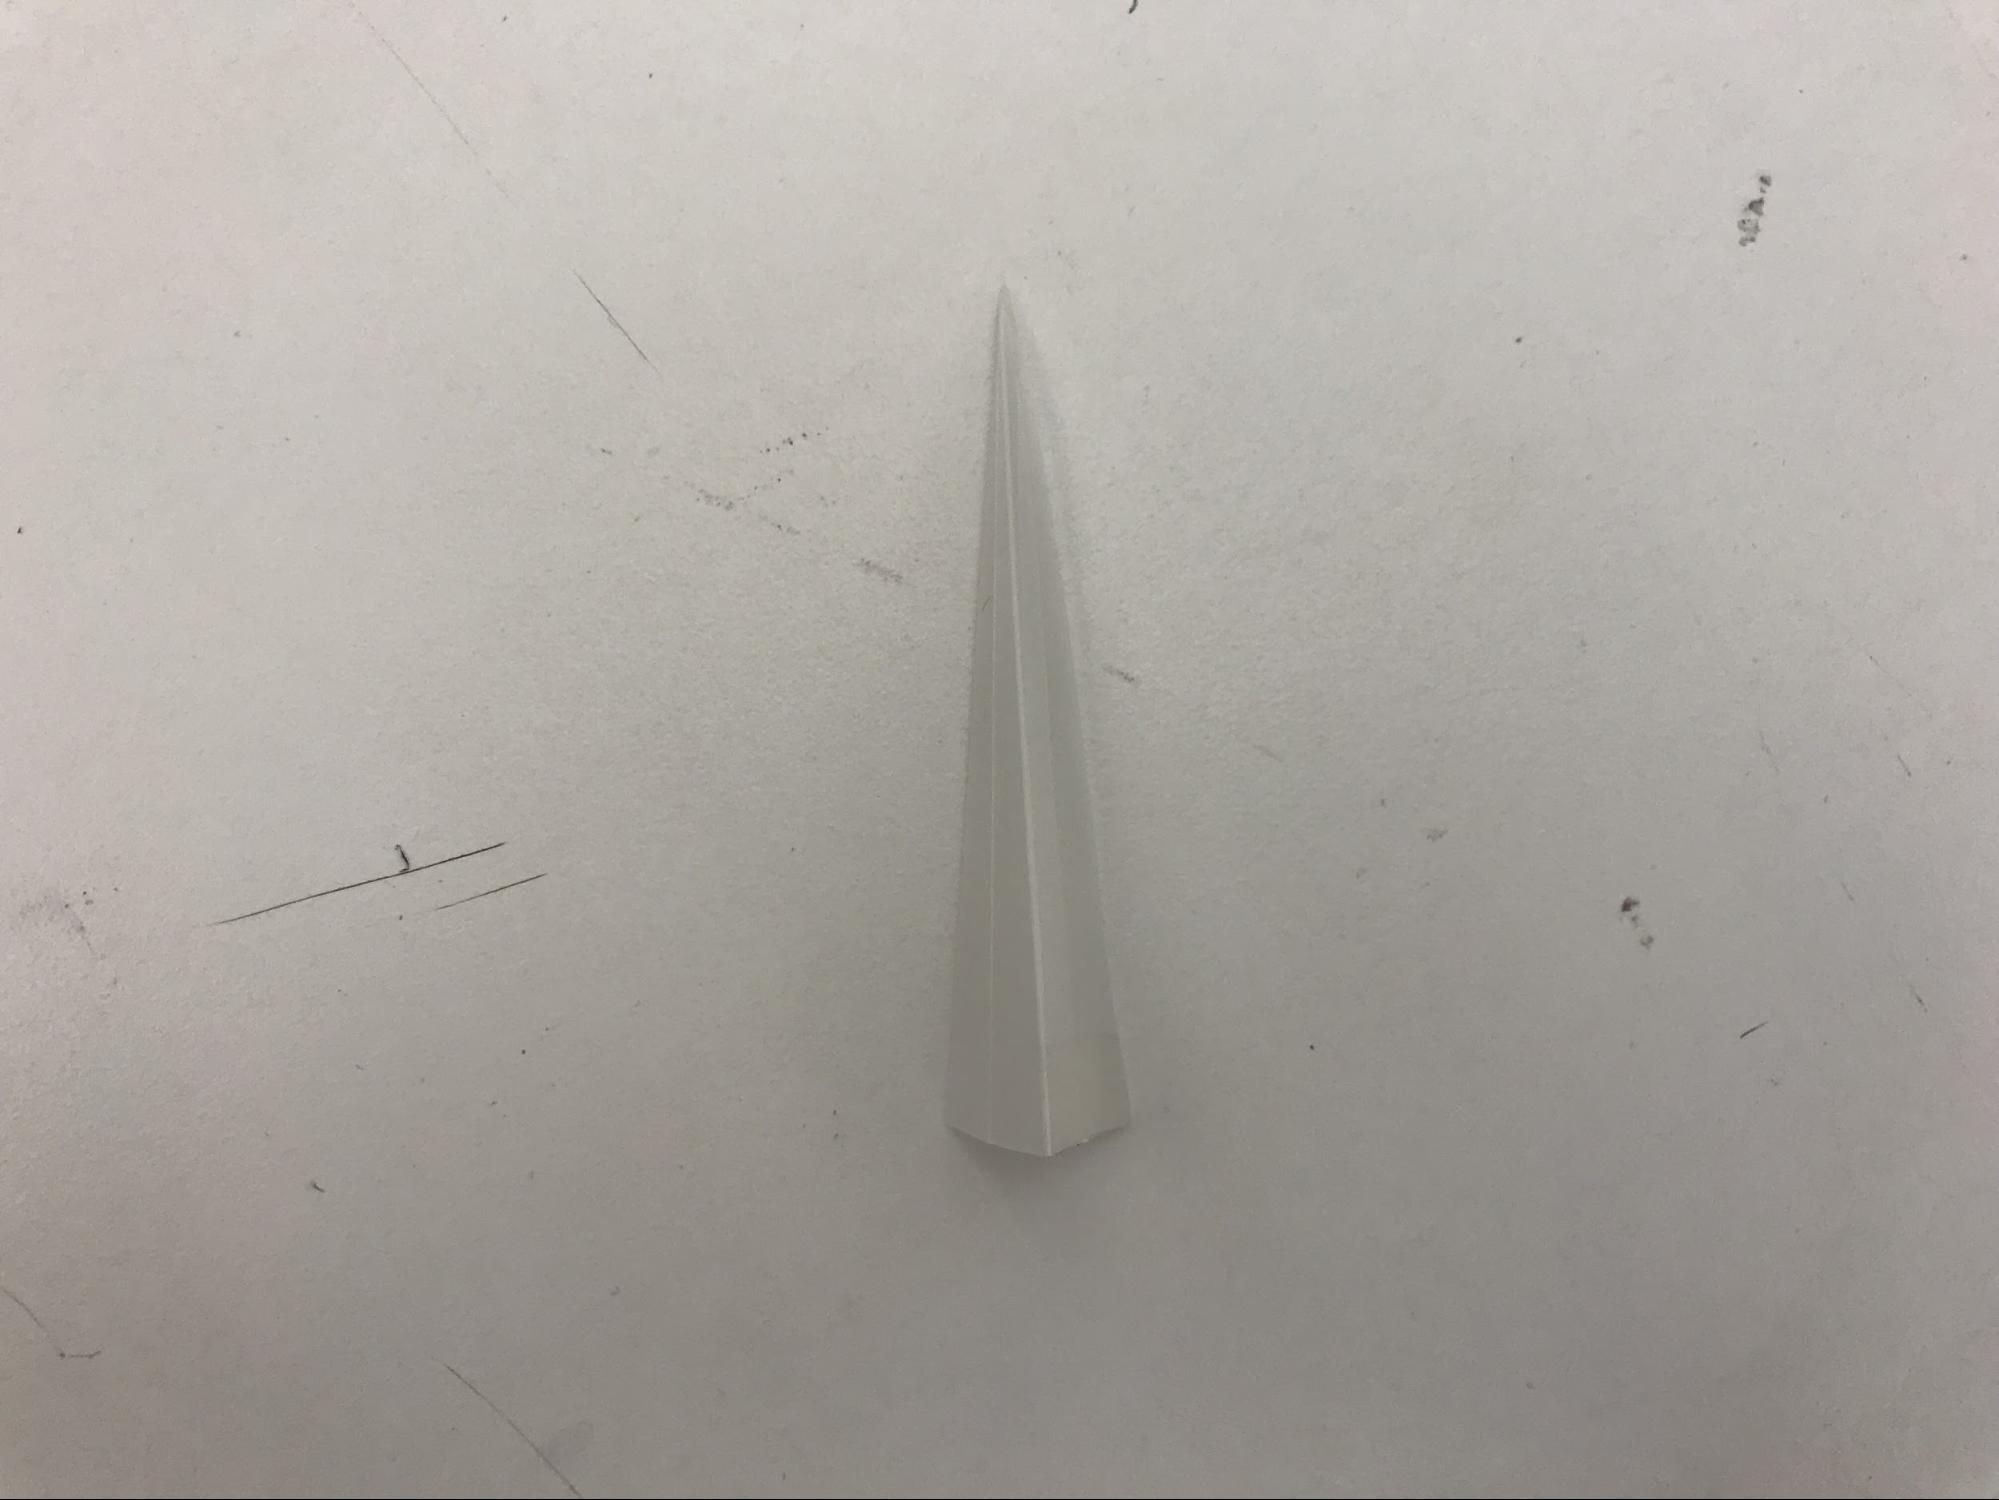
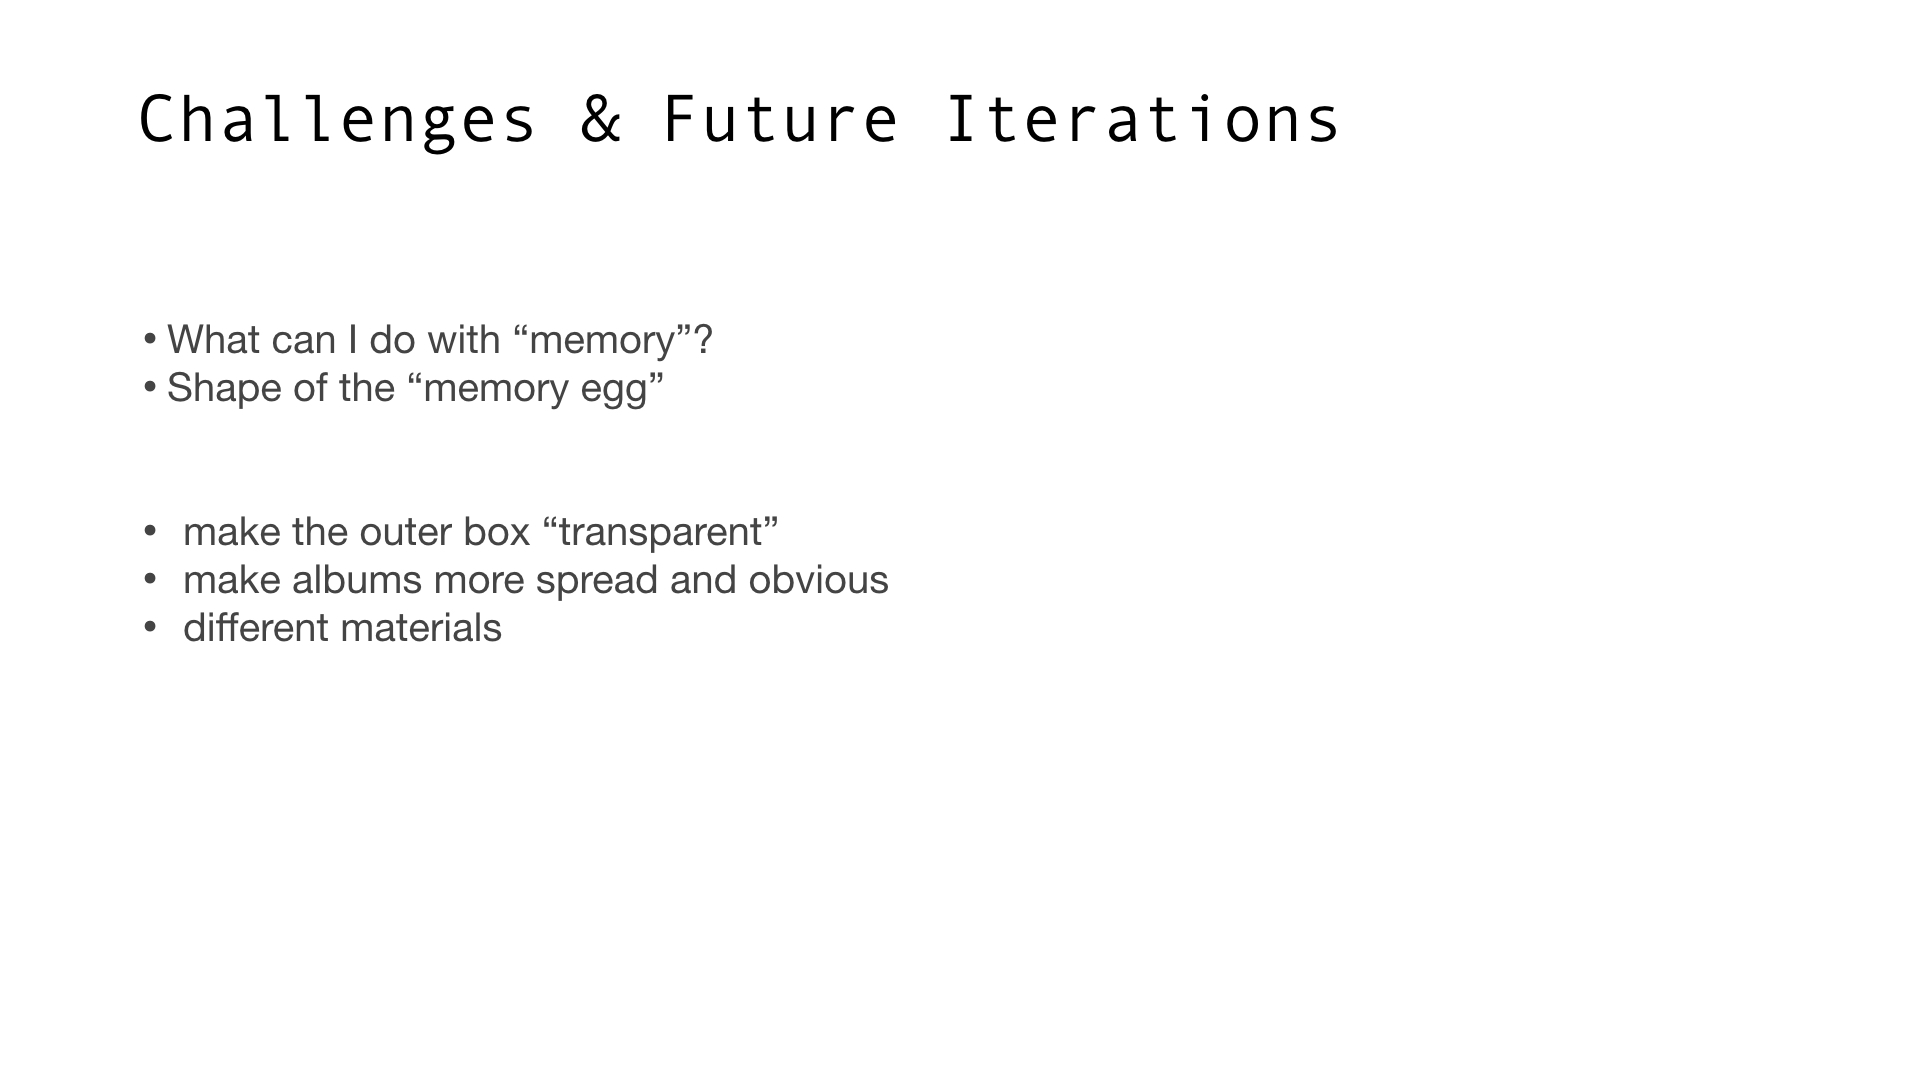
I tested out several kinds of boxes to choose the best shape of my “eggs”.
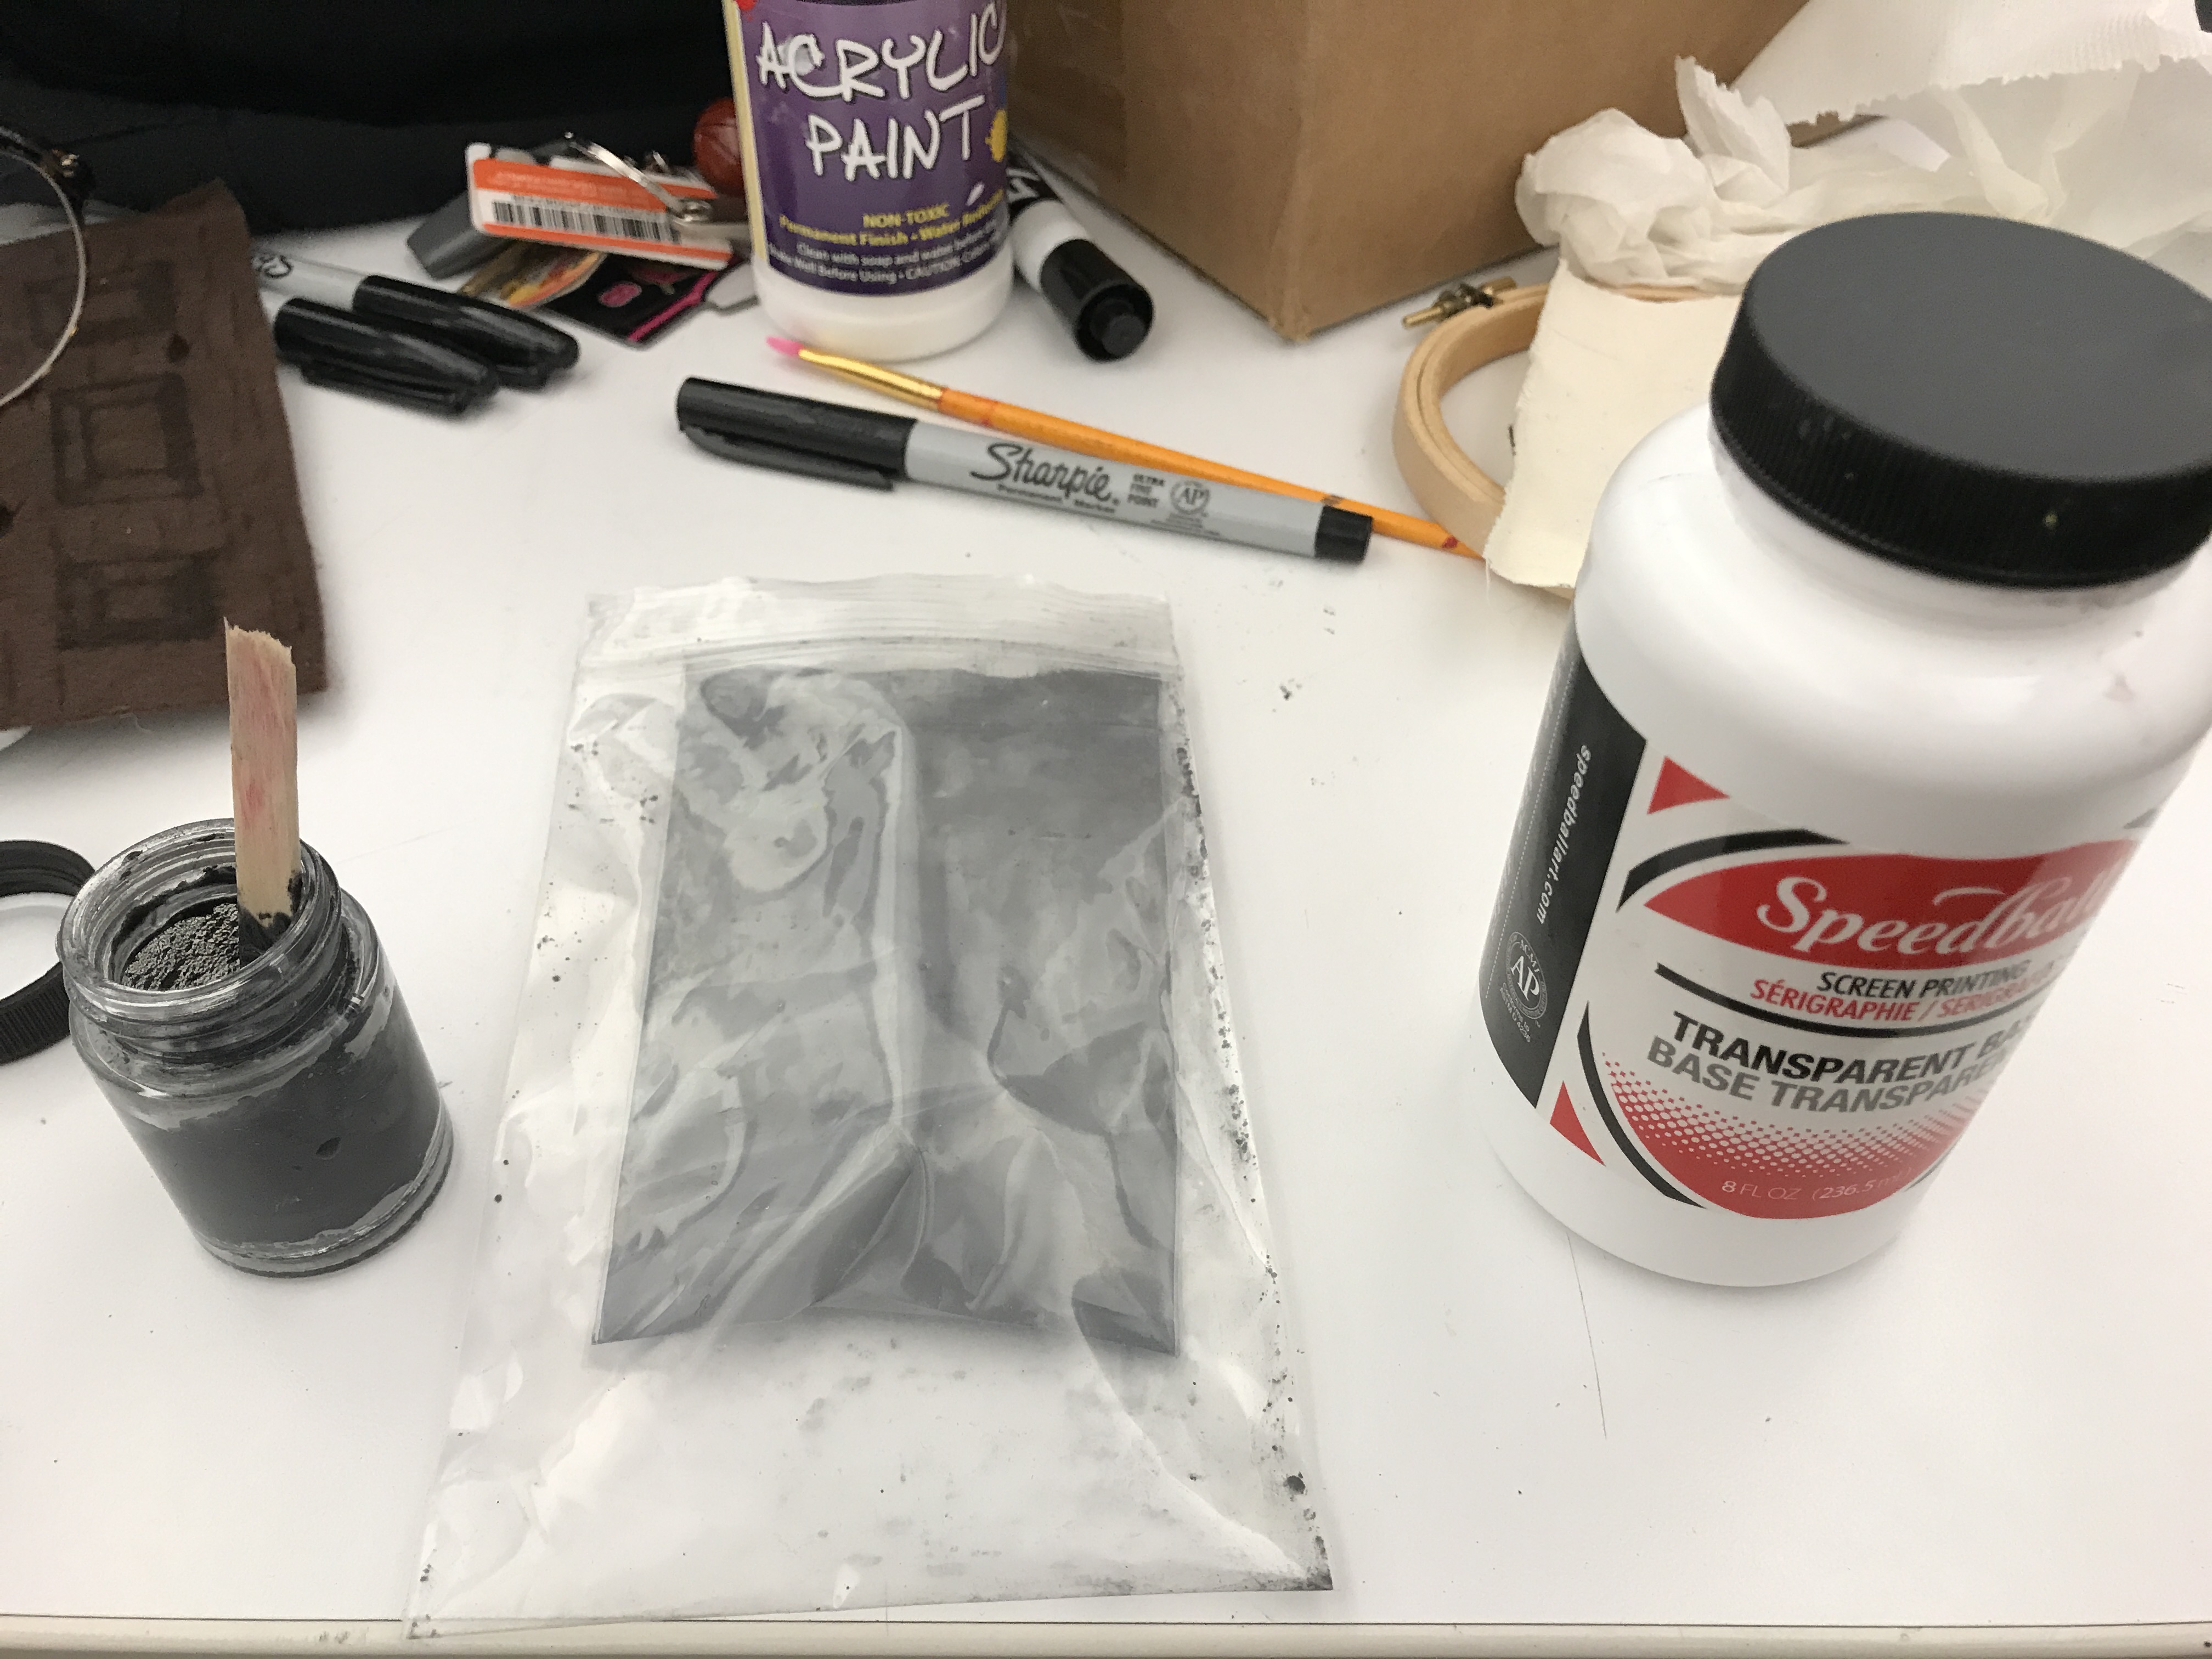
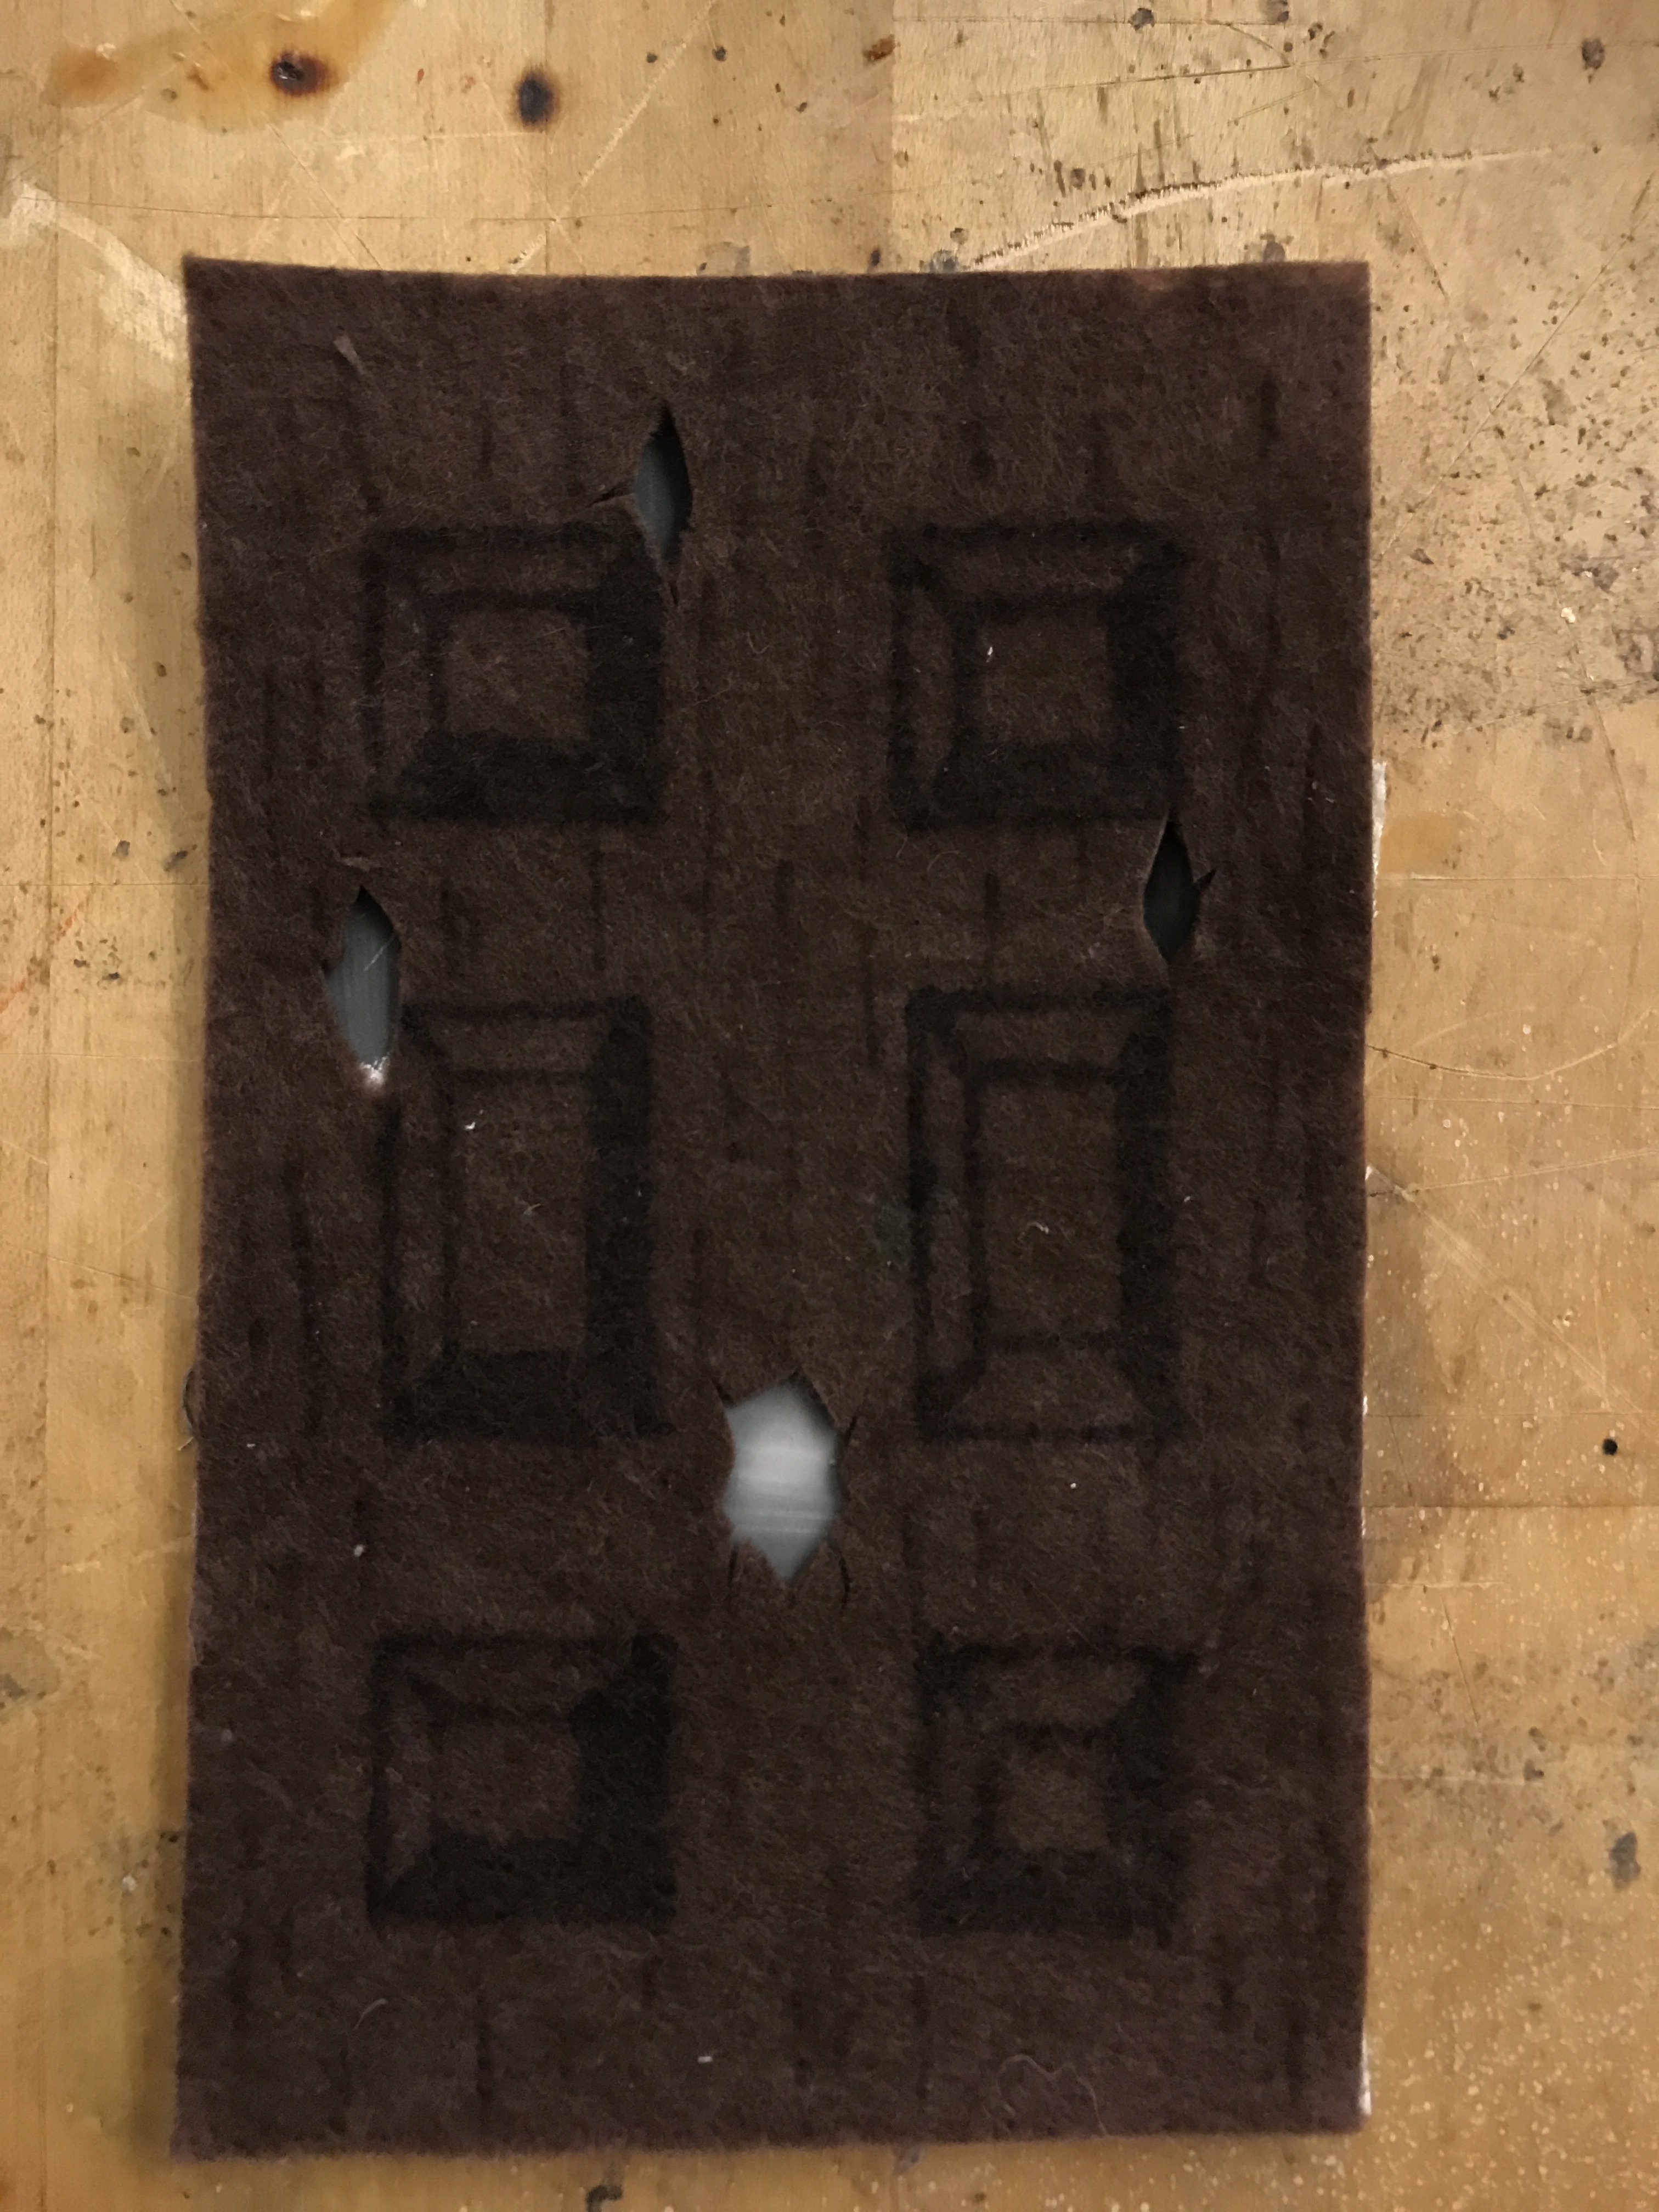
Color choice is also an important part of the model, if I choose a color like brown, then the egg would look just like a burger box.
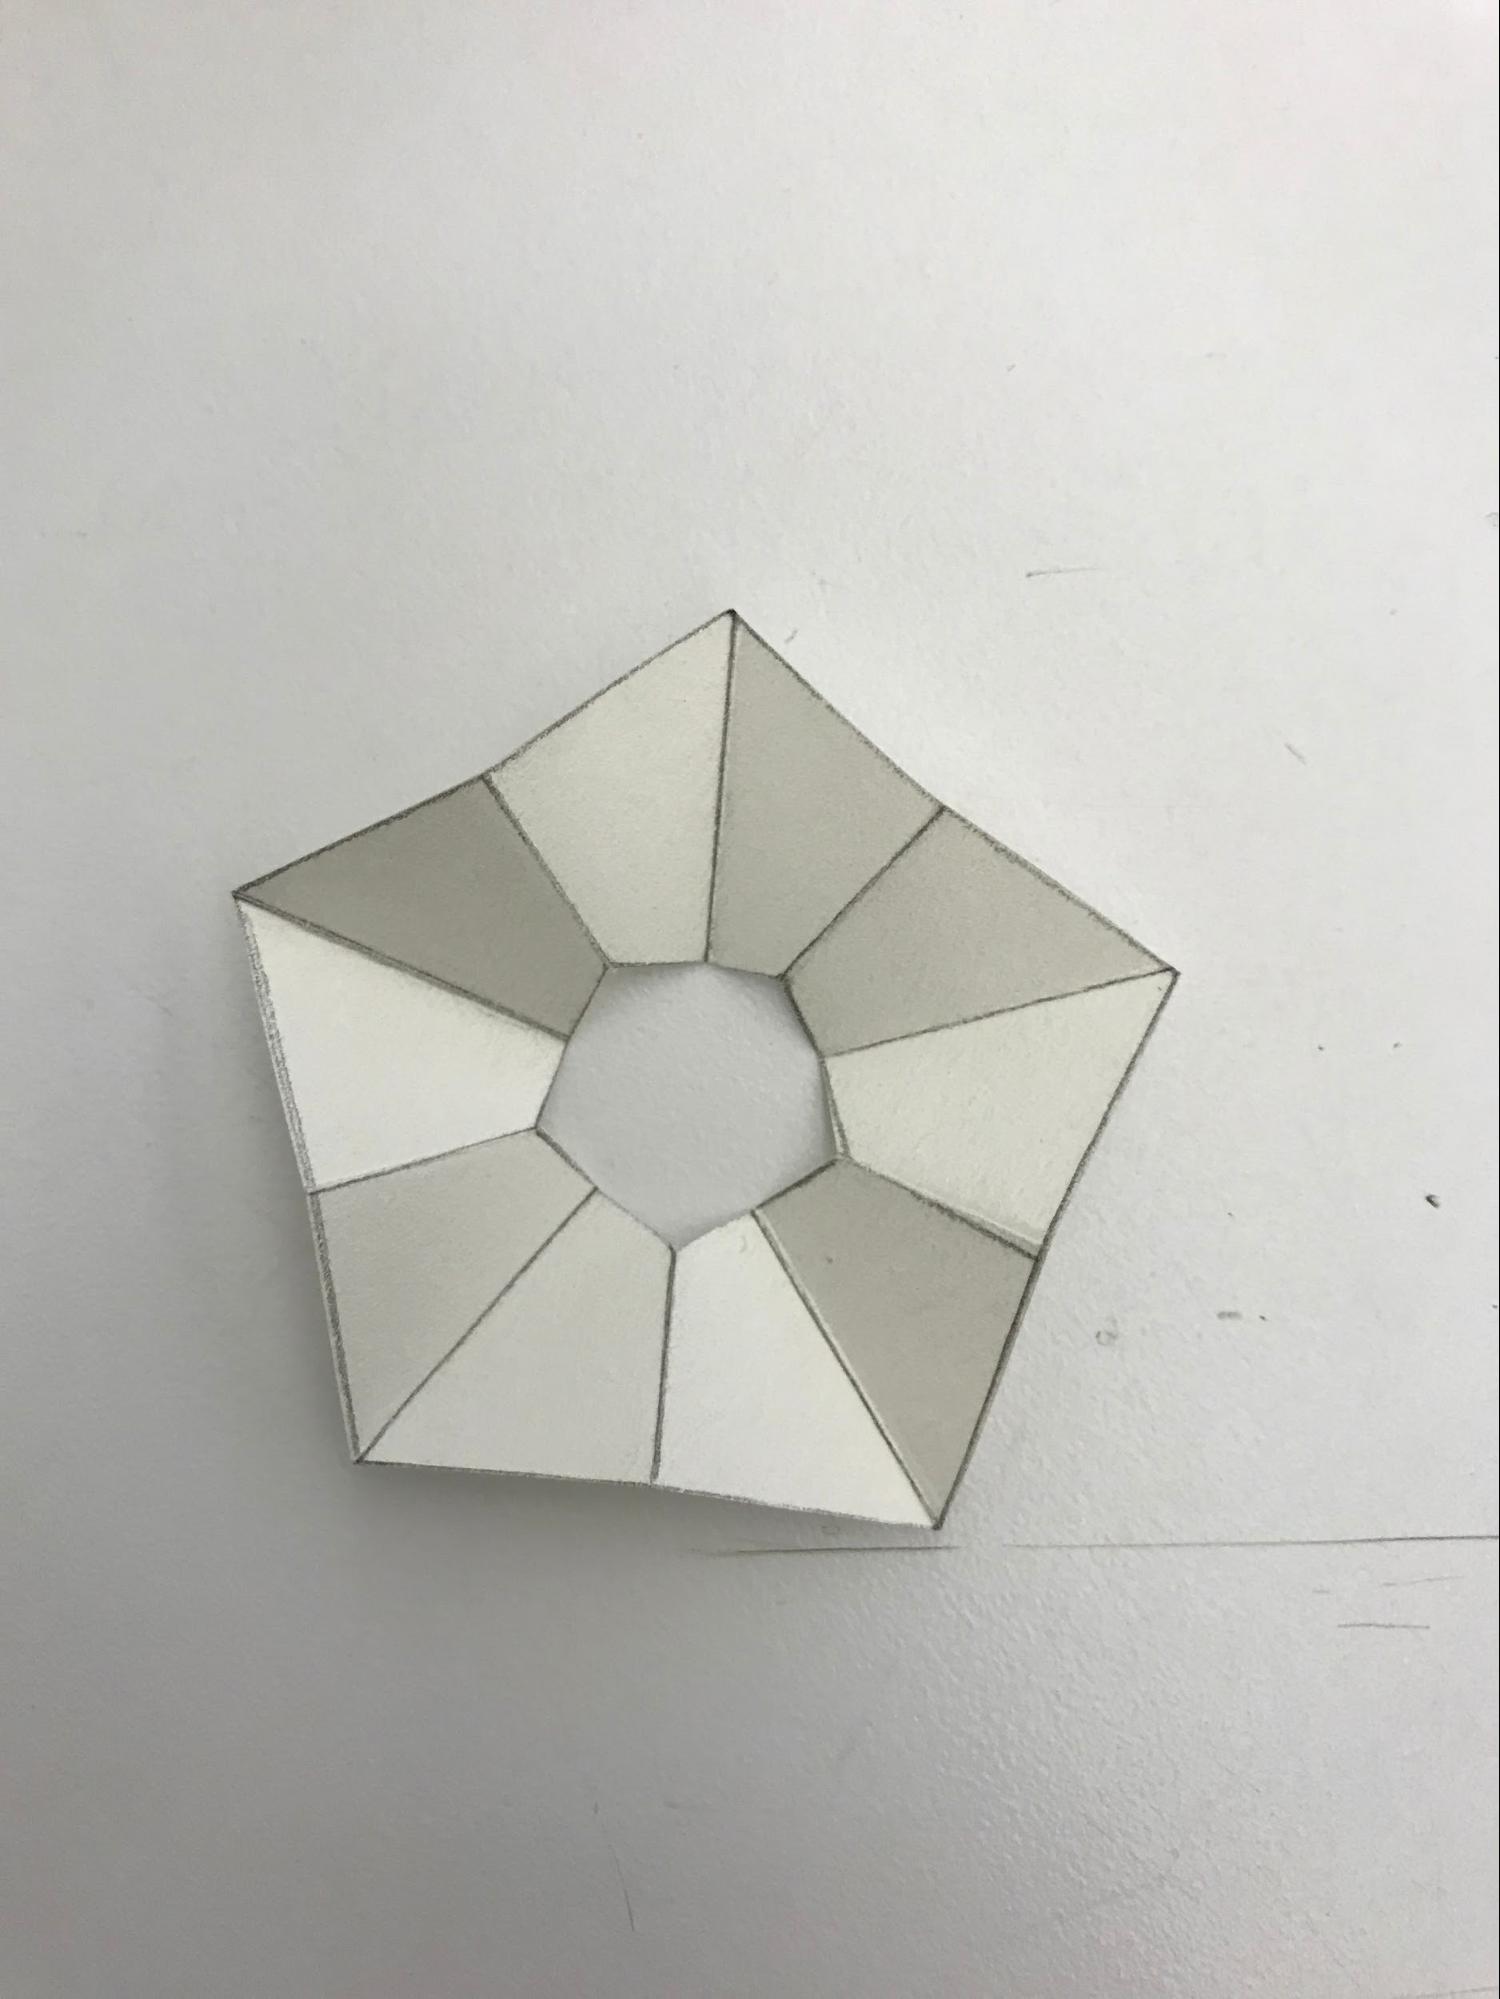
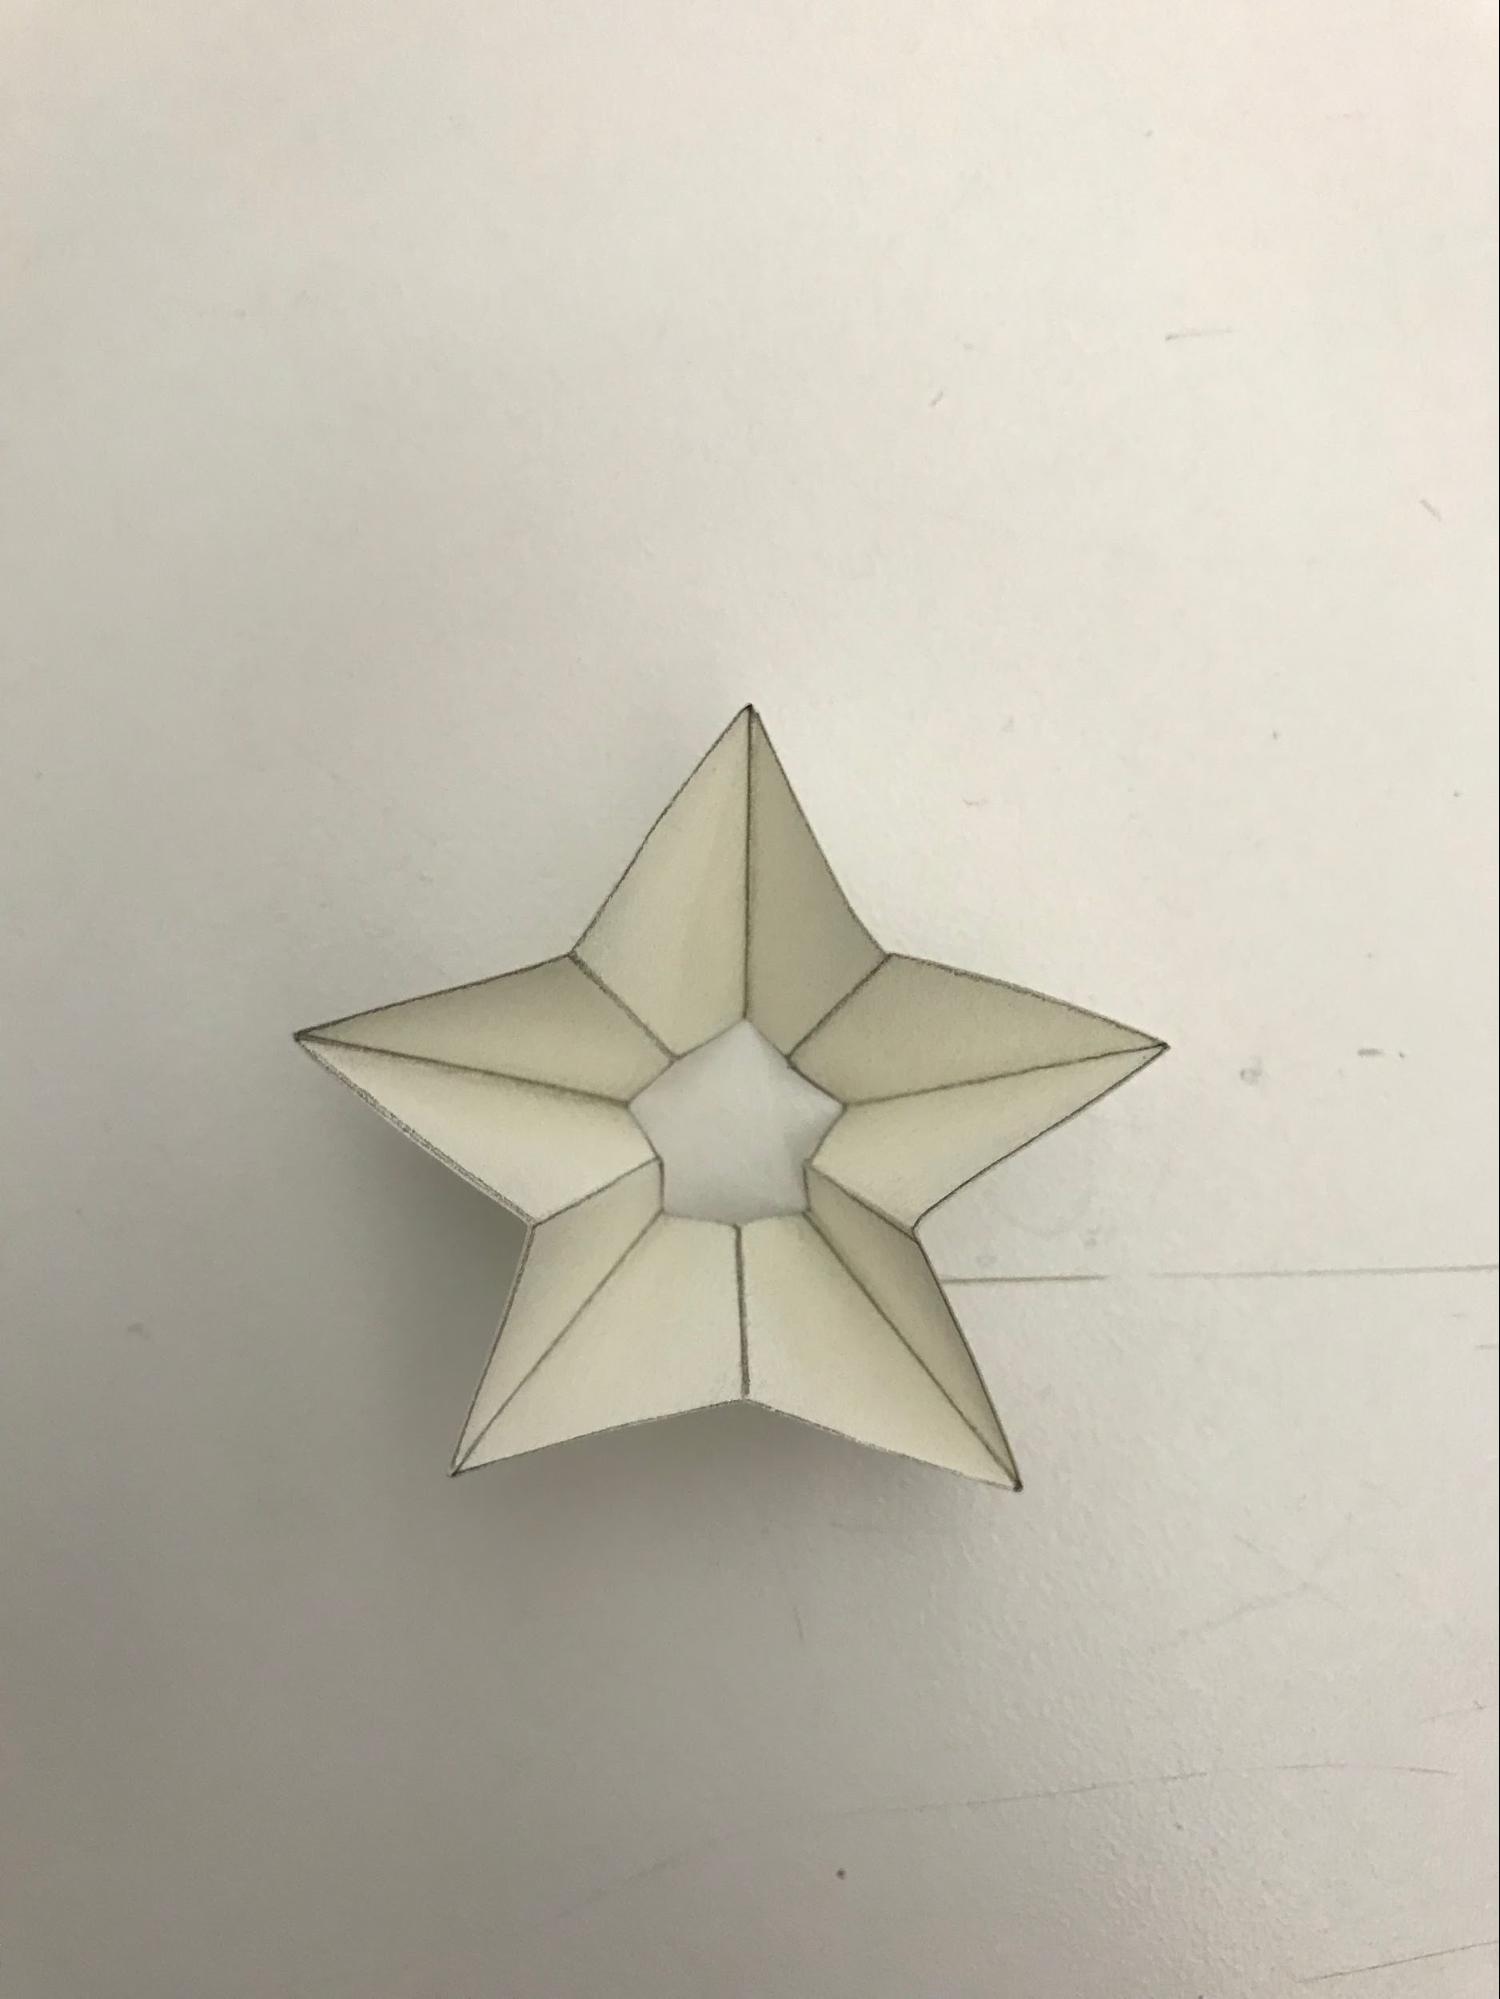
Finally, I chose the box shaped like a pineapple since that is the best similar shape of an egg in a paper model.
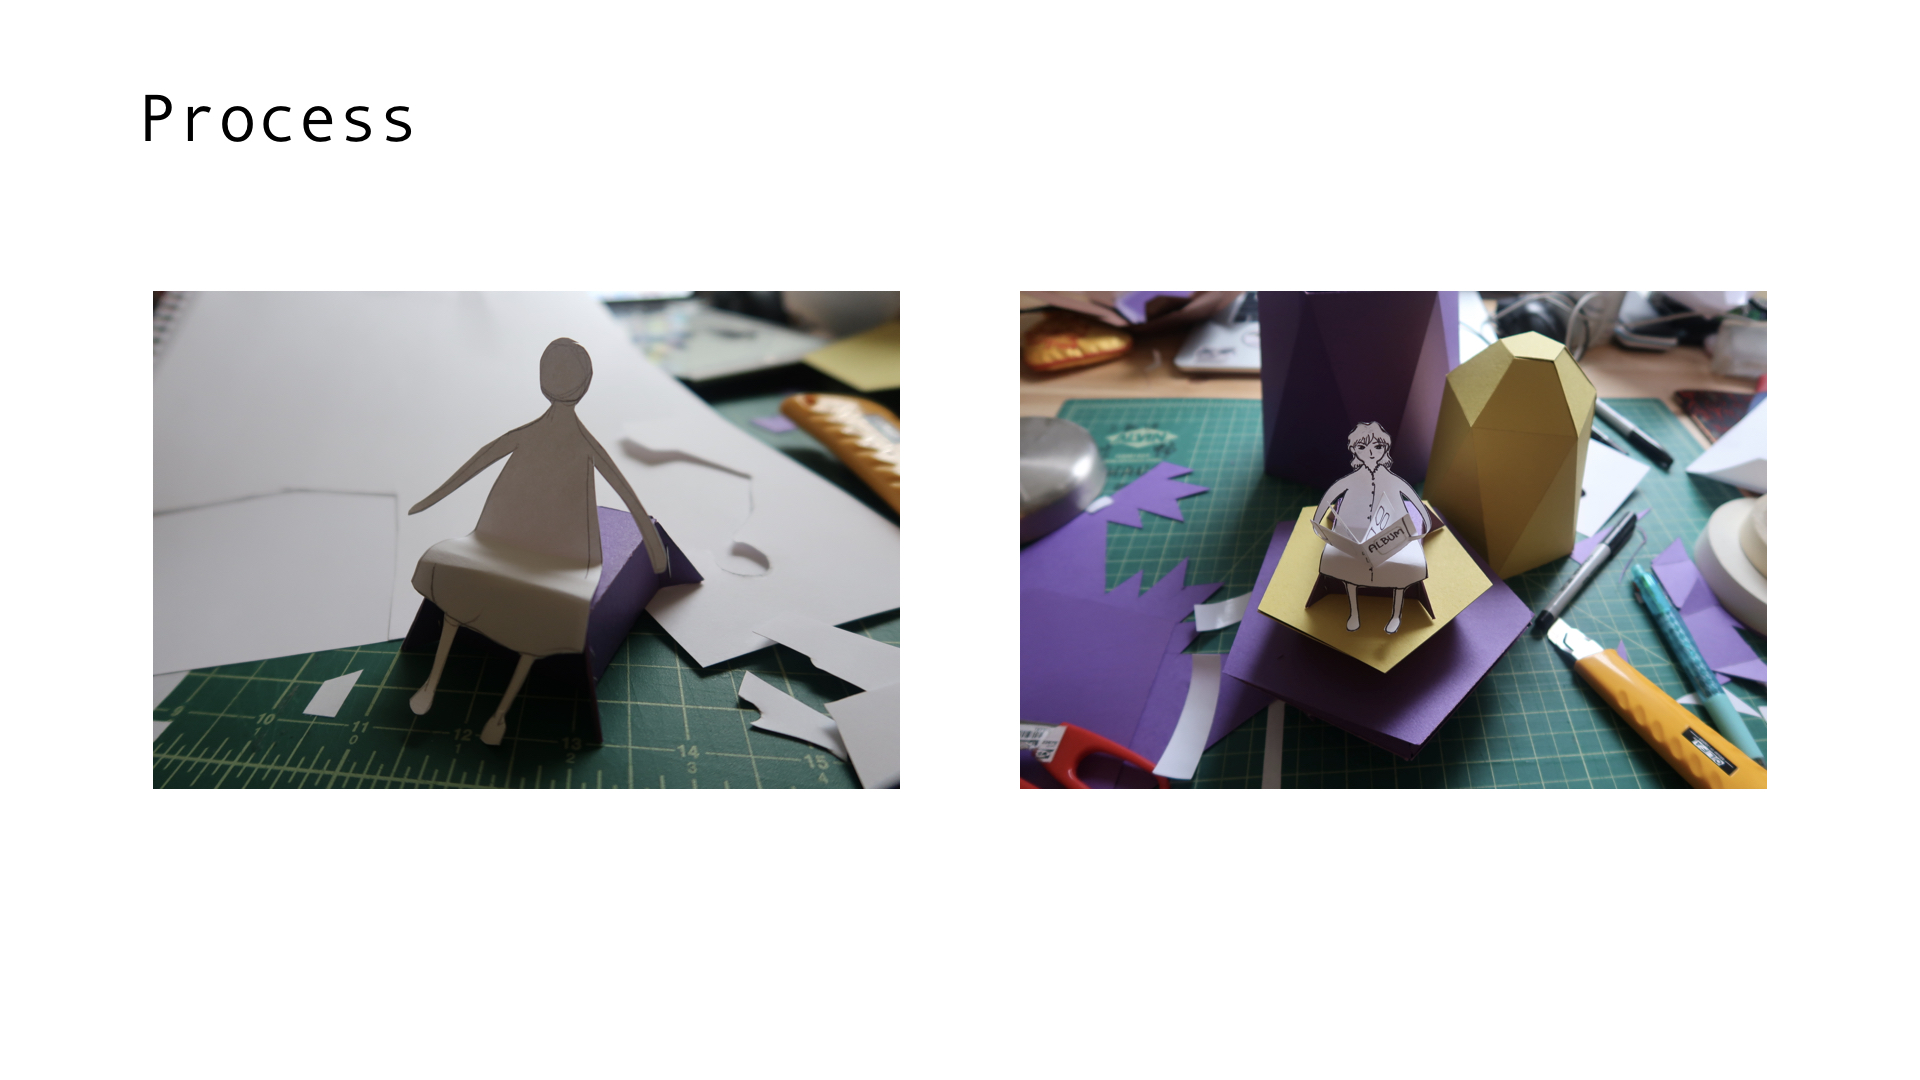
Inside the smaller egg, I also cut out a little girl who is sitting inside and looking at the album.
Connect all the positive together and negative together by using conductive tape.
Cut a hole for the 3V battery.
Put the smaller egg into the bigger one, the light switch will be on.
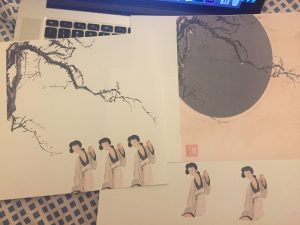
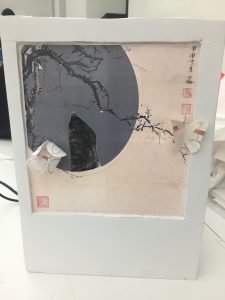
Neverdream is an installation which reinterprets a traditional Chinese opera, The Peony Pavilion, using 3D electronic story object. The interaction allows exploration between dream and reality in the story. Neverdream attempts to make traditional Chinese opera relevant to contemporary audiences.
Story
Background: Song Dynasty
Characters: Du Liliang, the daughter of an important official
Liu Mengmei, a poor scholar
Du and Liu meet and fall in love with each other in their dreams. They reunite in the real world after experiencing separation, death, and revival.
Experience
The user plays the role of Liu in the story. The installation presents the scene, that Liu meets a girl under a plum tree in his dream.
Target Audiences:
Millennial audiences in the digital age
Precedents:
The story happened in the old times. I want to design an installation that can tell the story in an interactive, immersive way. the electronic objects may enrich the experience but maybe ruin the immersion. The precedents show that these two materials enable electronic objects to give responses in a natural, organic way.
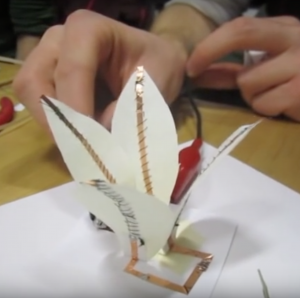
SMA project: blooming flower by Jie Qi
2. Animated Vines by Jie Qi
2. Fiat Voluptas Tua by Zoe Romano, Giorgia Petri, Laura Migliano
Process
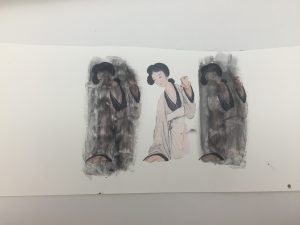
1.Printing
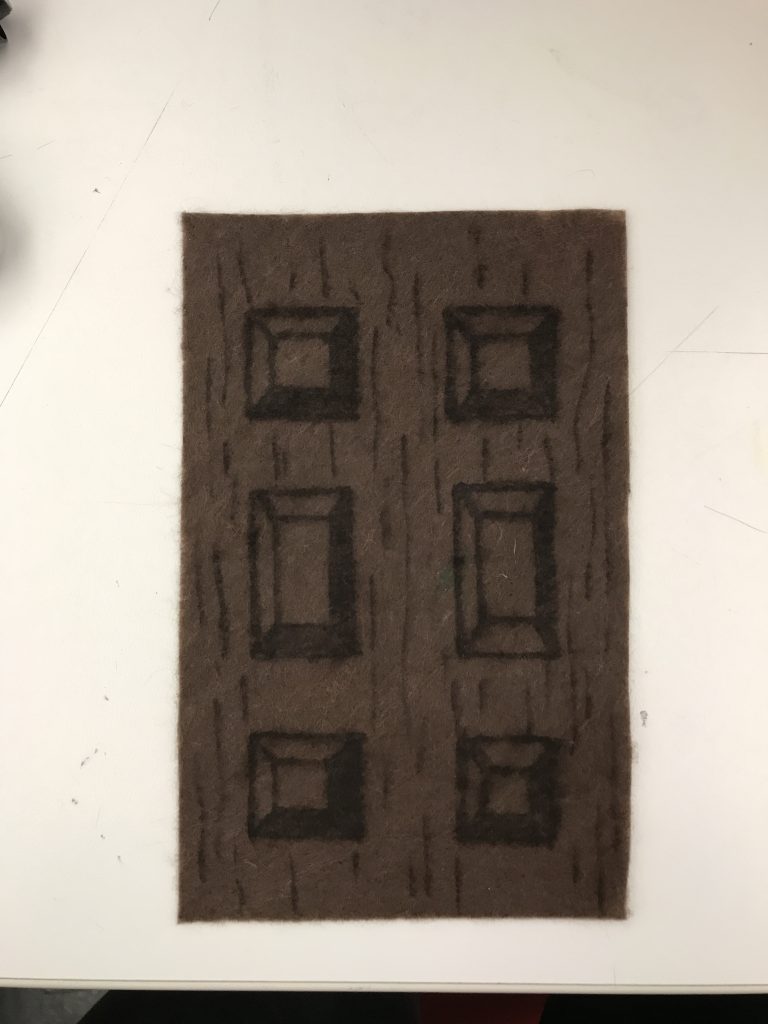
2. Test and apply thermochromic pigment
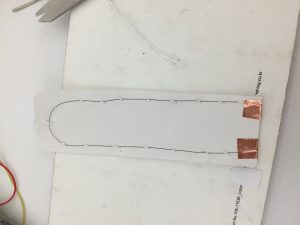
3.Making petals with flexinol
4. Connecting petals in a series connection to make a flower