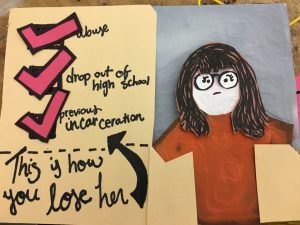
This is How You Lose Her is project about factors that lead to higher chances incarceration. The technology can easily be translated to other concepts. This instructable is for people who are interested in experimenting with circuits to change thermochromic ink colors. Level: BEGINNER
Project Reflection:
This finally project was conceptually challenging for me. Technically speaking, it was feasible and I feel like I walked away with an interesting proof of concept prototype. Moving forward though, I would like to dig deeper into the concept and make the circuit match the system.
For my midterm project, I wanted to make a cap that would signify when you are deep in thought so that nobody will disturb you. I call it “the thinking cap.”
USER + CONTEXT
The intended user for this is a second year thesis student, but I can see this used in the workplace especially in cases where the workspace is an open floor plan.
DESIGNED INTERACTION
The interaction between the user and my lamp is simple. They just have to put the hat on and the light will turn on. When nobody is wearing the hat, the light will stay off.
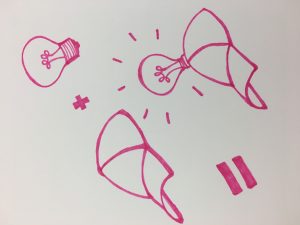
INITIAL DESIGN
The initial design was to have a button at the top of the hat that would complete or disconnect the circuit, depending on whether it was pressed or not. The lightbulb would turn on or off depending on the presence of a head.
PROCESS
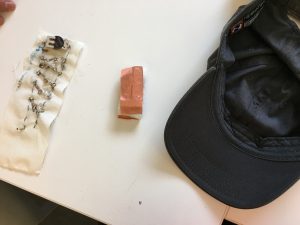
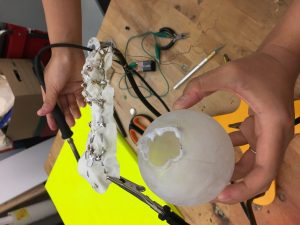
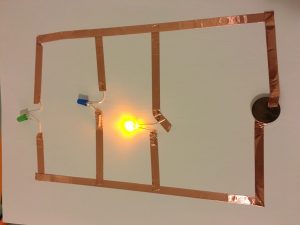
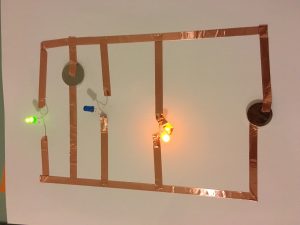
The process of making my cap started with first coming up with a circuit in which multiple LEDs could be powered with a minimal number of batteries.
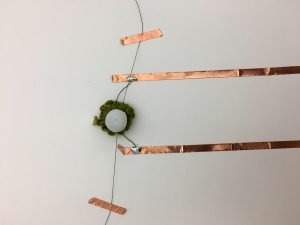
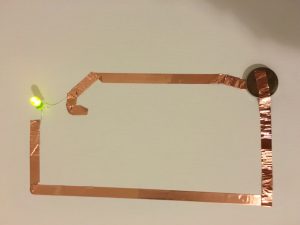
I created a parallel circuit with 5 LEDs and some resistors, a 3V battery, and conductive thread. The circuit shown below is broken by the bottom line near the battery. That is where the button/sensor connects.
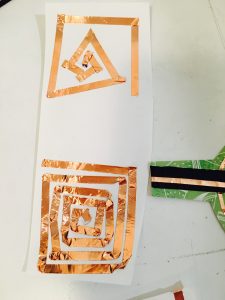
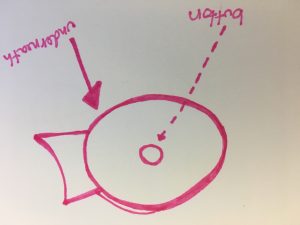
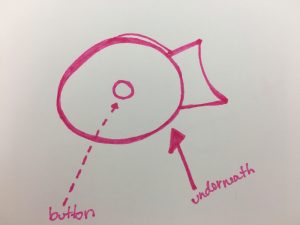
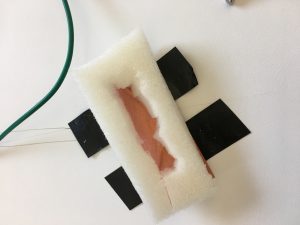
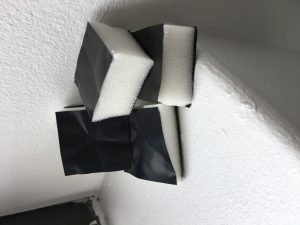
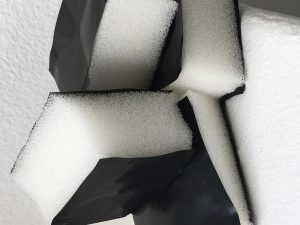
After that, I needed to make a sensor. At first, I was thinking of just using a button on the top of the hat, but I realized I could make a simple pressure sensor with some copper fabric and foam and attach it to the brim of the hat. I chose to do this because that’s a spot in the hat that will always get pressure from the forehead, vs the top where there might not always be contact.
The first thing I learned through testing my pressure sensor was that it wasn’t sensitive enough. So, I made the foam thinner in order to create an easier pathway to connection.
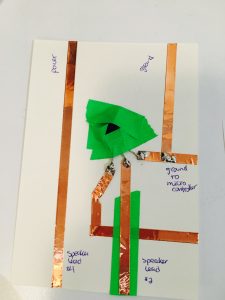
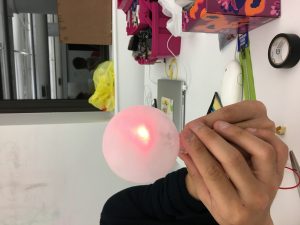
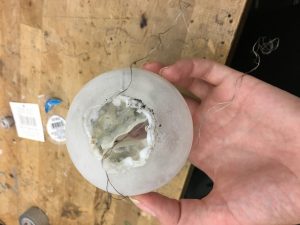
Next came the enclosure for my lightbulb. I needed to make sure the LEDs would shine through but that the circuit would be concealed. I took a clear plastic ornament and sanded it to be frosty.
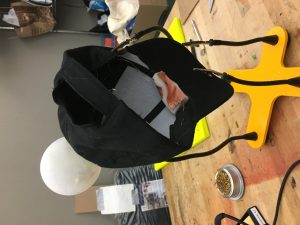
After placing the circuit in the lightbulb, I sewed conductive thread through the hat to connect the sensor to the circuit.
For my midterm, my design goal is to create a thinking cap for students which will signify when a student is thinking and not to be bothered! This is for DT 2nd years in the thesis process.
Materials:
Light bulb
hat
conductive thread
conductive fabric + foam
big battery
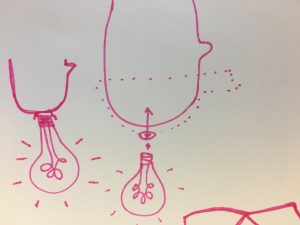
The idea is pretty simple: The light bulb will be mounted on top of the hat and there will be a button inside of the hat. When the head touches the top of the hat, the pressure will push the button down and complete the circuit which will turn on the light bulb.
Precedent
The Knitted Radio! Using textiles + clothing as electronic mediums.
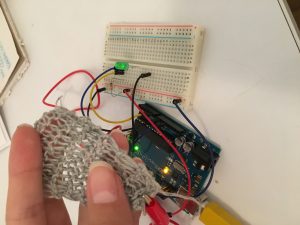
LED + Sensor homework
I did a simple if.else statement that would display the brightness of the LED at a different stage depending on the sensor reading.
I am a storyteller, designer, learner, researcher, and an educator. I tend to lean towards projects that are based in understanding someone’s story and communicating that to create new conversation that could perhaps spark change. My design process is heavily dependent on research and learning and my design goal is to educate from my findings.
Favorite tool- Markers and a blank page. Markers are so colorful and expressive and there’s so much possibility with a blank page.
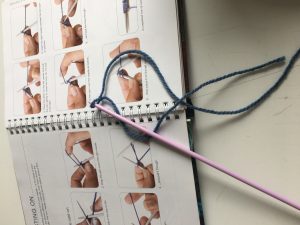
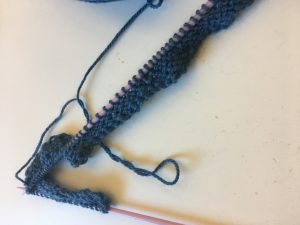
So this week, I tried KNITTING! I knew nothing about it and found myself lost in the yarn section at Michaels. My original goal was to make a massive knit blanket with chunky yarn, but a gut feeling told me to calm down and buy a book for beginners before I . So, I bought a book called KNITTING FOR ABSOLUTE BEGINNERS and found myself struggling to tie the first slip knot.
After some struggling with a helpful DT classmate, Aine, I was able to learn how to cast on a few stitches. Casting on, from what I understand, is basically making some stitches. See below.
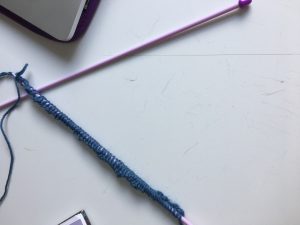
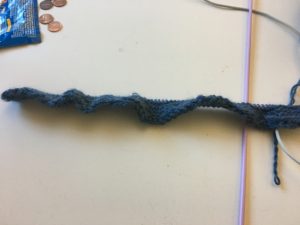
So, this was knitting. Nowhere in my book did I find an explanation for what do even do next, so I started randomly googling “what to do after you cast on- knitting.” Then, I found this gem on youtube.
So here’s the result of that:
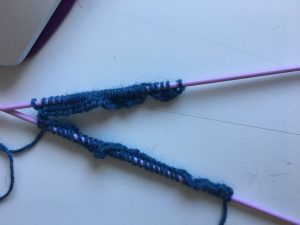
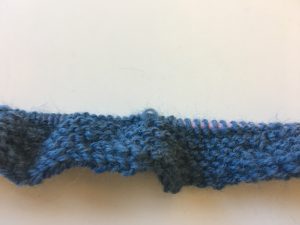
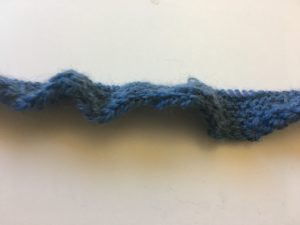
and after many hours, this is what I have:
A few thoughts:
I LOVED KNITTING!!!! It was so fun and relaxing. The hardest part was getting the knots right, so asking for help was crucial as well as some googling. Once I got going, I felt a lot better and quickly picked it up. I obviously have a rough start with some missing stitches, but I still feel hopeful about picking it up more as I do it.
One thing: knitting is time consuming. I love doing it and consider it a very zen activity that I want to continue, but I need to scale my ideas of massive knit blankets down a tad.
For this week’s homework, I made an ice cream sandwich button as a swatch. While my original intent was not geared at food, I thought the velostat on foam aesthetic looked a lot like an ice cream sandwich.
I used foam and two layers of velostat. The video at the bottom of the post demonstrates the button working!
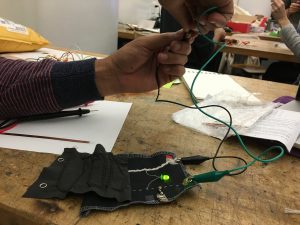
Through the use of a multimeter tool, we determined the conductive parts of the swatch. We used alligator clips to connect different parts of the circuit together with a battery and an LED.
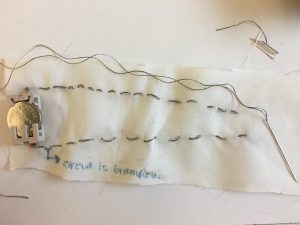
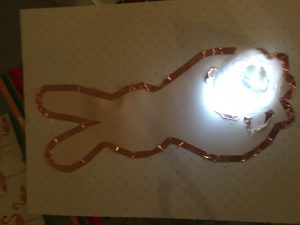
There are two metal hooks connected to conductive thread. They create a simple circuit when you add power and a light to it.
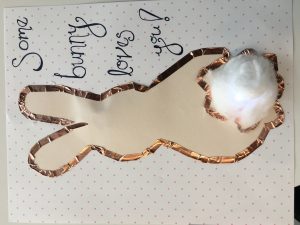
Above is the homework. I wanted to make an illustration of a bunny rabbit. This isn’t particularly from a book, but I’ve seen the little quote pop up everywhere. The second photo is the final, it’s hard to tell that the light is on. The battery is hidden underneath the head.
In class activity #1- worked well!
In class activity #2- did not work so well! I tried adding some extra batteries, but then I think I overheated my LEDs. Not sure what the issue is.
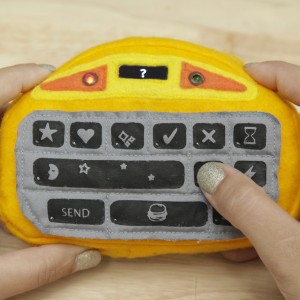
Lara Grant made an interesting series of eTextile projects with accompanying instructables instructions for it, which I think is awesome and very helpful for beginners like ,e. The project that stood out to me most was a messaging controller made out of fabric and a microcontroller. I thought it was so amazing because the form hides conceals the tech so well and integrates a completely polished and fun aesthetic. I don’t have much experience with electronics, so I’m easily amazing by electronics projects that integrate fabric and non-traditional mediums.