First of all, HUGE thank you to Jed and Max for helping me document, brainstorm, troubleshoot and test throughout this whole process.
Instructable:
http://www.instructables.com/id/The-Thinking-Cap/
Presentation:
CONCEPT + DESIGN GOAL
For my midterm project, I wanted to make a cap that would signify when you are deep in thought so that nobody will disturb you. I call it “the thinking cap.”
USER + CONTEXT
The intended user for this is a second year thesis student, but I can see this used in the workplace especially in cases where the workspace is an open floor plan.
DESIGNED INTERACTION
The interaction between the user and my lamp is simple. They just have to put the hat on and the light will turn on. When nobody is wearing the hat, the light will stay off.
INITIAL DESIGN

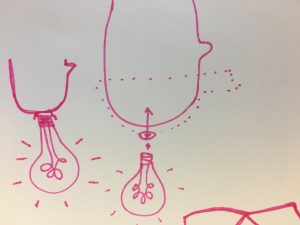

The initial design was to have a button at the top of the hat that would complete or disconnect the circuit, depending on whether it was pressed or not. The lightbulb would turn on or off depending on the presence of a head.
PROCESS
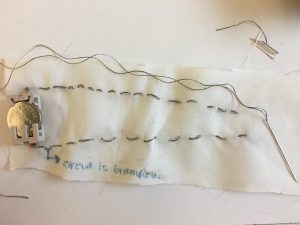
The process of making my cap started with first coming up with a circuit in which multiple LEDs could be powered with a minimal number of batteries.
I created a parallel circuit with 5 LEDs and some resistors, a 3V battery, and conductive thread. The circuit shown below is broken by the bottom line near the battery. That is where the button/sensor connects.


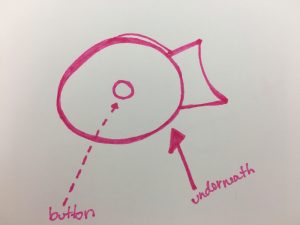
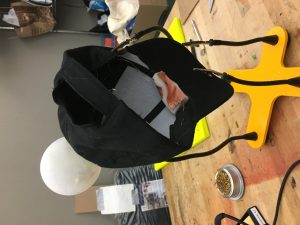
After that, I needed to make a sensor. At first, I was thinking of just using a button on the top of the hat, but I realized I could make a simple pressure sensor with some copper fabric and foam and attach it to the brim of the hat. I chose to do this because that’s a spot in the hat that will always get pressure from the forehead, vs the top where there might not always be contact.
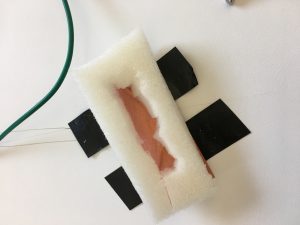
The first thing I learned through testing my pressure sensor was that it wasn’t sensitive enough. So, I made the foam thinner in order to create an easier pathway to connection.
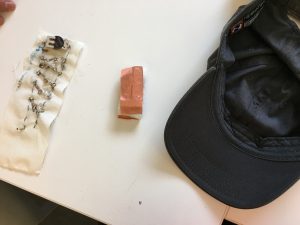
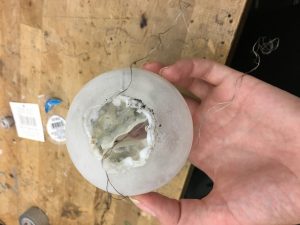
Next came the enclosure for my lightbulb. I needed to make sure the LEDs would shine through but that the circuit would be concealed. I took a clear plastic ornament and sanded it to be frosty.
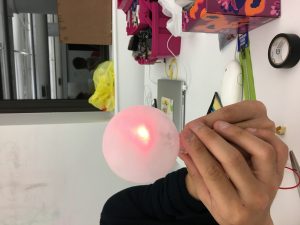
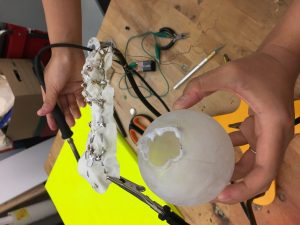
After placing the circuit in the lightbulb, I sewed conductive thread through the hat to connect the sensor to the circuit.
This was the immediate result: