Author Archives: foxa706

Thermochromic Ink Tiles

img_2504img_2490

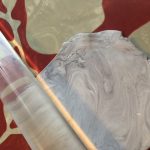
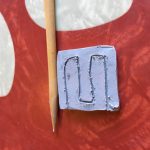
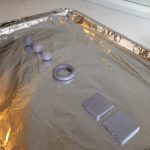
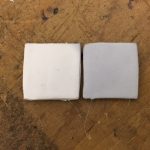
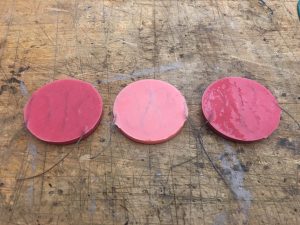
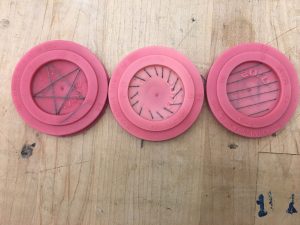
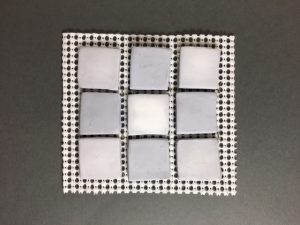
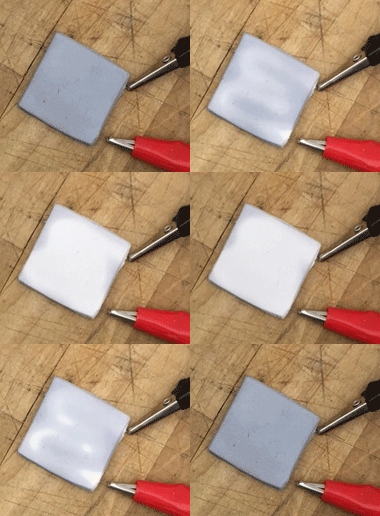
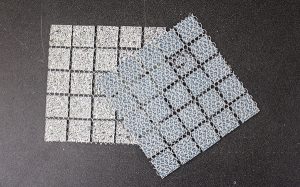
Ceramics and screenless interface relate to my thesis project. I took my final for Computational Craft as an opportunity to dig into the subject. I began with the question of how might I use thermochromic ink to display visual state changes in ceramics? Upon digging into the research I found that ceramics and thermochromic are being combined, but not for visual display purposes. While my initial inclination was to do a materials study, through the process I found in an intriguing application of my idea. My prototyping process using polymer clay acted as initial steps in my proof of the concept for this exciting materials and display opportunity: tiles as a display. 

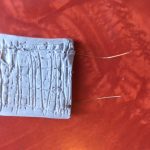
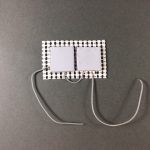
I went through a series of tests swatches through my prototyping phase. In the process, I made some interesting discoveries. Firstly, thermochromic ink can be incorporated in and survive the baking temperature of polymer clay. Secondly, one can also bake the resistive wire at this temperature. These points lead me to speculate that some very interesting jewelry or physical forms could be created using this process.
fqpvqxffhavxw8u-rect2100 mesh-back

Challenges and Future Iterations

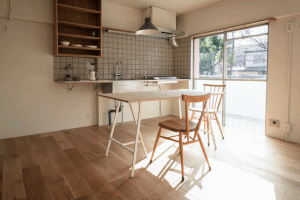
I had drawn the connection mentally between the idea of a LED matrix and of tile matrixes (as in the kind used to lay interior tiles in the home). However, I soon found that the electrical principals do not translate seamlessly between the two mediums. In my case, I used resistive wire to create the heat which changes each tile. This works well for single tiles, even in a series, but in terms of making an addressable grid of these tiles, a la LED matrix, I ran into an issue. As you know, electricity takes the path of least resistance. Consider if a tile matrix were set up in a LED matrix circuit fashion. How one would make a column of tiles change color when, considering the resistance, the electricity would stop at the first tile’s ground out? It remains unclear to me and having asked Liza as well as Adiel, the answer seems to lie is in individually addressable tile points which use a shift register with built-in MOFSET to regulate the power load. For my means, I solved this issue by treating each row of tile in my grid as a series. Sustained pulses of electricity from the Arduino and connected 9V battery built up the heat and created color change effectively. For my means, I solved this issue by treating each row of tile in my grid as a series. Sustained pulses of electricity from the Arduino and connected 9V battery built up the heat and created color change effectively. In future iterations, I plan to get my hands on a

For my means, I solved this issue by treating each row of tile in my grid as a series. Sustained pulses of electricity from the Arduino and connected 9V battery built up the heat and created color change effectively. For my means, I solved this issue by treating each row of tile in my grid as a series. Sustained pulses of electricity from the Arduino and connected 9V battery built up the heat and created color change effectively. In future iterations, I plan to get my hands on a TPIC6B595 chip and work on treating each tile effectively as a pixel. I also look forward to expanding on the materials side of this concept and working with earthenware clay.
minimal_tiles

I consider this idea my intellectual property and idea I intend to further it. Therefore I have created a purpose-abstracted Instructable which you can find here.
Muscle Wire Accordion fold

img_2323img_2324

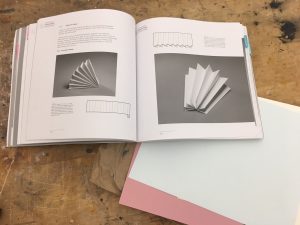
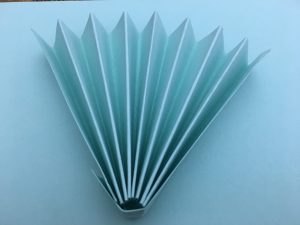
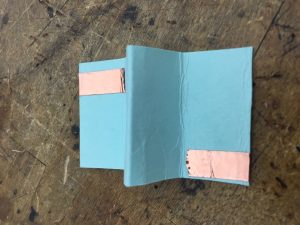
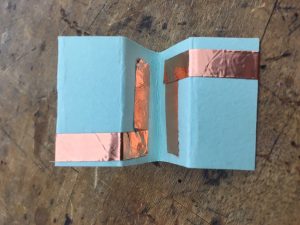
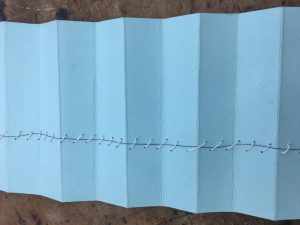
I started off by getting inspiration from the paper craft book in the Comp Craft locker. Man, that book is so cool. In the book, I found some interesting accordion folds. How perfect would that be for muscle wire, I thought, so perfect.  So I folded up cardstock, sewed and soldered in my muscle wire and tested it out. When the fan was folded together my muscle wire lost tension and the effect of the 10% shrinkage was invisible.

img_2327img_2326

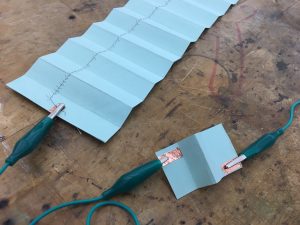
Undeterred, I tried a flat to folded method. That one worked and I made a button to go with the interaction. You pinch the fold to fold the paper. See the video below!

img_2325img_2329

Summary: Liza was right that this stuff is tough to work with. In the future, I’d use a slightly thinner paper and thread the muscle wire through the folds with the metal crimps intermittently in order to hold it in place and provide the shrinking fan effect that I’d originally envisioned.

Thermochromic Rubber Swatch

img_2314img_2300

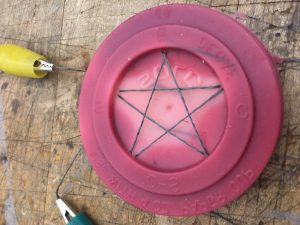
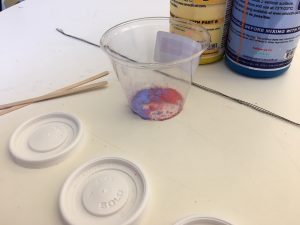
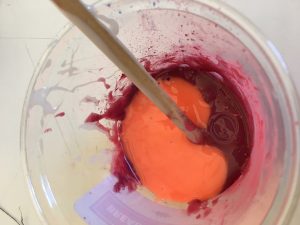
I had some rubber casting supplies left over from a project last spring. What I wondered was if it would respond well to thermochromatic ink. And yes, I discovered, it works very well. The mix I used was about 1/2 tsp red, 1/4 tsp blue and an equal mix of part A and part B of the silicone rubber casting goo- about 4tbsp worth.

img_2301img_2302

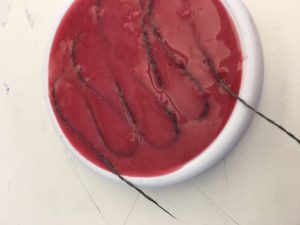
Mix well. Use gloves and be in a well-ventilated area. I poured the mix into the lids of three small cups and laid the stainless steel thread into the goo.

img_2309img_2315

When cured (6hrs), the rubber was nicely reactive to temperature. However the thread I laid into the mix had become too resistive in the rubber and would not conduct enough to heat the matrix. To solve this, I sewed some stainless steel thread into the rubber. This solved the issue and worked quite well.


Speaker Swatch

img_2285 img_2286img_2288

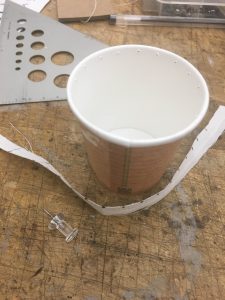
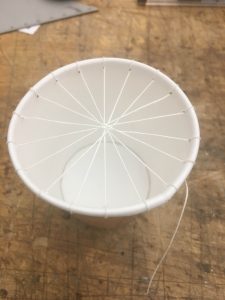
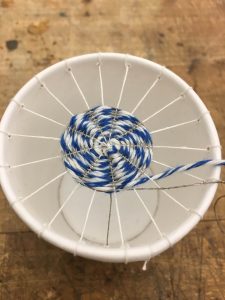
After a series of unsuccessful tests, I chose to follow an Instructables tutorial called “woven paper cup speaker” for my swatch. You can see the full thing here.
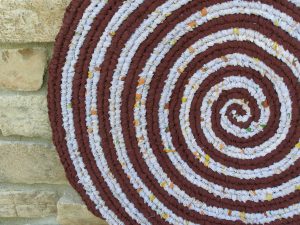
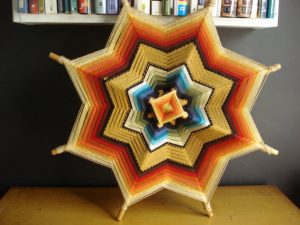
It was a fairly simple process. I changed the build slightly by using espresso cups (cute) instead of full size cups. First you poke 1cm apart homes around the rim then set up the warp (the spoke-like thread matrix) for your weaving. Using conductive and non-conductive thread, work your way around the warp in traditional weaving fashion (under, over, under, over) making sure to alternate rounds with each thread so the conductive thread doesn’t touch itself. Keep this up and in no time you’ll be done! These work pretty well, which leads me to wonder if it’d be possible to change up the structure or the scale (see inspiration below).

il_fullxfull-14062977311147726642231011248


LED and Midterm Direction : Week 5

LED Behavior Code

int tempPin = A0;
int led1Pin = 11;
int led2Pin = 9;
int led3Pin = 10;
int currentState = 0;

// LED values:
int ledDim = 50;
int ledMid = 100;
int ledFull = 255;

int tempMin = 100;
int tempMax = 500;

void setup() {
pinMode(led1Pin, OUTPUT);
pinMode(led2Pin, OUTPUT);
pinMode(led3Pin, OUTPUT);
pinMode(tempPin, INPUT);

Serial.begin(9600);
}

void loop() {
int tempReading = analogRead(tempPin);

if (tempReading < tempMin) {
currentState = 0; // dim
} else if ( (tempReading >= tempMin) && (tempReading < tempMax) ) {
currentState = 1; // mid
} else {
currentState = 2; // full on
}

Serial.print(tempReading);
Serial.print(“\t”);
Serial.println(currentState);
switch (currentState) {
case 0: // dim
analogWrite(led1Pin, ledDim);
analogWrite(led2Pin, ledDim);
analogWrite(led3Pin, ledDim);
break;

case 1: // mid
analogWrite(led1Pin, ledMid);
analogWrite(led2Pin, ledMid);
analogWrite(led3Pin, ledMid);
break;

case 2: // full on
analogWrite(led1Pin, ledFull);
analogWrite(led2Pin, ledFull);
analogWrite(led3Pin, ledFull);
break;
}

}

Midterm Prototypes

Paper prototypes:

fullsizerender-3

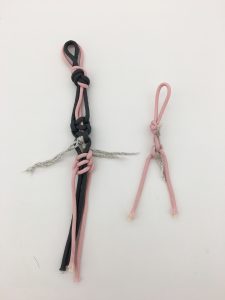
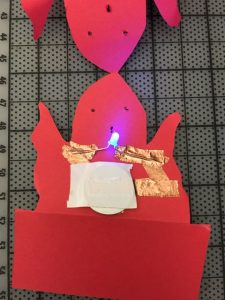
Here I tried to make open close switches with macrame knots and conductive thread. This ties into the idea of pulling the hanging planter down in order to light or turn off the LEDs (think lamp cord).

Concept:

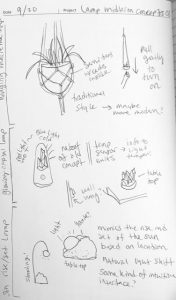
I’m designing a lamp that feels kind of magical. I drew out some sketches and the macrame one stood out for me. That’s what I made my (somewhat unsuccessful) macrame switch prototypes. Mainly this falls into a funny subsection of aesthetics I fondly call witchster, one part witchy one part hipster. It’s huge in Bushwick ;).
img_2080

Materials list:

  • Arduino
  • Conductive thread
  • Rope
  • Battery
  • Solder
  • Container or bowl
  • cool stuff to put in it (plants? candles?)

Precedents / Style:

Processed with VSCOcam with f2 preset

a2be588496419131eb4edbb20ba5c8a6

New Craft : Week 4

I’m a maker, designer, researcher, and a craftsperson.

I choose these words to describe my practice because they reflect how I approach creative expression. My research, daydreaming and desire to get my hands dirty influence my work. As a maker I get curious about how to do anything from make kimchi to knit socks or fix a bike chain. As a designer I like to think about why people choose what they do and how to build affordances into object and experience design. As a researcher I get lost in the pursuit of knowledge. As a crafts person I have a steady hand for structure and tend to obsess over clean lines and materiality.

My favorite tool would be a hot glue gun. I’ve been using them since I was a kid. Pretty sure there is no limit to their usefulness.

I really enjoyed trying out learning to weld in the metal shop. I would recommend it to others and hop I have a chance to use it again soon.


Swatch Exchange : Week 3

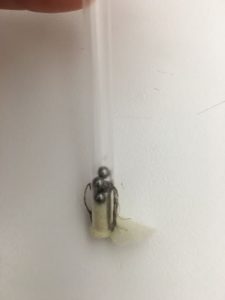
The Straw Tilt Switch

 img_2047img_2048 img_2045img_2046 

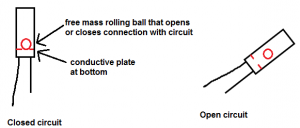
How does it work?

how-tilt-sensors-work

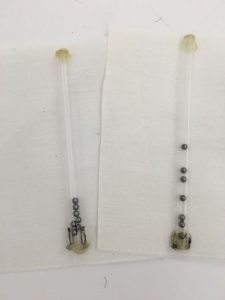
This swatch works as an enlarged version of a typical tilt switch. When tilted up the metal balls inside complete the circuit.

Materials

  • drinking straw
  • metal balls
  • conductive thread
  • needle
  • fabric
  • hotglue

Technique

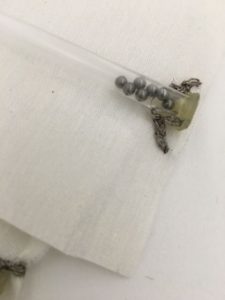
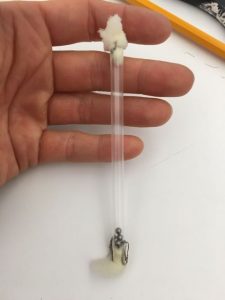
I sewed two lead legs into opposing sides of the straw leaving a knot inside which the balls would connect. I then capped one end with hot glue, filled with a few balls and closed up the other end with hot glue. I mounted this to a piece of fabric and then sewed leads for the alligator clips to connect to the straw negative and positive leads.

References

I’ve seen this before in my Arduino days. I like the tactile nature of the switch, and that’s why I wanted to try my hand at it, that and a surplus of small metal balls from a previous project.


img_2042

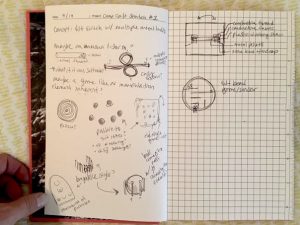
I made a few sketches. Ideas for later too!

img_2043 img_2044

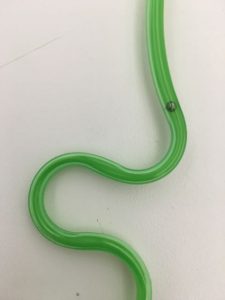
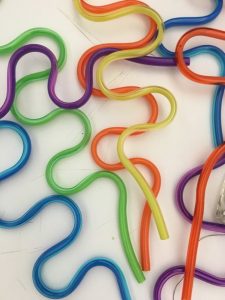
I had hoped to do silly strings in the beginning but my metal balls were too large for the straw and got stuck. Would have been a fun switch though. There’s always next time!

Paper Circuits: Week 2

In Class

img_1951  img_1954

  • materials used
    • paper
    • conductive tape
    • LEDs
    • Scissors
  • problems encountered
    • I learned that different LED colors have different power draws and so if you have two different colors and not enough power, one may not light up.
  • brief description
    • It’s a little ghost!

Illustration project

“It’s dark because you are trying too hard. Lightly child, lightly. Learn to do everything lightly. Yes, feel lightly even though you’re feeling deeply. Just lightly let things happen and lightly cope with them. I was so preposterously serious in those days, such a humorless little prig. Lightly, lightly – it’s the best advice ever given me. When it comes to dying even. Nothing ponderous, or portentous, or emphatic.No rhetoric, no tremolos,no self conscious persona putting on its celebrated imitation of Christ or Little Nell. And of course, no theology, no metaphysics. Just the fact of dying and the fact of the clear light. So throw away your baggage and go forward. There are quicksands all about you, sucking at your feet,trying to suck you down into fear and self-pity and despair. That’s why you must walk so lightly. Lightly my darling,on tiptoes and no luggage,not even a sponge bag, completely unencumbered.”

― Aldous Huxley, Island

I adore the book Island by Aldous Huxley. I chose this quote because I though there was something clever about using a quote about living ‘lightly’ in a project with LEDs.

img_2005

Printed Cardstock

img_2006img_2007

Cutting and gluing the paper to some foam core board.img_2008 img_2009

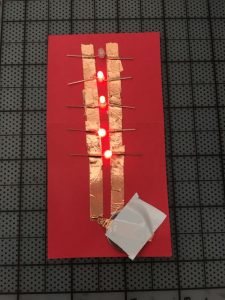
I made two of these parallel circuits with Chibitronics LED stickers. I carved out a place to enclose the battery and assembled the object, tying it together with a rubber band.

(And so it begins…blog posting catch up) Week 1

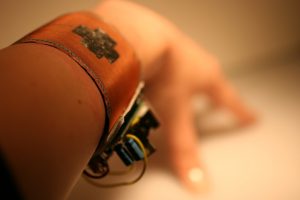
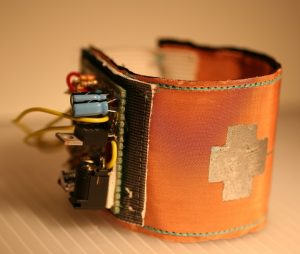
This 2008 Tangible Media Group project (video and further info here) by Cati Vaucelle, Hiroshi Ishii, and Joe Paradiso gives physical wearable feedback for electro-magnetic frequencies. Something about sensing the unseen, feeling how electronics resonate, seems like a superpower to me. I like when technology promotes a widening of the senses. #cyborgLyfe

4082 4079

Witchy Candle Lamp Midterm

tumblr_o2wwfwoim41qefmu3o1_1280

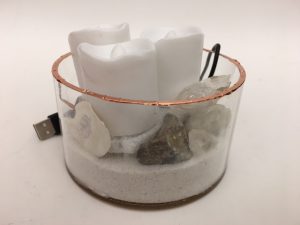
CONCEPT : I’m fascinated by the duality of technology and pre-computer age objects. It feels magical when an interaction is enhanced or subverted with technology. That is what I wanted to accomplish with this project. My lamp is meant to visually reference hippy/witchy candle mood lighting. Using a capacitive sensor allows an added magical aspect because it is by touching the object’s rim that the candles alight.

AUDIENCE : This is a project for Californians crystal lovers, for hipster-witch combos (witchsters!), and well – me, I love this type of stuff.

INTERACTION : Touching a finger along the rim of this object causes the candles to light. Another touch puts them out.

View my instructable here!


img_2194screen-shot-2016-10-19-at-8-22-11-pm