This is a short animation about people have Alzheimer. It depicts the world of people with such disease in an effective way, we can learn from how the story line, medium and visuals are constructed. More importantly, such methods successfully make people to have sympathy and understanding for those who suffer from Alzheimer.
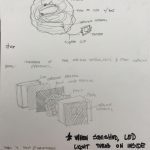
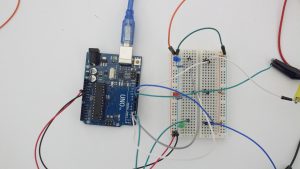
The circuit we built contains 3 LEDs, a button made by Dylan, resistors and an Arduino. Each LED is connected to a pin of Arduino and a button. If a button is presses, a pin will light up the connected LED.
.
A short play
This exercise was fun but challenging. Because it’s for explaining to a 5 year old, we want to make the short play understandable and simple. When we wanted to explain the circuit clearly, we added something and then we found it made the play complicated. When we wanted to make the play simple and straightforward, we simplified the play but found it could not explain clearly. When we discussed together, we came up with various ideas and made props. It’s really fun.
We used the switch Dylan has created to explain the circuit. We started by explaining the power that circulates around, finding a connection to be made and then introduced each led and the pins each led is plugged into. Then we explained that if the button that coordinates with the led is pressed then power will come through and the led will light up, this is to portray the if/else statements.
We created a circuit using three buttons that each individually lit up different LEDs, which was done by using if/else statements. If button 1 was pressed, then the white LED would turn on. If button 2 was pressed, then the red LED would turn on and finally if button3 was pressed, then the blue LED would turn on. Here is what the circuit looks like:
We created a video explaining what was occurring in the circuit.
The most fun part of doing this video was definitely planning the skit and making it with friends. The most challenge part was also planning the skit. We weren’t sure if we had enough information. We considered getting another person to represent the arduino and have ribbon act as the “wires” connecting from the pins to the arduino, but we decided it would be best to keep it simpler and just show what was happening with the power from the button to the LEDs.
This week, we’ve decided to use one of the switches that Dylan made to executed the exercise. The nature of this switch allows it be to three buttons. What we’ve done is to match each button to each LED: first button turns on the white LED, second button turns on the red LED, and the last button turns on the blue LED. We used three if statements, one for each of the button, so that only one LED can be turned on at a time.
Build a circuit with one constructed switch or sensor and 3 (or more) LEDs.
Use one of the following control structures to turn the LEDs on and off in sequence when the sensor or switch value changes: if, if/else, while()
Individually or in groups, film a short play or movie that explains what is happening to a 5 year old. If you work in a group, each member should post this to the blog. Individually, write a few sentences about what was fun and challenging about this exercise. HAVE FUN WITH THIS!!!
Bring in sketches and an idea for your midterm lamp project.
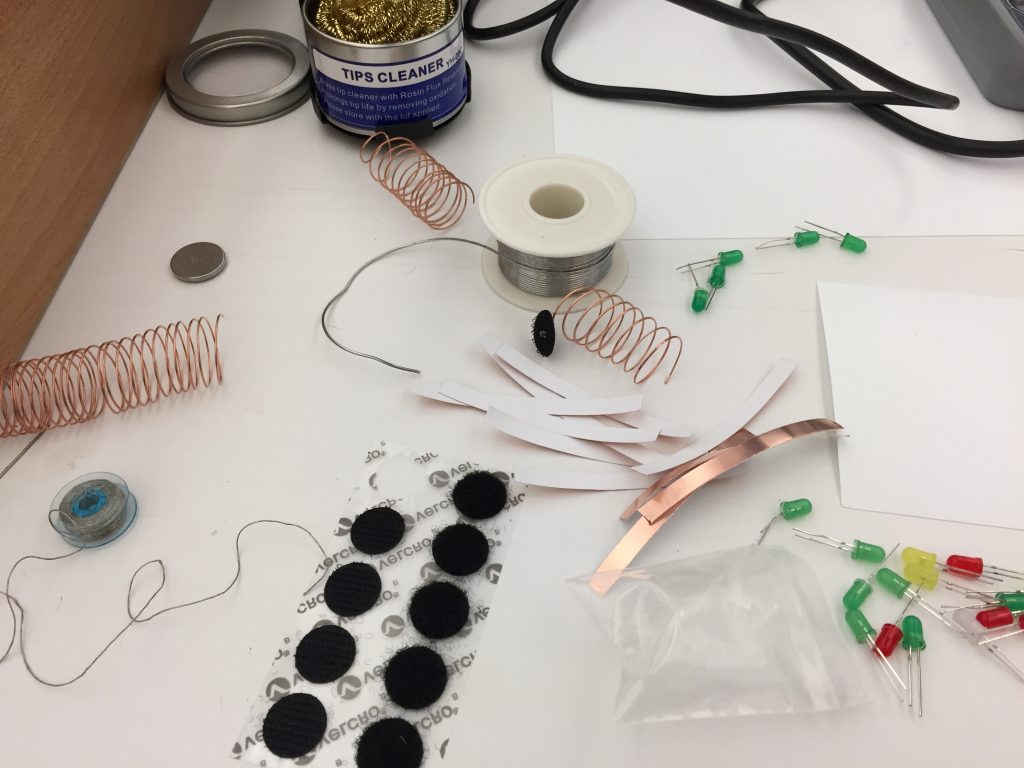
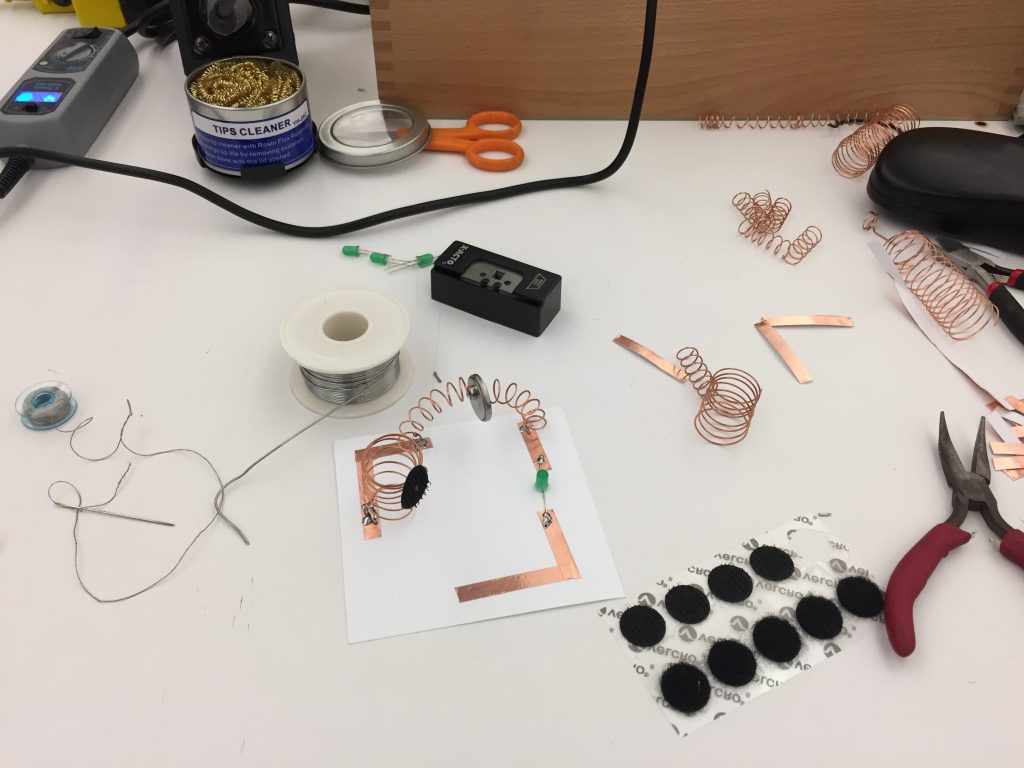
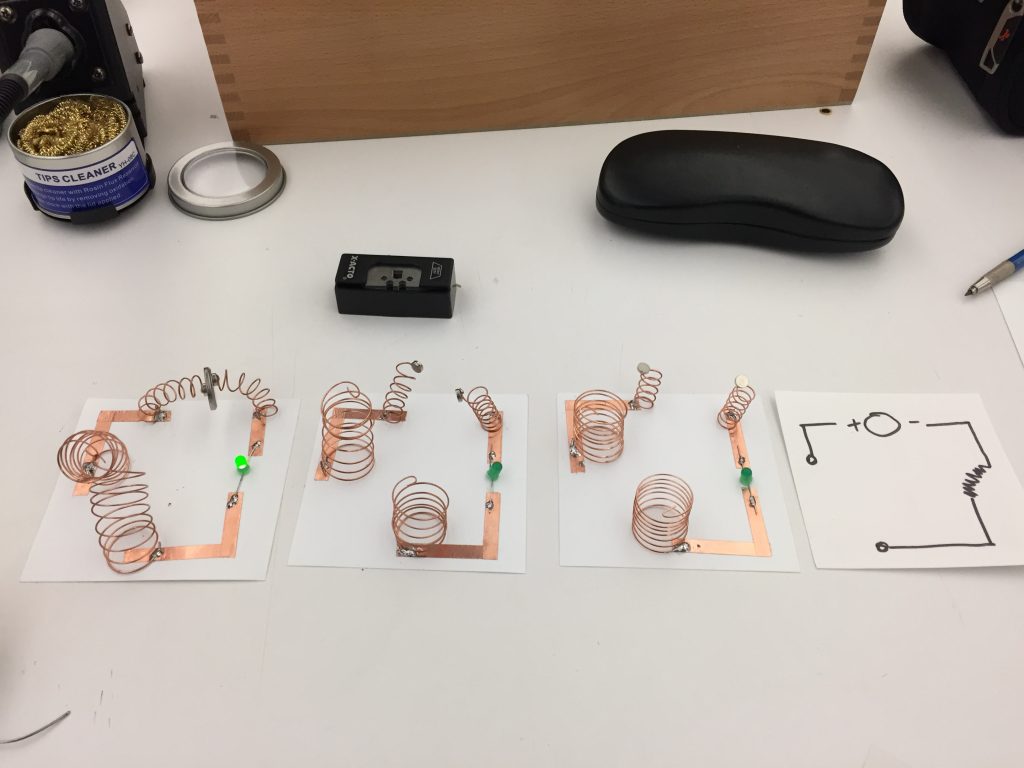
This week i created my patterns based on springs and magnets, with a main goal of improve my soldering skills for both conductive tape and wire. The schematic of the idea was working into how the battery with magnets and adding a switch into the mix.
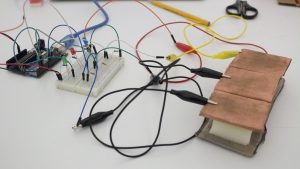
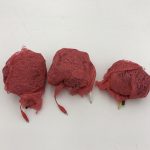
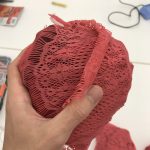
This week I decided to create three “meatball” soft switches for our Computational Craft class. I used a combination of different conductive materials attached to alligator clips that run through the fleshy cloth down into a 3 volt battery power source. When squeezed together an installed red led lights up. Attached are four pictures of this week’s project.
Disclaimer: For week 3 project, I was under the impression that I needed to create four different switches… after I finishes someone mentioned that we were meant to create four of the same type of switch or pressure sensor. That said, Here are my four switch projects! ~~~
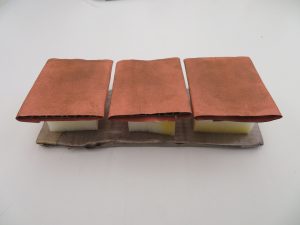
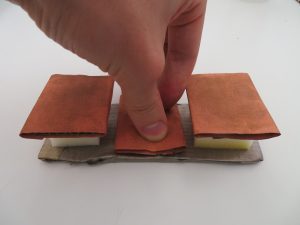
For this set of switches, I was trying to create a set of individual buttons that, when pressed, would light up a corresponding light! Also, I wanted each button press to be satisfying to the touch for the user. So I used conductive fabric and cardboard to make the buttons easier of the fingers! I also used a thick piece of foam to allow for greater travel when pressing down on the button. FEELS GREAT! 🙂
Project 2:
Next project, I wanted to create another series of individual switches. However for this set, I wanted to do this with pull switches that required a sliding motion!
Project 3:
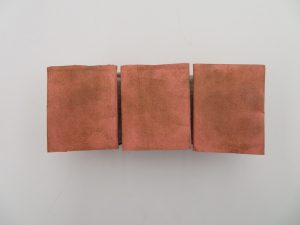
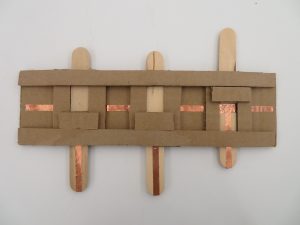
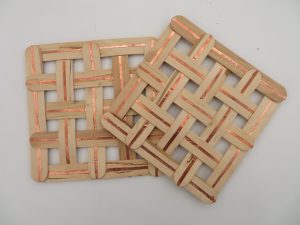
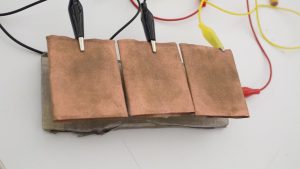
My third project is a resister made with copper tape and Popsicle sticks with a resistive fabric in between. The crossing pattern is also an attempt to control the level of current that can be passed from the positive panel to the negative.
Project 4:
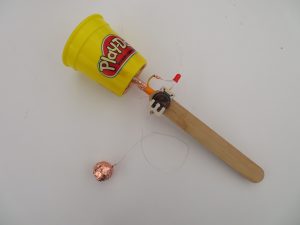
The last switch I’ve made is based on the old, Ball and Cup Game. The cup has a negative current while the ball is connected to the positive with a conductive string. Once the ball lands inside of the cup it completes the circuit and the light turns on, give the player extra satisfaction for achieving their goal!

 .
.