Category Archives: Workshops

New Craft- Assignment 5

I identify myself as a maker, designer, artist, and learner. I’m always up for learning something new especially when it comes to art. I never pictured myself as an artist until I came to DT and started researching different domains. I am also a designer, because I love to analyze and figure things out with art.

My favorite tool is a pencil, because I have complete control of the outcome.

I decided to try and embroider a flower. I’ve always loved how delicate it looks, and never even thought of trying it until now. It was time consuming, but I did like how it came out. The kind of embroider that I learned is called a raised fishbone stitch.


-Estee


phoenix rising from the ash (week 2)

My tableau was from the mythology of a phoenix rising from the ashes.


The phoenix was made from the origami crane template.  I punched a hole in its tale, attached some brass wire, and then made it hover above some cardboard that I had covered with various layers of spare fabric I had on hand.  The circuit diagram below indicates the simple circuit I created using copper tape, two LEDs, a coin cell battery and the alligator clips.  I had to futz with the circuit in order that the led legs didn’t cross and short circuit without lighting the LEDs.  On the other hand, the shoddy work resulted in some nice flickering. Continue reading

Week 3 Assignment

I made four pressure sensors this week, but I originally planned on making them through sewing conductive thread into cotton cloth, but it didn’t work out well at all. I think maybe I need to find thicker and better quality cloth than the ones I bought from Michaels. Or maybe I just need to practice my sewing because it was painful how awful they turned out.

So I then decided to just go back to paper and cooper tape. I remembered that pressure sensors worked better working with weaving conductive materials together rather than just having two large conductive pieces with a resistive material in between. I ended up making strips of paper and copper tape and weaved them together to forming this:

I glued them together to form a square and then added some velostat in between as the resistive material and created four pressure sensors. It worked really nicely I think, but I noticed when I tested that some electricity would already go through it without adding any pressure. Maybe the velostat layer had to be perfectly cut to the size of the square to cover up all of the cooper tape connections or maybe I needed a higher resistive material. Overall I am really happy with the results and can’t wait to make more sensors! Goodbye buying sensors and hello crafting sensors!

– Aaron Lee

Assignment_03

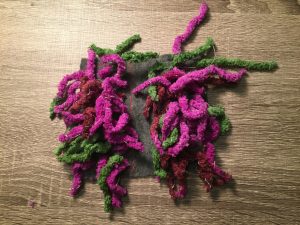
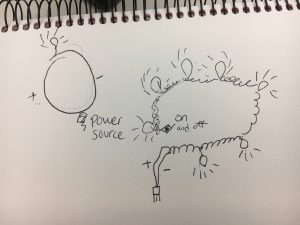
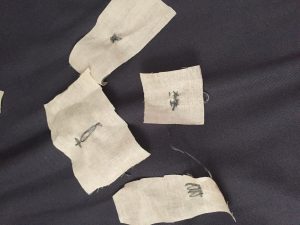
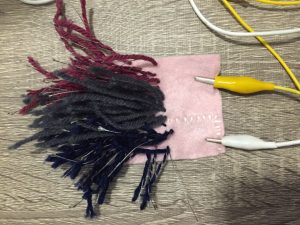
For this week’s assignment, I’ve decided to create a stroke sensor. Instead of using store bought conductive yarn, I decided to make my own. (I didn’t have any conductive yarn handy, and I had lots of conductive thread available.) I did this by braiding non-conductive yarn and conductive thread together.

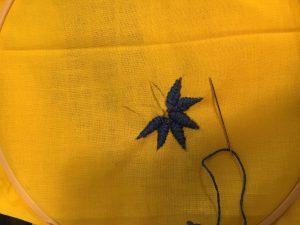
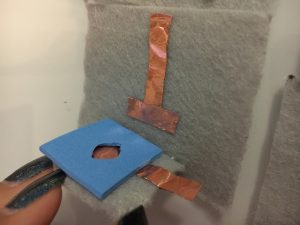
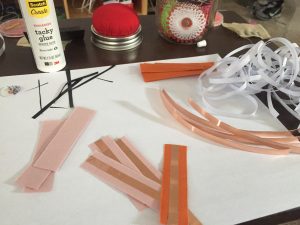
This is the first stroke sensor I made. It worked well, but the thread and yarn untangled from each other.

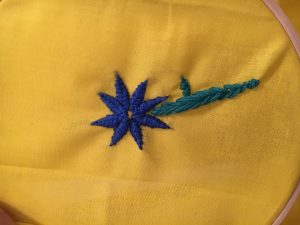
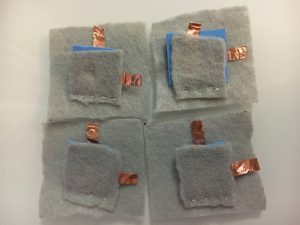
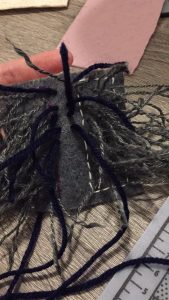
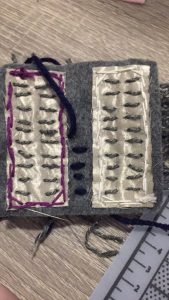
For the second one, I glued the tips together. This worked in keeping the two together. In the first sensor, I glued the conductive fabric to the back of the felt. I wanted to try sewing the two pieces together in the second one and see what kind of results I would get. As it turns out, it worked just as well, and it was much easier to sew all the pieces together. By sewing the pieces together, it also allowed me to customize the sensor a little more.

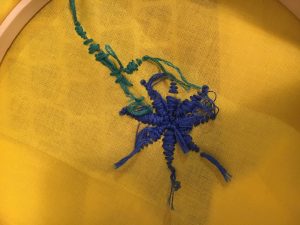
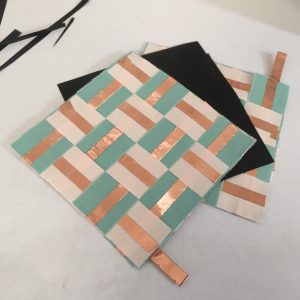
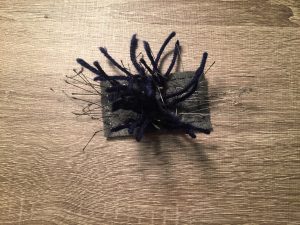
For the third sensor, I decided to try different methods of using the materials. I left the thread open and I added non-conductive yarn in the middle. This didn’t work as well because the thread is exposed, and it was easy for the two sides to make a connection.

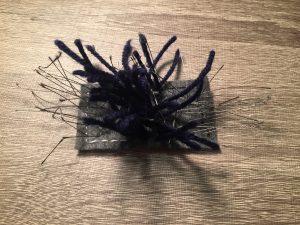
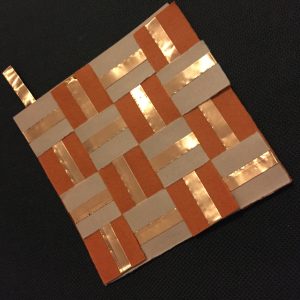
For the last one, I decided to try another type of yarn. This one was hard to use because it the yarn was much thicker. I decided to leave the middle open because the thread was insulated enough as is.