Week 5: Reading Sensors
Leave a reply
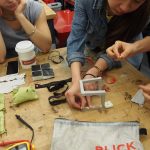
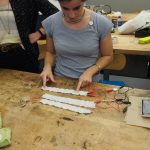
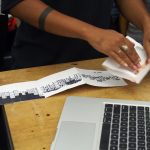
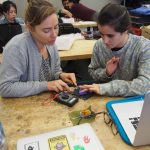
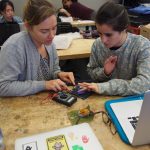
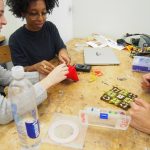
1) Before next class, I would like you to try learning a new craft. That’s it. NO electronics. Make a swatch (small example) that comes out of your learning. This could include any of the following:
Here are some tutorials from last year as inspiration (also, this was a much longer project last year – you do NOT need to go into this depth). There are also a TON of tutorials if you hit the Googles.
2) Create a post with an image of your swatch and reflect on the following questions.
After doing all of the above, write a blog post that answers the questions below. It doesn’t have to be long, but I would like you to spend a good amount of time reflecting on these:
Design a lamp using the techniques, tools, and materials we have been learning over the course. Lamp and presentation are due OCT. 18. You will have ten minutes total to present. Instructable due Friday, Oct. 21.
Your theme: Duality. We are constantly living at the intersection of opposites and the ambiguous spaces they create. Consider this as a starting point for your design.
Constraints:
1) MUST use a switch or sensor. RE: You must have a way of controlling the circuit.
2) Must have at least two states (e.g. on/off, fading fast/slow, red/blue, etc) or more.
3) You do not have to use Arduino.
4) You cannot use jumper wires *unless* it is to connect your circuit traces to the Arduino. In this case, you should consider how to integrate your Arduino into the design. Depending on your time and financial constraints, you may want to explore other types of Arduinos that better fit your design, such as a Lilypad, Flora, Gemma, Arduino Mini, etc.
5) The midterm is an individual project.
I will be evaluating you along the following categories:
Process
– Paper prototyping interaction and structure
– Grasp of assembly and how to integrate electronics with materials
– Material is appropriate for the project
Concept + Design
– Clear design goal
– Desired interaction accomplished (What should the user be doing or feeling? What action do you want them to perform?)
– Intuitive interface (or convoluted depending on the design goal)
– Articulated audience – who is this for?
Documentation
– Create an Instructable documenting your project.
DUE OCTOBER 4
1) Paper prototypes for feedback (Focus on role or look+feel)
2) Concept and design goal (What does your design seek to accomplish? Who are you designing for?
3) Materials list (What do you need to build your design)
4) Prior art and precedents that inspired your design and direction.
When constructing sensors, remember your three variables:


~MFADT style ~
The exchange wishes to emphasize the importance of physicality and quality workmanship in an increasingly digital world.
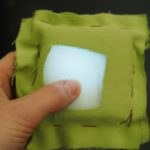
A swatch is a microcosm: a small insight into a much bigger picture. It is the tip of the ice-burg, and it holds a world of potential inside. In creating a new swatch we are simultaneously cataloging knowledge and developing skills.
~ Definition from Swatch Exchange participant Becca Rose
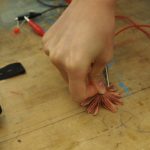
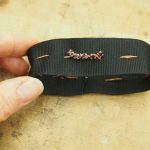
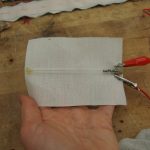
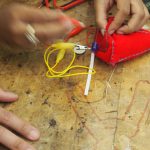
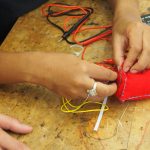
1) Create a swatch. It can be a switch or a sensor. You can use any materials you like. Document it on the blog using the same format as the post you made in class:
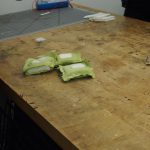
2) Make three more identical ones. You will give these to three classmates next class. (You will have 4 total swatches)
3) BRING YOUR ARDUINO and related supplies for next class. Watch Arduino, The Documentary, as you make your swatches 🙂
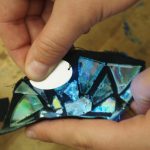
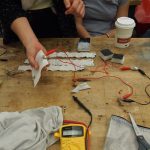
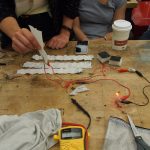
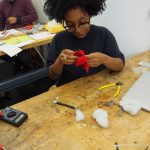
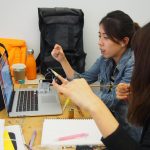
You are a research team of material scientists, interaction designers, and craft historians. Your current project is examining interactive electronic swatches found at a historical site.
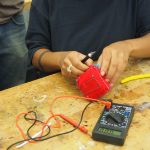
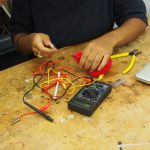
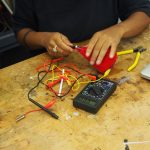
Using the tools and knowledge we have discussed so far, determine how the swatches work.
Document your findings in a blog post with the title Week 3 Sensor Research: (Title of your swatch(es)
Title. Give it a name
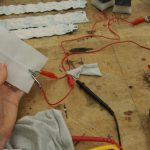
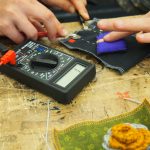
Description. What does this swatch do? How does it work? Please document any methodologies you use to determine its function (e.g. multimeter, LED tests, etc). If you would like to take it apart, please ask me first.
Materials. What materials are used?
Techniques. How was this swatch constructed?
Function. How is / was this used in everyday life? Where have you seen it before?
1) Post all circuits you made in class to the blog.
Be sure to include images, materials used, any problems you encountered and a brief description.
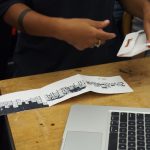
2) Illustration project
Pick sentence or passage from a story that you like (children’s storybooks work VERY well). Illustrate one scene from that book and integrate a circuit into it using the materials we discussed in class.
^^ All resource links embedded in.
^^ Paper engineering deck.