1) Make and document 3 speaker swatches to exchange in class.
2) Bring your high current load circuit (the one you made at the end of class) next week + a 9 Volt battery.
1) Make and document 3 speaker swatches to exchange in class.
2) Bring your high current load circuit (the one you made at the end of class) next week + a 9 Volt battery.
One more video…
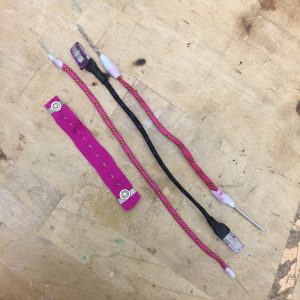
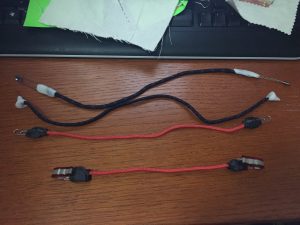
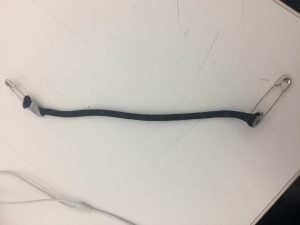
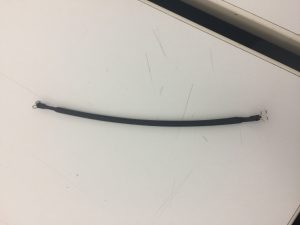
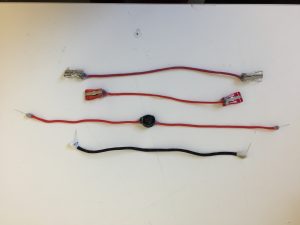
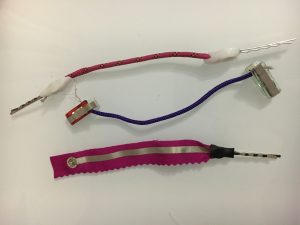
The following are the 1+3 connectors I have made:

These are three connectors I made after class.
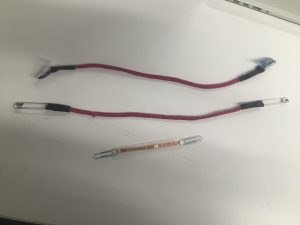
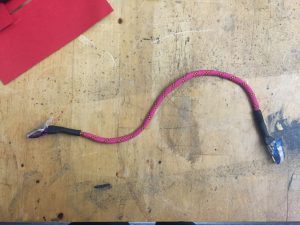
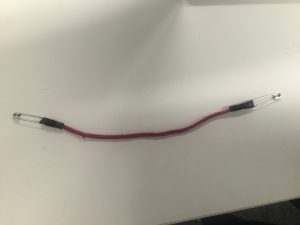
The first one is made of conductive thread, paracord, heat shrink and chip clips.
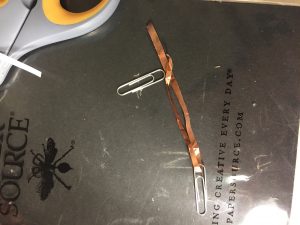
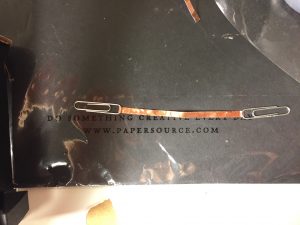
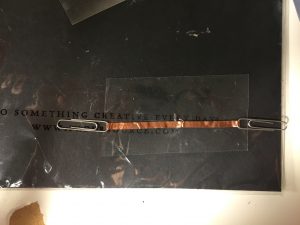
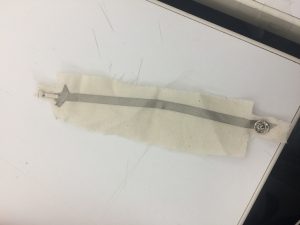
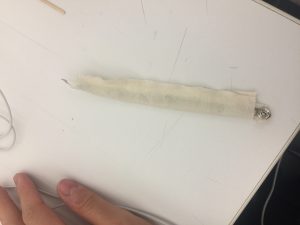
The second one is made of paper clips, conductive tape, and normal sealing tape.

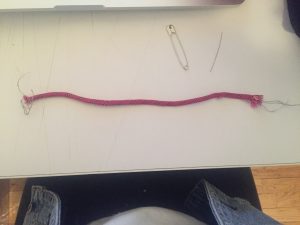
The third one is made of safety pins, paracord, heat shrink, and conductive thread.
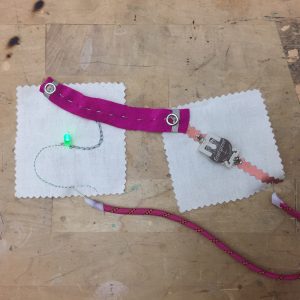
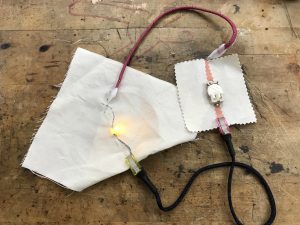
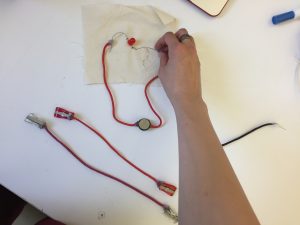
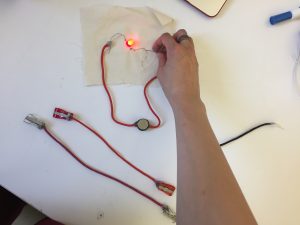
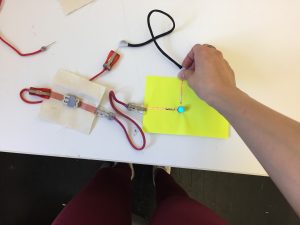
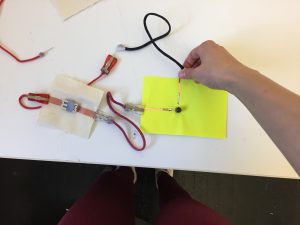
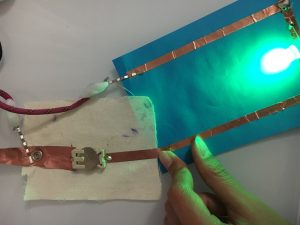
I used 4 connectors to connect my nodes and they worked.
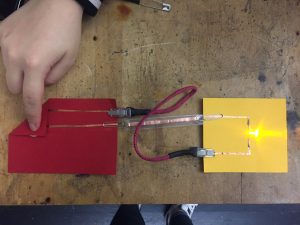
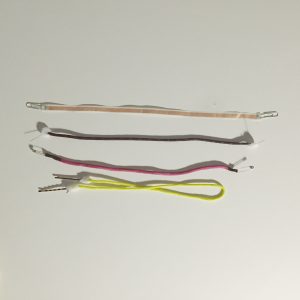
The four connectors I made:
Pin, Paper Clip, Safety Pin, Clip
The hardest one to make was by far the clip because of attaching the adhesive conductive fabric to it. The other connectors were easier to make . Here is a photo of my four connectors attached to my nodes.
2. heat shrink + hook
3. snap + fabric I wanted to use snaps but only one succeeded so I used a hook-like metal piece for the other side. Then the only pair of snaps broke x_x, so I had to add another piece of metal to attach to it.
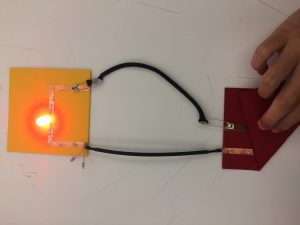
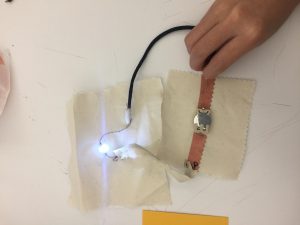
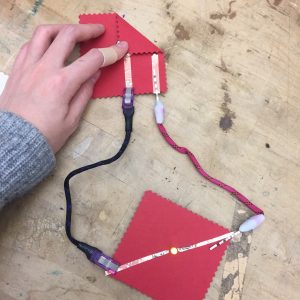
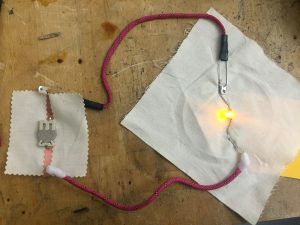
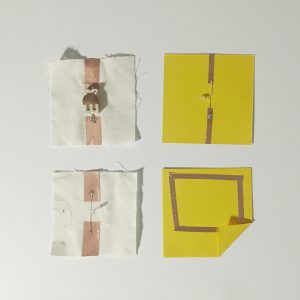
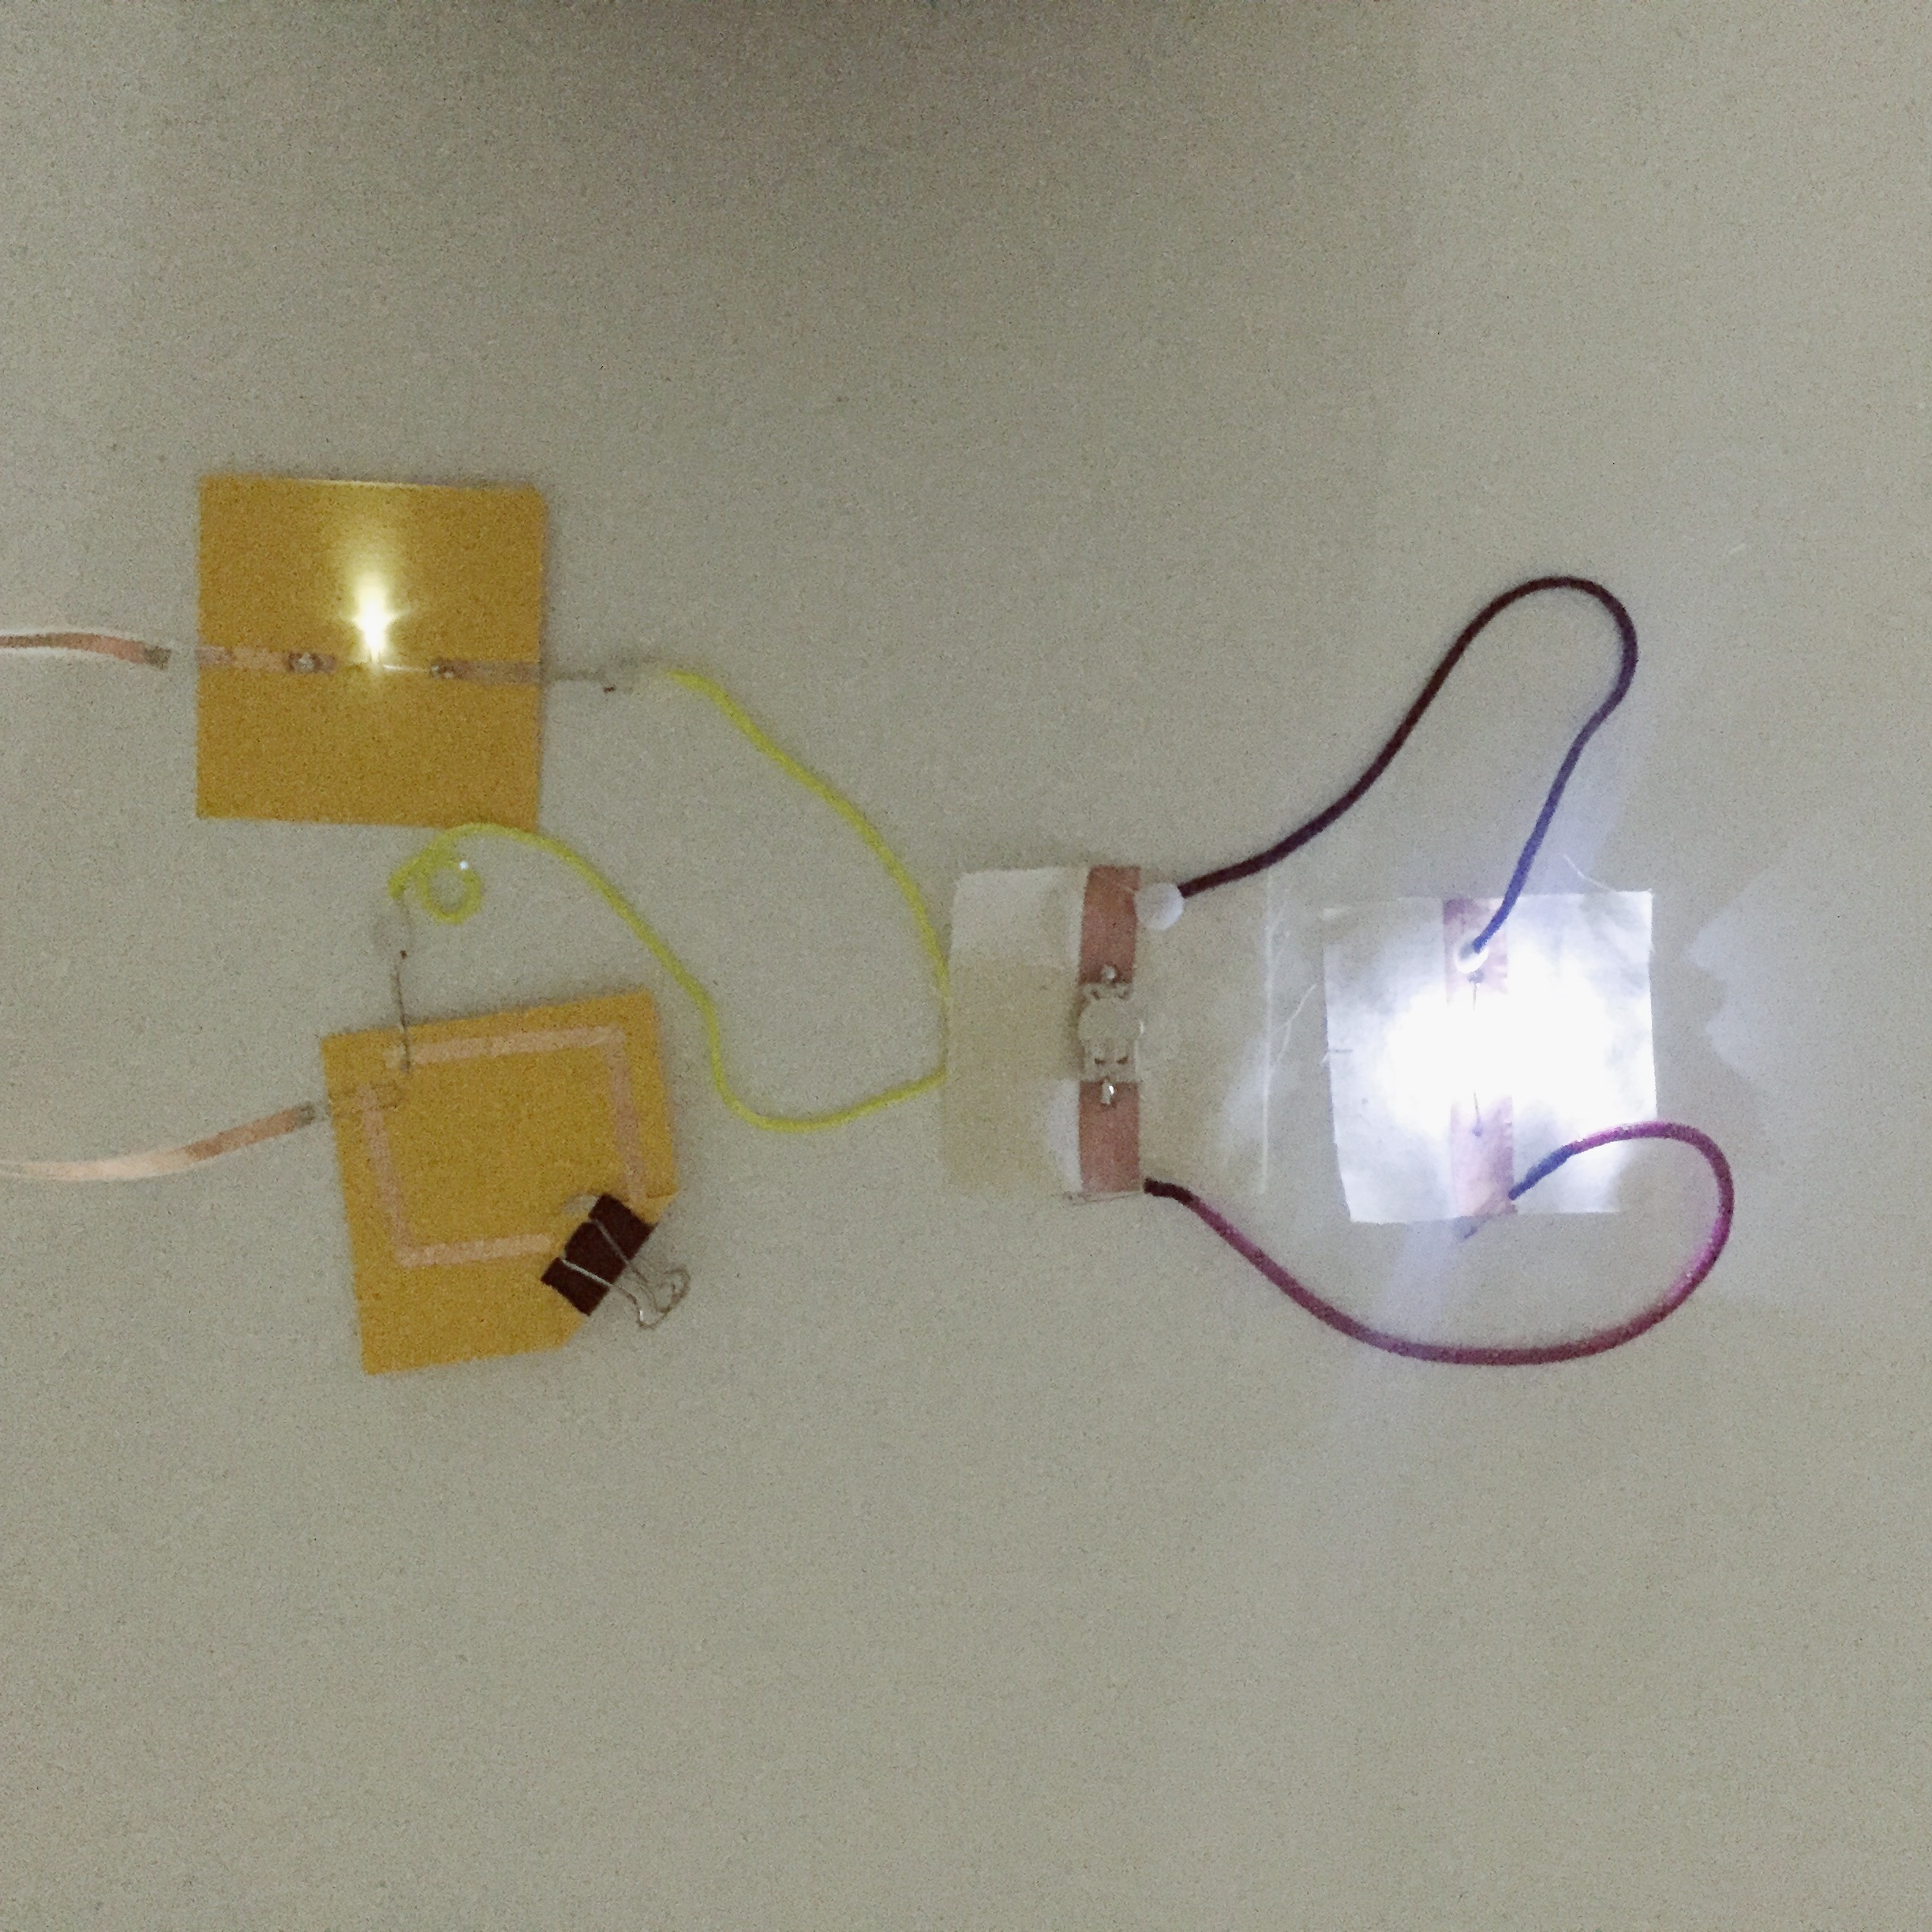
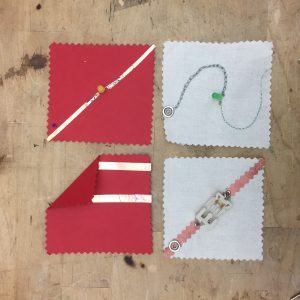
Here are the four nodes I made:
(I realized that the paper one for the battery was wrong, so I changed it later), and here are the 4 connectors:
I mostly focused on creating connectors that would be easy to clip on and take off because I usually have a really hard time doing that without damaging the circuit or accidentally unplugging a wire.
I also wanted to make connectors that would damage the materials the least. For instance, the bobby pin/and paper clip would be perfect to easily slide on and off of materials that can get wrinkly very quickly. The pin and safety pin would be great for pinning fabrics.
Here are the four connectors I made:
I made two with the clips because I realized that the first one I made was too short. The last connector I made was a battery connector. I feel that this one will be one of the most useful connectors I will use. It’s always a pain to use alligator clips and a battery holder when prototyping, and to have a more secure battery connector will be helpful.
-Estee
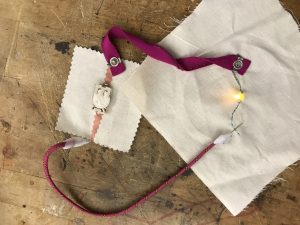
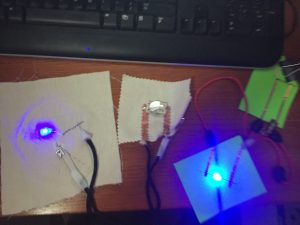
Below are the four “nodes” that I made. 2 of them (right) were made on paper, and the others on fabric. The one on the top left made use of the embroidery technique.
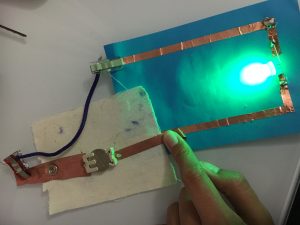
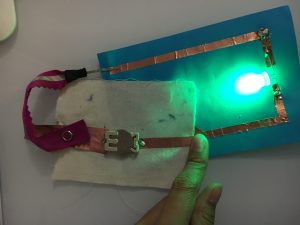
The four connectors that I made (image below) includes: one pin probes, one small clip connector, one long metallic clip connector and one metal snap connector.
The small clip connector (second from left to right) proved to be the most challenging to make but also turned out to be the most beautiful.
And they all worked!