For this assignment i worked on connectors for rapid prototyping.
For this assignment i worked on connectors for rapid prototyping.
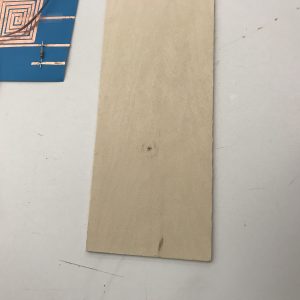
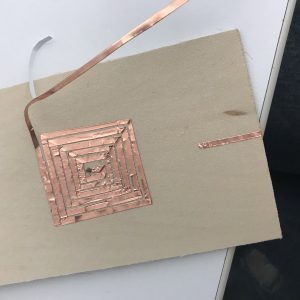
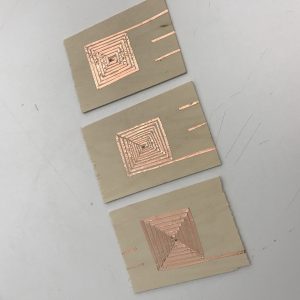
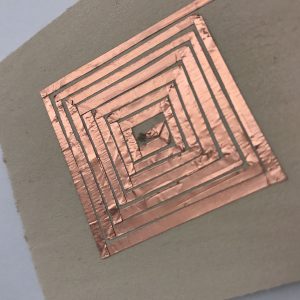
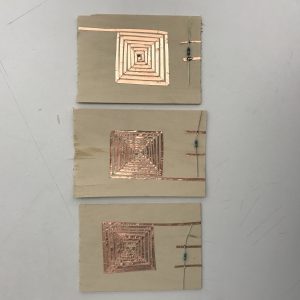
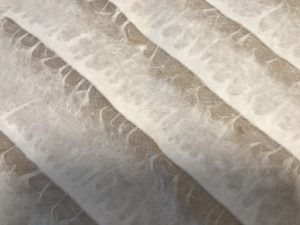
For this week I created 3 speaker swatches out of basswood and copper tape. I drilled a hole in the wood for the copper tape to go through because scotch tape doesn’t attach to wood that well.

1) Make and document 3 speaker swatches to exchange in class.
2) Bring your high current load circuit (the one you made at the end of class) next week + a 9 Volt battery.
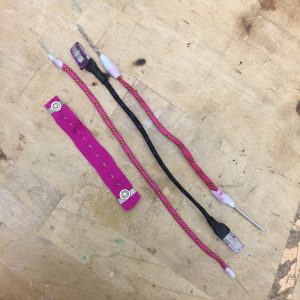
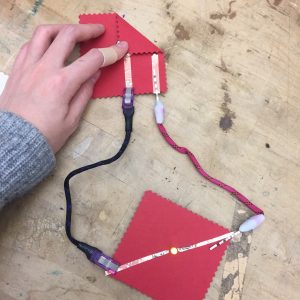
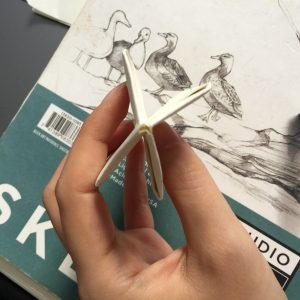
The following are the 1+3 connectors I have made:

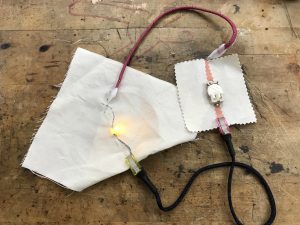
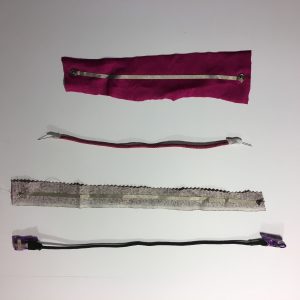
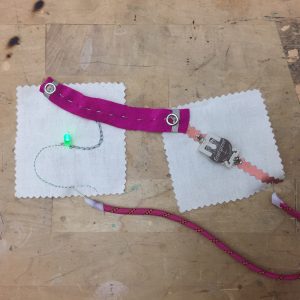
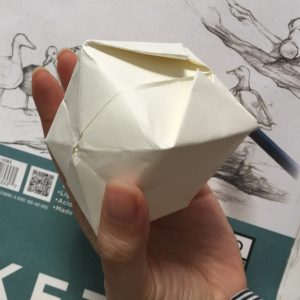
Below are the four “nodes” that I made. 2 of them (right) were made on paper, and the others on fabric. The one on the top left made use of the embroidery technique.
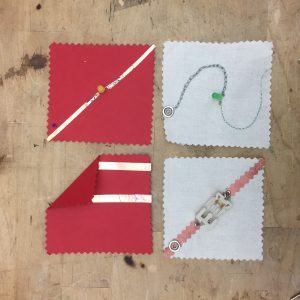
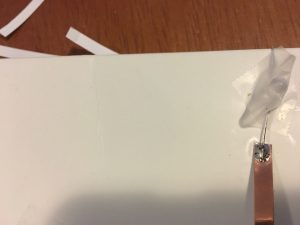
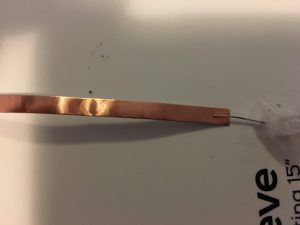
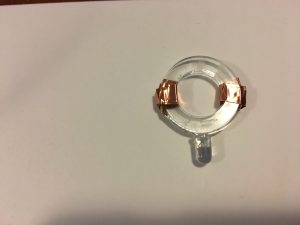
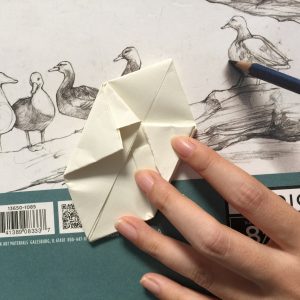
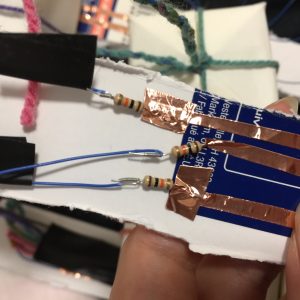
The four connectors that I made (image below) includes: one pin probes, one small clip connector, one long metallic clip connector and one metal snap connector.
The small clip connector (second from left to right) proved to be the most challenging to make but also turned out to be the most beautiful.
And they all worked!
I love hearing and learning about what countries people are from and where they have travel in the world. Its always fascinating to find out where people have visited and what brought them there.
In addition to knowing where people have traveled I like to map elevation levels. For my midterm I wanted to explore new ways of developing a lamp with multiple switches.
I used developed the look and feel of my lamp from lines that topographical maps contain. I picked one city and outlined its elevation levels from google maps.
https://www.instructables.com/id/Transparent-Lamp/
Hello! Here is a link to my instructable demo showing how I created my leather cube lamp. I am still working on the project because I have fallen in love with the direction it has taken my sculpture practice. Please check it out if you can.
Love,
AJS
www.ajsapala.com
Instructables Post:
Instructables link : https://www.instructables.com/id/CATOYLAMP/
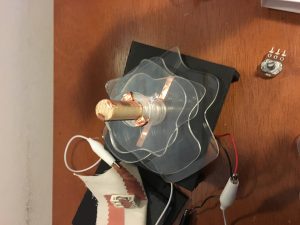
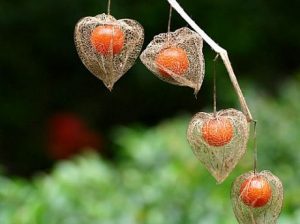
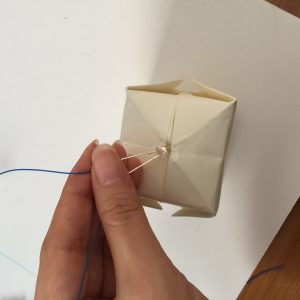
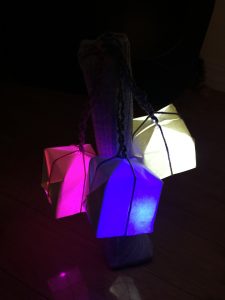
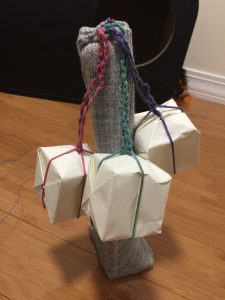
I was inspired by cat toys and the shape of ground cherries. I created this lamp project for my cat. When I couldn’t spend time with my cat and left her alone at home for long time. it makes me feel bad. especially, when I went out in the morning and came back to home at the night time. My cat left alone in the dark space. I couldn’t turn on the light and left home. That’s why I decide to make this lamp with a photocell sensor which senses the brightness. In my lamp, There is three lamps and lamp will be turn on by the brightness of its environment. for example. When It’s completely dark all 3 lights will be turn on. If it’s little bright then 2 lights will be light on. when it’s bright but little dark then 1 light will be turn on. when it’s really bright then no light will be turn on.
for materials,I try to use materials that cats like. I choose to make lamp shades with origami paper because cats like the sound of paper boxes. for the pole, I cover it with knitted fabric and braid wires with three different colors of normal yarns to give a soft feeling.
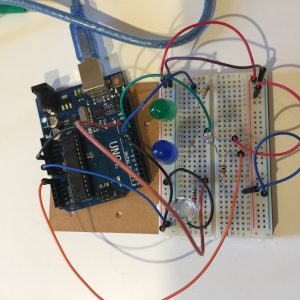
Prototype test
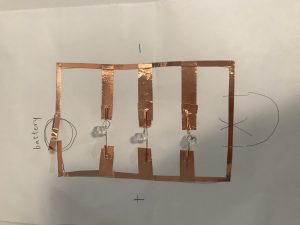
first I try to do prototype test with an Arduino and a bread board with 3 LED lights and a photocell sensor. I use 10k resistor for a photocell sensor and 220 resistor for each LED light.


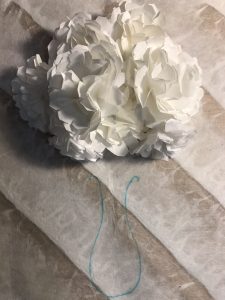
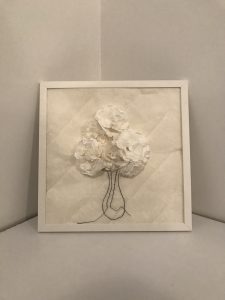
Effect is a project which aims to get people together by symbolizing each person as a white flower, and will have color and change colors when they communicate with different people.

In this midterm, I made the concept to an interactive project. The reason why I chose paper as a main material because I think paper is soft and can canvey the warmth between people better.
Before working on the project, I have testing on the circuits on paper and conductive tape. And also test sewing on paper. This is the difficulties I have reach, because I want to do different sewing patterns on the vase part. However, the paper is to soft, that I have broken the paper twice. And ends up by only doing a simple sewing that is same as the stem.
And also, I have learnt that the blue ink cannot totally be erase on a paper.
This video is a test that I use a RGB blink LED on a flower. And the following are the test on circuits of single flower and two flowers.
Last, the following is the process of how to work on my project.
My post on instructables: https://www.instructables.com/id/Effect/