Jed Segovia – Speaker Swatches
Leave a reply
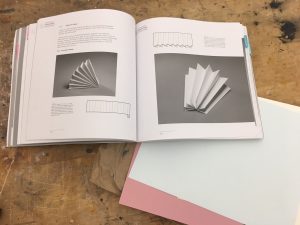
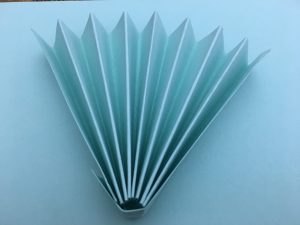
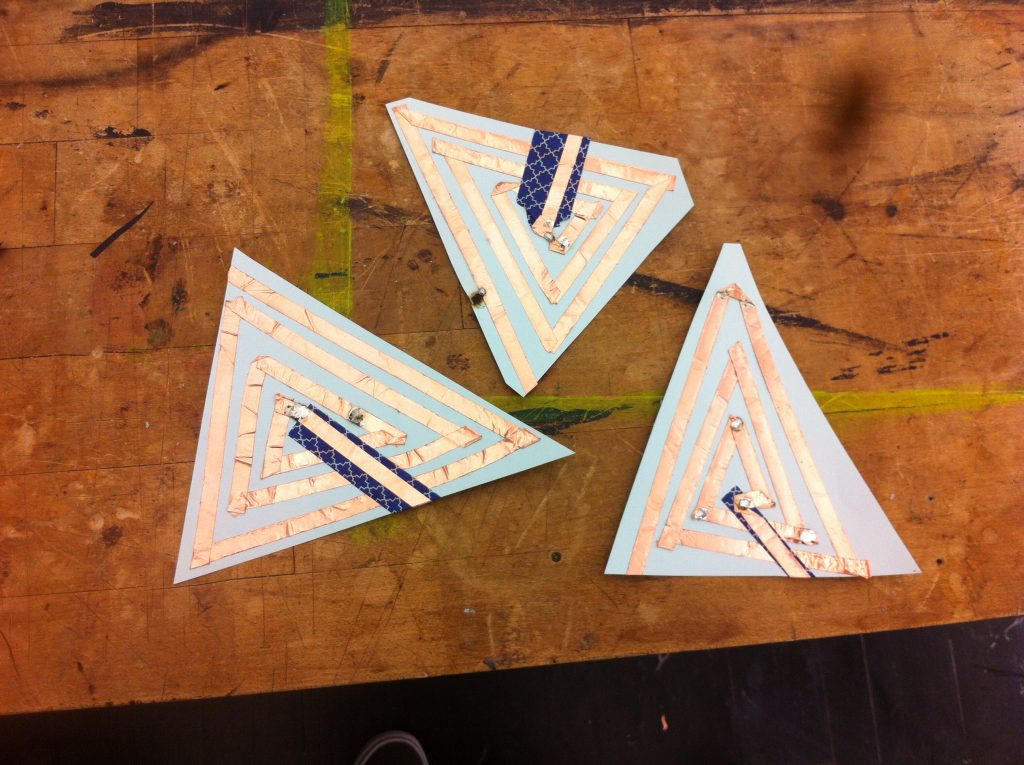
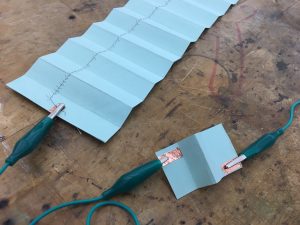
I started off by getting inspiration from the paper craft book in the Comp Craft locker. Man, that book is so cool. In the book, I found some interesting accordion folds. How perfect would that be for muscle wire, I thought, so perfect. So I folded up cardstock, sewed and soldered in my muscle wire and tested it out. When the fan was folded together my muscle wire lost tension and the effect of the 10% shrinkage was invisible.
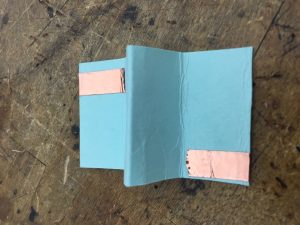
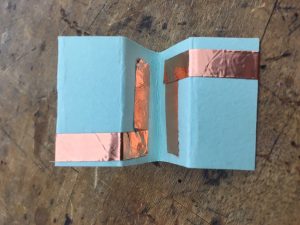
Undeterred, I tried a flat to folded method. That one worked and I made a button to go with the interaction. You pinch the fold to fold the paper. See the video below!

Summary: Liza was right that this stuff is tough to work with. In the future, I’d use a slightly thinner paper and thread the muscle wire through the folds with the metal crimps intermittently in order to hold it in place and provide the shrinking fan effect that I’d originally envisioned.
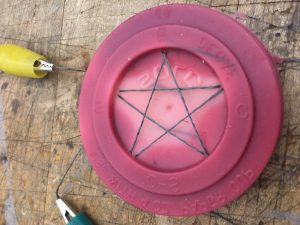
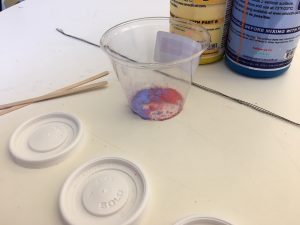
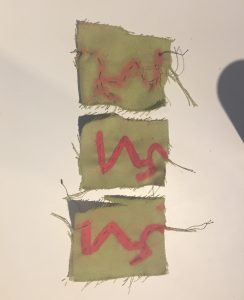
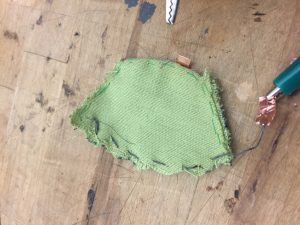
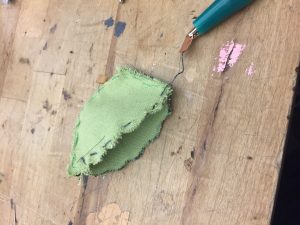
I had some rubber casting supplies left over from a project last spring. What I wondered was if it would respond well to thermochromatic ink. And yes, I discovered, it works very well. The mix I used was about 1/2 tsp red, 1/4 tsp blue and an equal mix of part A and part B of the silicone rubber casting goo- about 4tbsp worth.
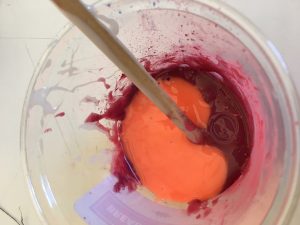
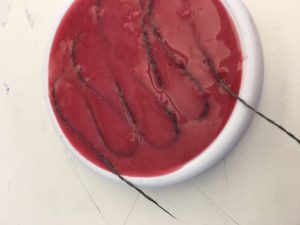
Mix well. Use gloves and be in a well-ventilated area. I poured the mix into the lids of three small cups and laid the stainless steel thread into the goo.
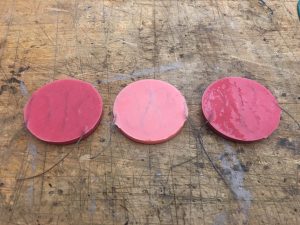
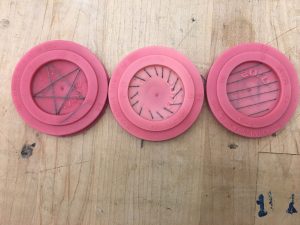
When cured (6hrs), the rubber was nicely reactive to temperature. However the thread I laid into the mix had become too resistive in the rubber and would not conduct enough to heat the matrix. To solve this, I sewed some stainless steel thread into the rubber. This solved the issue and worked quite well.
1) Take a 10-20 second video of your speaker and email me the file.
2) Identify a variable you want to test, then create 3 or more swatches for a swatch exchange using thermochromic ink and a heating element. Document it on the blog.
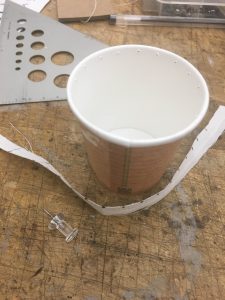
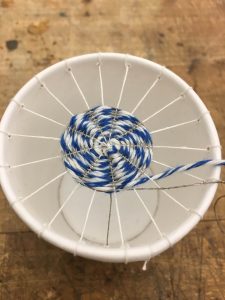
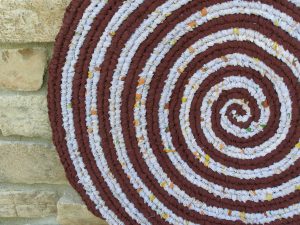
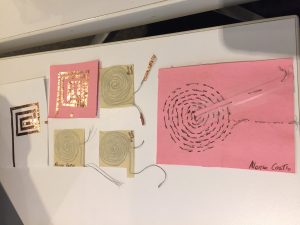
After a series of unsuccessful tests, I chose to follow an Instructables tutorial called “woven paper cup speaker” for my swatch. You can see the full thing here.
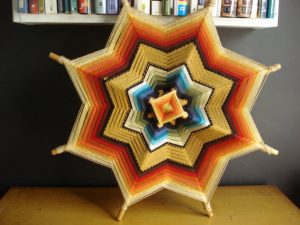
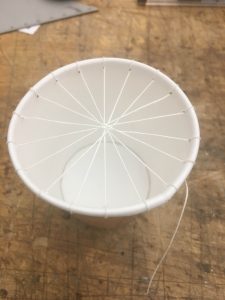
It was a fairly simple process. I changed the build slightly by using espresso cups (cute) instead of full size cups. First you poke 1cm apart homes around the rim then set up the warp (the spoke-like thread matrix) for your weaving. Using conductive and non-conductive thread, work your way around the warp in traditional weaving fashion (under, over, under, over) making sure to alternate rounds with each thread so the conductive thread doesn’t touch itself. Keep this up and in no time you’ll be done! These work pretty well, which leads me to wonder if it’d be possible to change up the structure or the scale (see inspiration below).