Assignments

Animal – Kitties!

http://ofeathers.com/images/DSCN0303a800x600_io.jpg

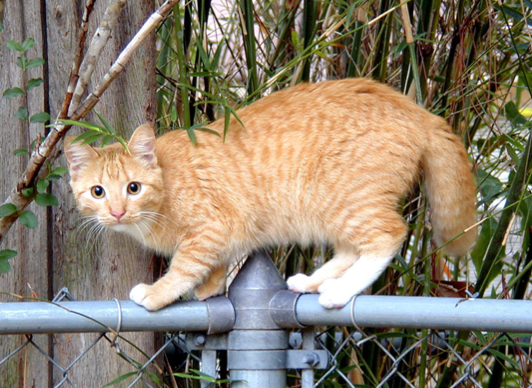
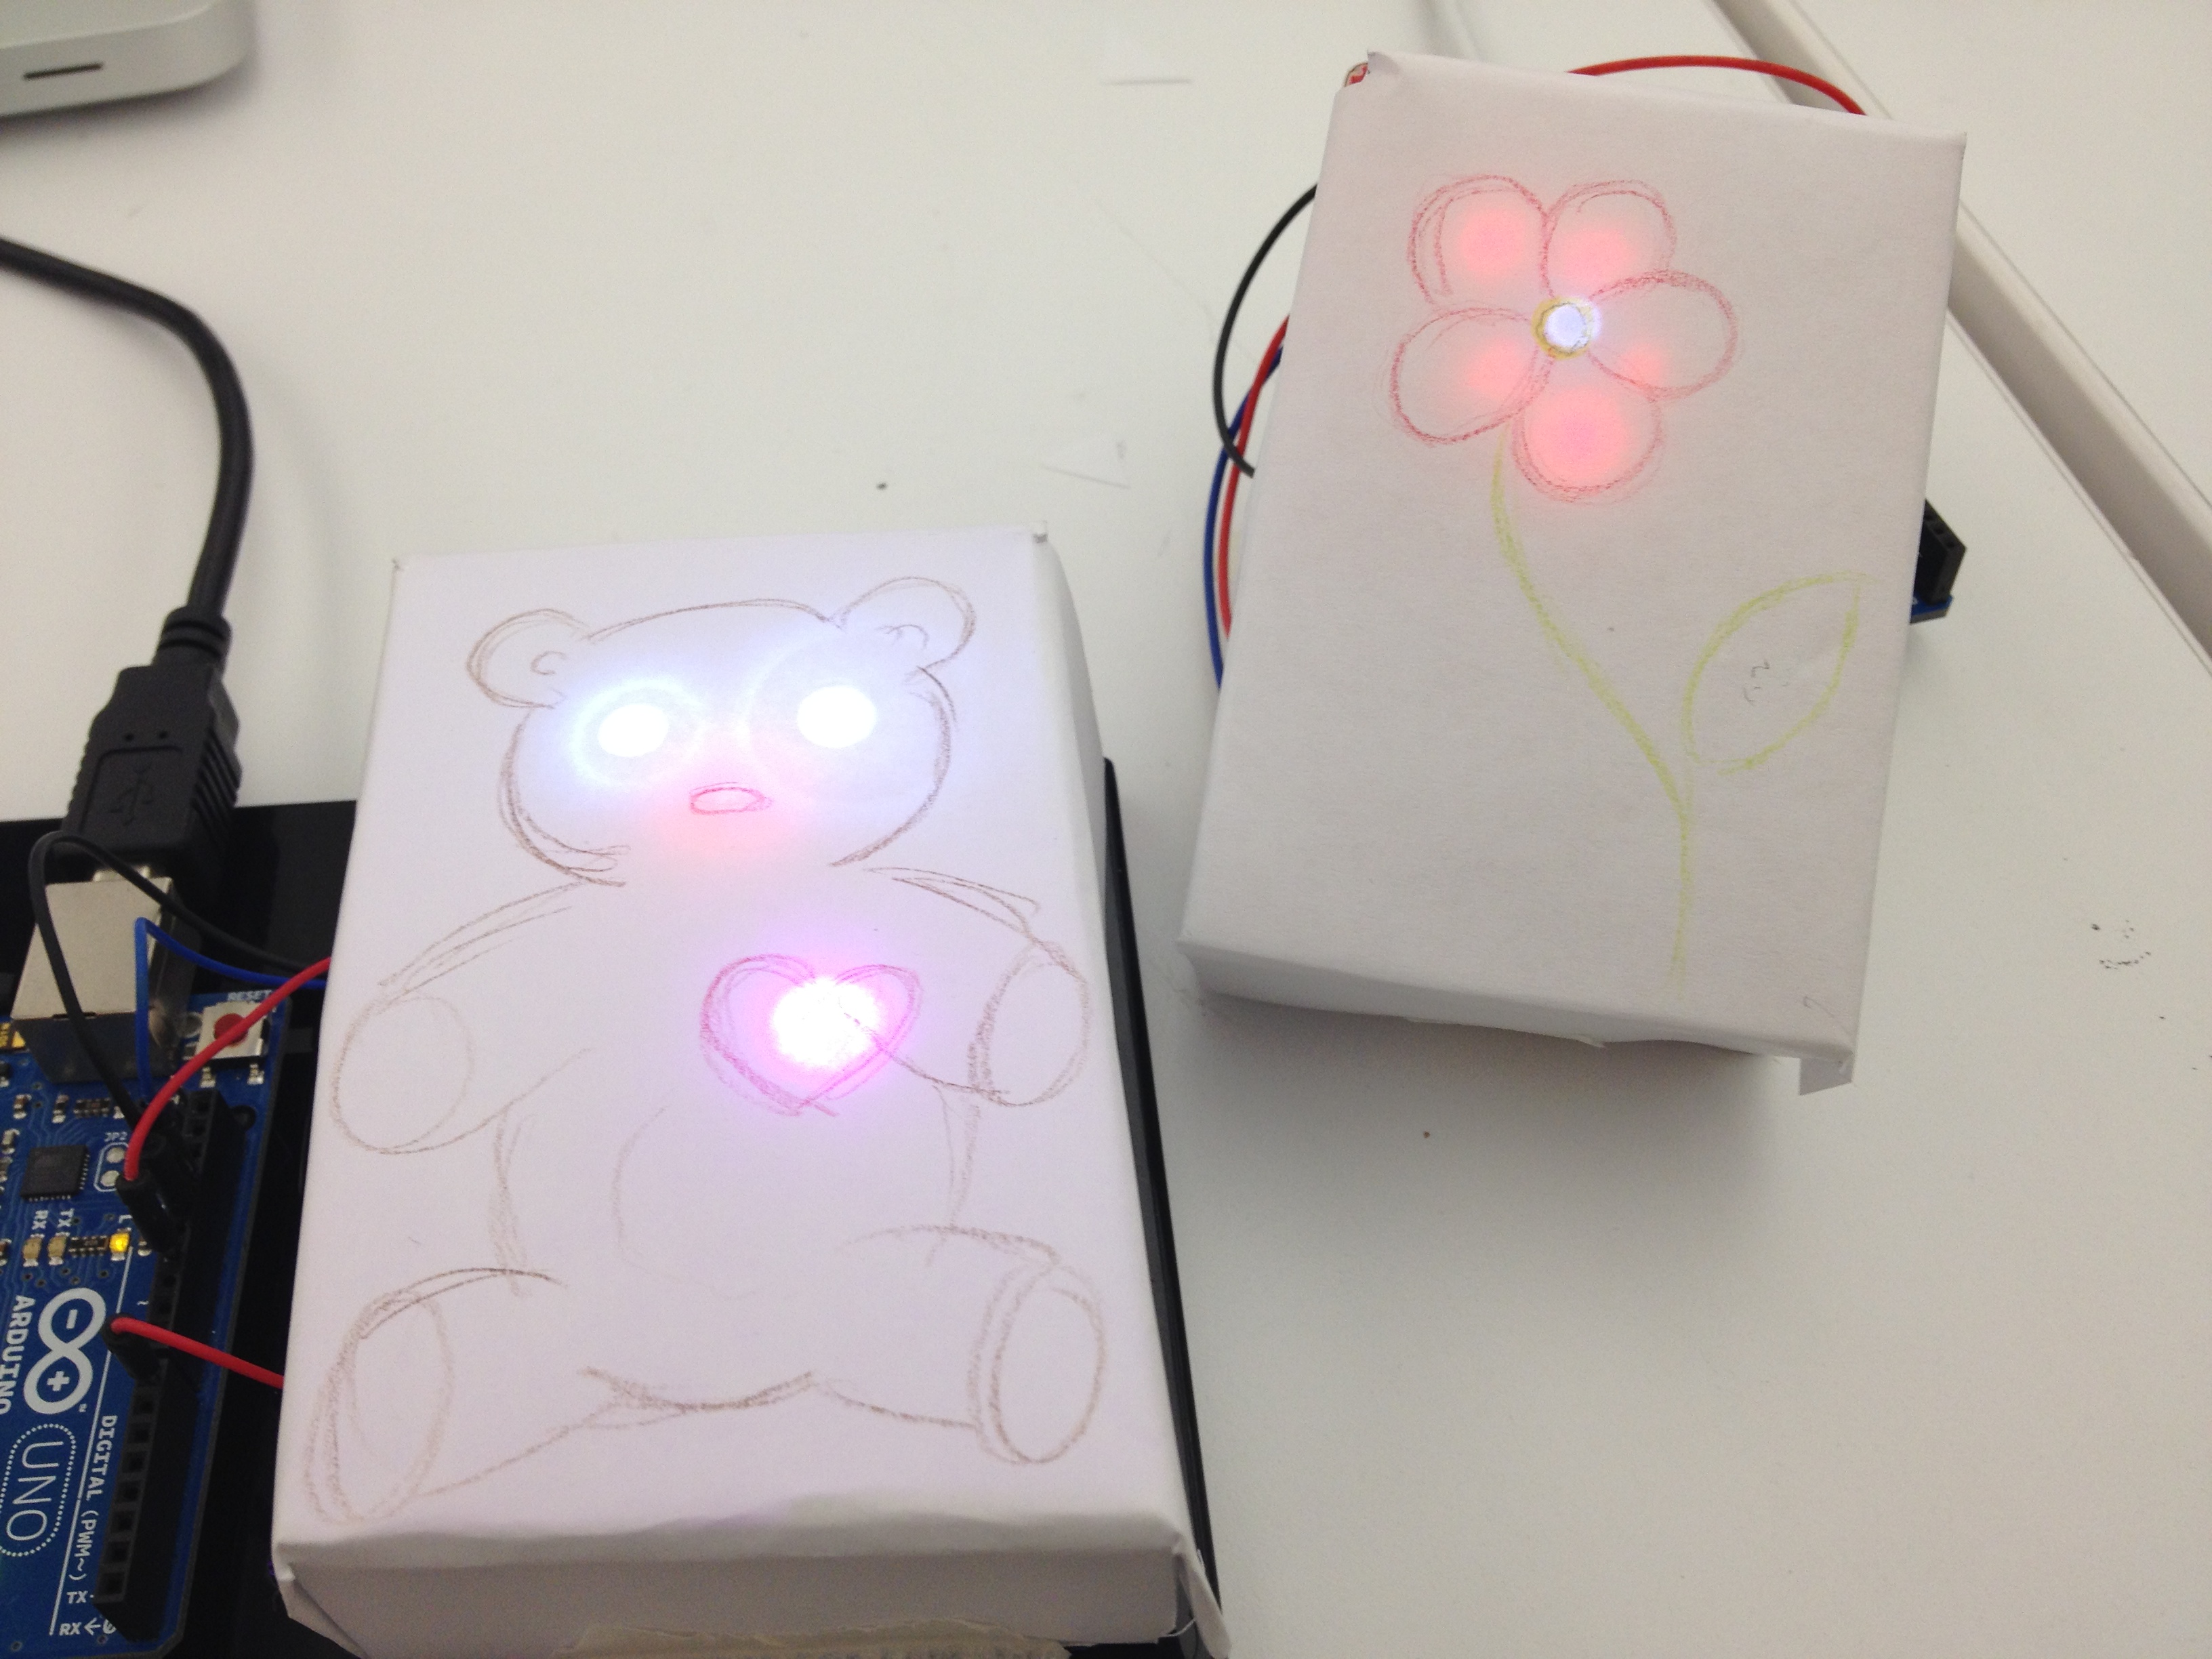
My cat always reacts to my Arduino projects so I figured that I would use her as my inspiration.  And when I started to light the LEDs I thought of kitties along a fence – thus my image.  I wanted to create scaredy cats who “hid” when they heard a noise but after the noise turned off they came back out.  Since we needed four LEDs I decided to have four cats with one being the bravest who always comes back out first.  I wanted to give them a sense of curiosity like they were peeping out from behind a fence after hearing the noise.

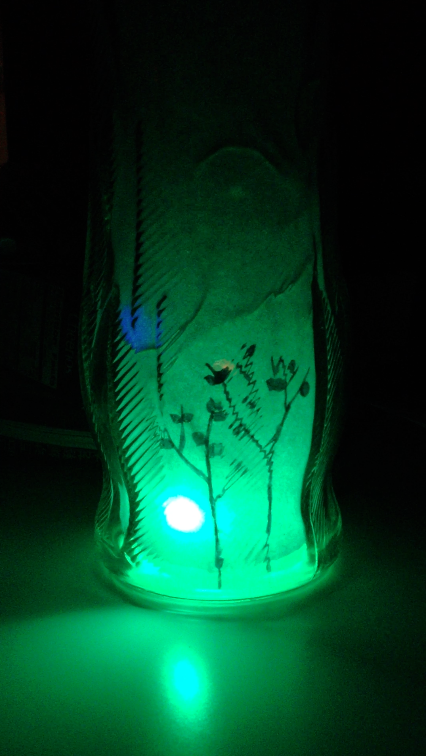
Making the enclosure was more difficult than I thought it would be.  I originally wanted to poke the LEDs through the top of the box and reattach them to the Ardunio but I couldn’t see what I was doing very well and as soon as a few things were connected something else would disconnect.  I think soldering in the future will help with this issue.

Scaredy Cat Code

https://vimeo.com/51548078

week8 – animal LED SUMMER NIGHT


My animal LEDs!!

Its name is SUMMER NIGHT. Though it’s fall now…

I missed Yayoi Kusama’s fireflies exhibition, so I have to make one for my own.


I put them into a transparent glass vase with a sheet of blue paper in it.

I planned to make two fireflies and a frog, but didn’t have the yellow LEDs.


Vimeo here.

Github here.

My problem is that I’d like to make these LEDs blink at the same time and with different frequencies, or totally random.

But they are just blinking in a certain order now.

Week 7 Assignment: Heartbeat Bunny


Originally, I wanted to make a stuffed animal I called “Fever Bunny” that would sense the temperature of whoever is holding it and light up with the person has a fever (which I could do by mapping the fever range to match the LED brightness (like we did in class with the potentiometer).

I sewed the bunny by hand (with fabric I used to recover my couch) and sewed three LEDs where the heart would be. Then, I wrote some code that made the LED look like a heart beat (which I think would be soothing). But, when I tried to incorporate the temperature sensor, I kept getting readings below 0* celsius. I tried a few different resistors in a few different positions – and was able to get an LED to respond – but I couldn’t control the temperature properly so I decided to ditch that sensor.

Instead, I used a photocell to control the brightness of the LED. When the room gets dark, the heart LEDs dim. Now it’s more of a nightlight bunny than a fever bunny, but it’s still soothing!

Here’s a picture of the bunny:

Here’s a picture of Dan interacting with the bunny:


And here’s the video of Dan interacting with the bunny: Video

And here’s a link to the repo.


The bear and the flower!

Joint project with Jeannette Subero.
We thought of an interaction between an allergic bear and a flower. The bear’s nose gets redder and redder in the presence of the flower, since he’s allergic. The glowing flower is spreads its pollen and makes the bear sneeze.
We had trouble incorporating the two codes together – the “blink” and the “fade”. It seems that the delay order that the “blink” code gives, affects the “fade” as well.

Assignment for Week 7

Assignment (due 10/6)
1) Create a fortune telling device OR (I repeat OR – you have a choice here) an animal using at least 3 LEDs and analog or digital input. The LEDs should have at least two states or should use PWM (pulse width modulation).
BONUS: Enclose your device. Try to make it look like the actual object you are creating.
2) Write a short paragraph about the design decisions you made. What behavior did you choose for the output and why? For example, did you want to simulate an animal breathing or talking? Did you want to create a sensation of anxiety for the person being told their fortune?
You should also reflect on anything you found challenging or that you were successful in.
3) Document at least one person using or interacting with your creation on video.
4) Watch Massimo Banzi’s TED Talk:

POST INSPIRATION/RESOURCES!

Week 6 Or Leviteh

LED’s = Pretty lights.
Are the red LED’s using up more energy than the other ones?
What does “behooves” mean?
I don’t get all the words for stuff, but they make sense when I see them in the calculations.

Videos and Pics:
Arduino 1
Arduino 2


Almost forgot github:

https://github.com/OrLeviteh/CCLAB-2012-OR-LEVITEH/blob/master/orarduinoforgit.001.jpg

Here are my two circuits, their documentation (stills and video) and their calculations. Not sure if they’re all right, got a bit confused so looking forward to clarify this in class today. Had fun lighting things up though!

V = 5/3 = 1.666…

R = 100

I = 1.666…/100

= 0.01666…

V = 5

R = 100

I = 5/100

= 0.05


Video: Circuits


Assignment 5: Circuits

Here is the diagram and calculations for my circuits. Was still confused about exactly how much resistance to use for what.

And Vimeo links to both circuits: Circuit 1 , Circuit 2

I’ve been looking forward to using Arduino in projects for a long time, so it was nice to get started last class. I like the hands-on nature of physical computing and the fact that you can see the immediate result of your work, which is a change from Processing.

I’m still new to making circuits and using electricity, so it would be nice to understand those concepts a bit more. Why do we use certain resistors for certain components? How should this be calculated? Do you need to refer to the specs of all components?


Addition to your assignment for next class!

Watch this. It is Massimo Banzi’s TED talk on the Arduino he gave at TED Global in June. This will give you an inspirational history into the Arduino and the ways in which it is revolutionizing how people create, consume, and interact with their objects and devices.