Push Me Pull Me :: Construction + Code = User Testing
After a few snags in materials and construction, Paola offered us a fantastic solution. She suggested placing fabric around the boxed structure and focus on using the materials that we know work (i.e. the elastic), instead of forcing the materials we considered more aesthetically in line with our concept. As mentioned in a previous post, the elastic works much better in getting a dynamic range from the painted on liquid graphite; the other materials, such as spandex and jersey, ended up breaking the connection too much after a few uses.
Below are the videos documenting our first working prototype for the final piece and a bit of user testing:
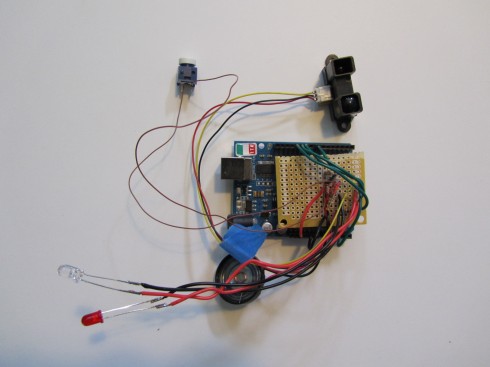
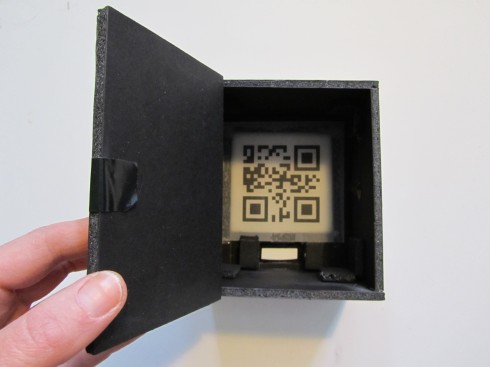
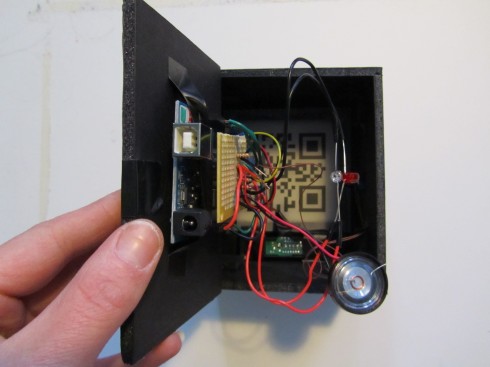
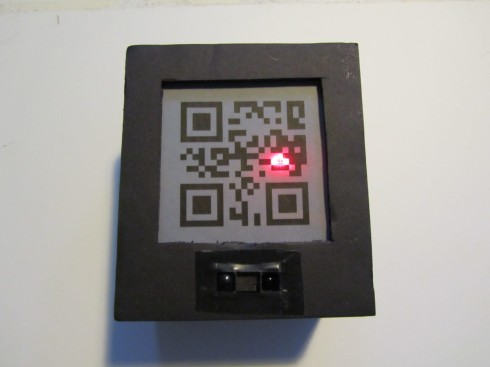
Calm Computing+IR Sensor Final = SleepWalker Alarm
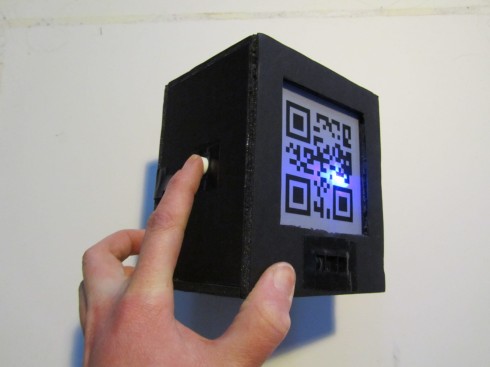
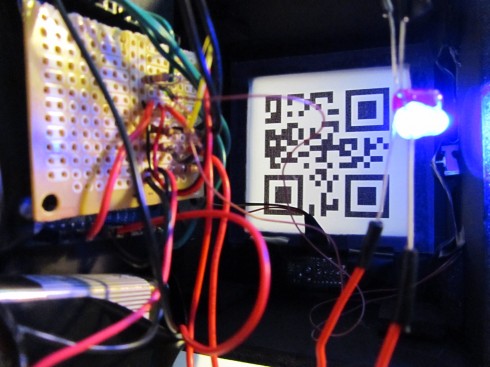
Code:
/*****************************************

 * Liza Stark

 * Physical Computing Final Project: Calm Computing

 * May 3, 2011

 *

 * SleepWalker Alarm Clock

 *

 * This sketch uses a sharp IR sensor to detect motion

 * when a person sits up in bed. The feedback comes in

 * two stages: light and sound. When turned on, the dimLED

 * acts as a nightlight to let the user know it is on. When the user sits up or moves within

 * a range that is less than 60 cm, the dimLED goes off and the alarmLED turns on.

 * If the user does not push the button within 15 seconds, the sound alarm goes off.

 *

 *

 *

 *

 *

 *****************************************/
int IRpin = 3; // analog pin for reading the IR sensor
int dimLED = 9; // Feedback LED to tell user it is on
int alarmLED = 10 ; // LED for first alarm
int speakerAlarm = 11; // Speaker alarm
int buttonPin = 7;
int buttonVal = 0;
int lastButtonVal = LOW;
int timer=0;
int lapse=15000;
int counter=0;
float volts;
float distance;
boolean alarm=false;
boolean restState = false;
boolean alarmOne = false; // This will test to see if
boolean alarmTwo = false;
boolean stayOff = false;
void setup() {
pinMode(dimLED, OUTPUT);
pinMode(alarmLED, OUTPUT);
pinMode(speakerAlarm, OUTPUT);
pinMode(buttonPin, INPUT);
Serial.begin(9600); // start the serial port
}
/**********************TIMER EXAMPLE************************/
//int timer=0;
//
//int lapse=2000;
//
//int counter=0;
//
//void setup(){
// Serial.begin(9600);
//}
//
//
//void loop(){
//
// if (millis()-timer>=lapse){
// counter++;
// timer=millis();
//
//
// }
//
// Serial.println(counter);
//}
/******************************************************************/
void loop() {
// Check IR and button values
volts = analogRead(IRpin)*0.0048828125; // value from sensor * (5/1024) - if running 3.3.volts then change 5 to 3.3
distance = 60*pow(volts, -1.0); // worked out from graph 65 = theretical distance / (1/Volts)S - luckylarry.co.uk
Serial.println(distance); // print the distance
delay(100);
buttonVal = digitalRead(buttonPin);
if(buttonVal){
Serial.println("pressed");
digitalWrite(dimLED,HIGH);
digitalWrite(alarmLED,LOW);
noTone(speakerAlarm);
digitalWrite(speakerAlarm,LOW);
alarm=false;
}
else{
if(distance < 60){
digitalWrite(alarmLED,HIGH);
digitalWrite(speakerAlarm,LOW);
digitalWrite(dimLED,LOW);
digitalWrite(speakerAlarm,LOW);
noTone(speakerAlarm);
alarm=true;
}
}
if(alarm){
if (millis()-timer>=lapse){
counter++;
timer=millis();
//Serial.println(counter);
Serial.println("speaker on");
digitalWrite(speakerAlarm,HIGH);
tone(speakerAlarm,10000);
}
}
}
Fading LEDs and Tones
/*
Liza Stark
March 1, 2011
PWM Siren and Fading LEDs
*/
//Set and initialize variables for LED pins
int green = 10;
int red = 5;
int white = 6;
// Set and initialize variable for speaker
int speaker = 9;
//Set variable for fadeValue
int fadeValue;
void setup() {
// nothing happens in setup
}
void loop() {
// fade green up
for(fadeValue = 0 ; fadeValue <= 255; fadeValue +=1) {
// sets the value (range from 0 to 255):
analogWrite(green, fadeValue);
tone(speaker, 300 + fadeValue);
delay(30);
}
// fade green down
for(fadeValue = 255 ; fadeValue >= 0; fadeValue -=1) {
analogWrite(green, fadeValue);
Serial.println(fadeValue);
tone(speaker, fadeValue – 300);
delay(30); // delay to see fade
}
// fade red up
for(fadeValue = 0 ; fadeValue <= 255; fadeValue +=3) {
// sets the value (range from 0 to 255):
analogWrite(red, fadeValue);
Serial.println(fadeValue);
tone(speaker, 200 + fadeValue);
delay(30);
}
// fade red down
for(fadeValue = 255 ; fadeValue >= 0; fadeValue -=3) {
// sets the value (range from 0 to 255):
analogWrite(red, fadeValue);
Serial.println(fadeValue);
tone(speaker, fadeValue – 200);
// wait for 30 milliseconds to see the dimming effect
delay(30);
}
//fade white up
for(fadeValue = 0 ; fadeValue <= 255; fadeValue +=5) {
// sets the value (range from 0 to 255):
analogWrite(white, fadeValue);
Serial.println(fadeValue);
tone(speaker, 100 + fadeValue);
delay(30);
}
// fade white down
for(fadeValue = 255 ; fadeValue >= 0; fadeValue -=5) {
// sets the value (range from 0 to 255):
analogWrite(white, fadeValue);
Serial.println(fadeValue);
tone(speaker, fadeValue – 100);
// wait for 30 milliseconds to see the dimming effect
delay(30);
}
}
P Comp Organ
br/>
For week 3 of physical computing, we were charged with making an “organ” using a variety of capacitors to determine the frequency of sound outputted to the speaker.

